The Complete Guide to Braising
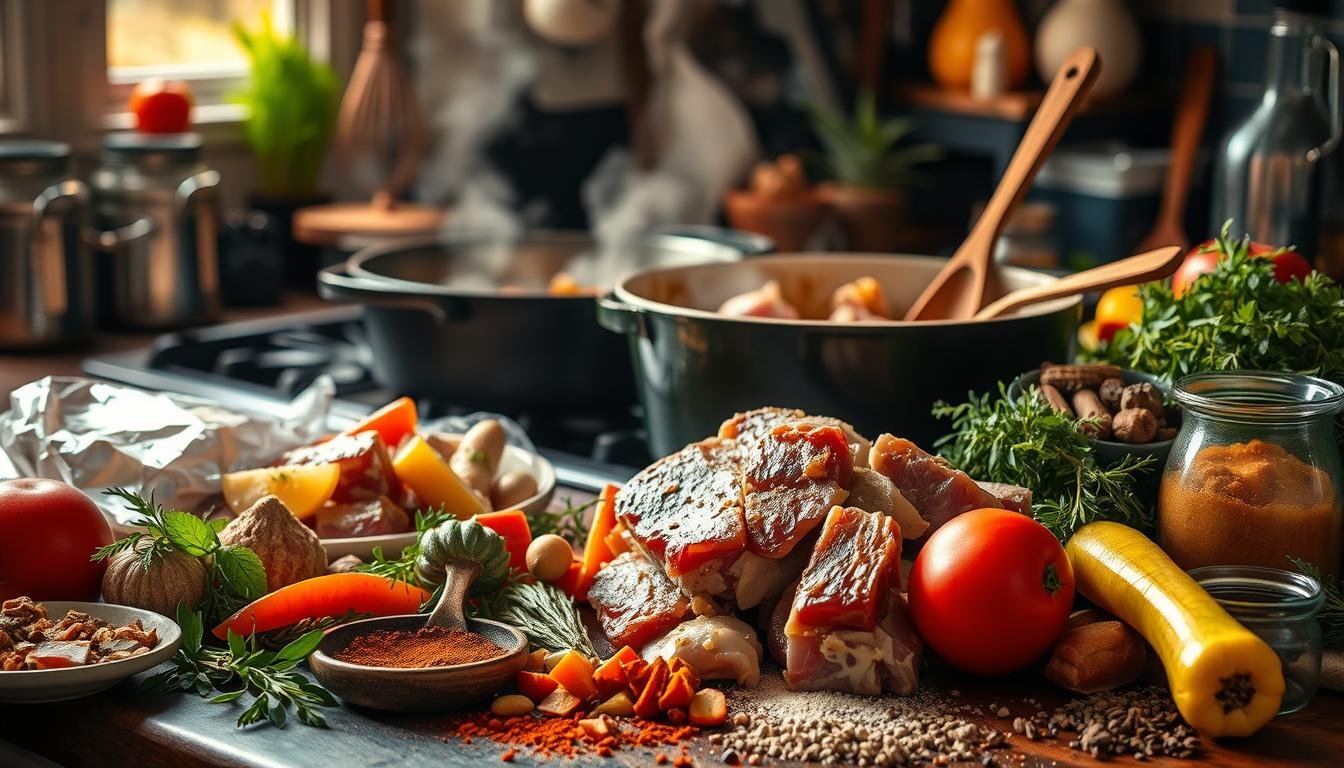
Have you ever wanted to make cheap meat cuts taste amazing? Braising is your answer. It’s a cooking method that makes food soft and full of flavor. Chefs and home cooks love it. By searing and then simmering in liquid like broth or wine, you can make fancy meals. This guide will teach you everything about braising, including the tools you need and how to do it step by step. You’ll become a braising expert.
Key Takeaways
- Braising combines dry and moist heat to achieve tender and flavorful dishes.
- This method is ideal for less expensive cuts of meat, offering a cost-effective way to cook.
- The process typically involves searing the meat followed by slow simmering in liquid.
- Browning through the Maillard reaction is crucial for flavor enhancement in braised meats.
- Essential tools include a Dutch oven or heavy pot, which help in flavor concentration.
Want to learn about this classic cooking skill? Keep reading. You’ll learn how to make your food taste its best with braising.
What is Braising?
Braising is a cooking method that makes tough food soft and tasty. It uses both wet and dry heat. In braising, big pieces of meat or tough vegetables are partly covered in liquid. This is different from stewing, where small pieces are fully in the liquid.
First, you sear the meat at high heat, then let it simmer slowly. This method makes the meat tender and mixes flavors well, resulting in a delicious dish.
Understanding the Braising Technique
To get good at braising, you should know each step. Start by searing the meat in a heavy pot. This adds rich flavors thanks to the Maillard reaction. It also leaves brown bits in the pan that are important for the next step.
After searing, you add liquid like wine or stock and cover the meat partly. Then, cook it in the oven at a low temperature. This slow cooking makes the meat very tender.
Benefits of Braising
Braising has many benefits, making it popular among cooks. It turns tough meat into tender dishes. The collagen in the meat turns to gelatin, which makes the sauce thick and the meat moist.
It’s also cost-effective and good for when you’re busy. You can do other things while the food cooks. This method is great for feeding many people with just one pot, which means less cleaning up.
| Technique | Characteristics | Meat Cuts |
|---|---|---|
| Braising | Large pieces, partially submerged in liquid, slow and gentle cooking | Lamb shank, oxtail, brisket, short ribs, pork shoulder |
| Stewing | Small pieces, fully submerged in liquid, slow cooking | Chuck steak, beef cheeks, lamb neck |
Essential Tools for Braising
If you’re diving into braising, you need the right tools. This guide covers all you need for a smooth braising experience. We talk about important cookware, utensils, and tech that make braising fun.
Must-Have Cookware
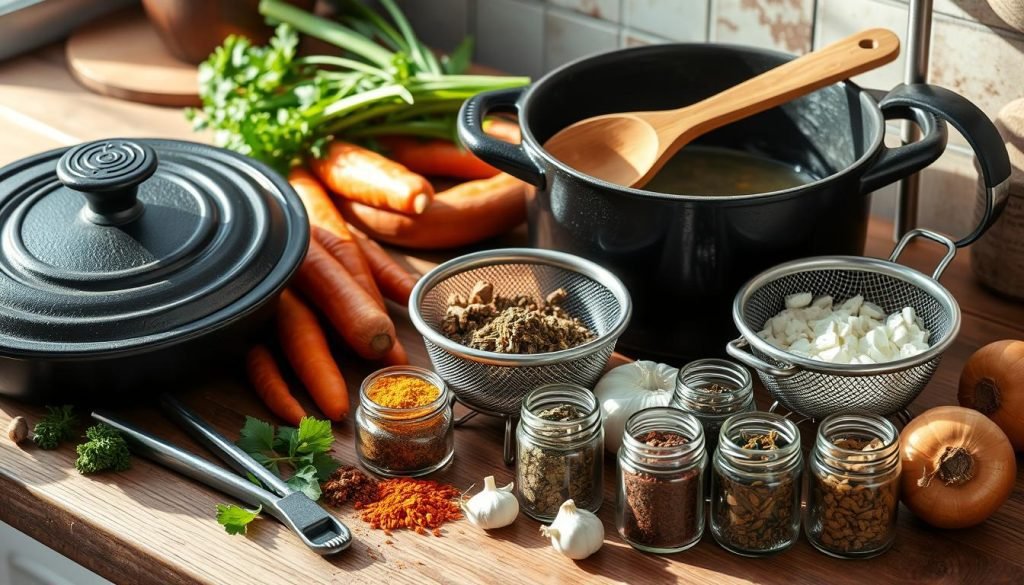
Choosing the right pot or pan is critical for braising. A Dutch oven is a top choice. It’s great for big pieces of meat and keeps heat even.
| Cookware | Features | Price Range |
|---|---|---|
| Le Creuset Classic Enameled Cast-Iron Skillet (9″) | Durable, heat-retentive, perfect for smaller cuts | $175 |
| Staub Multi-Use Braiser With Lid (3.5QT) | Heavy-duty, versatile for various meats and vegetables | $179.99 – $379.99 |
| GreenPan Ceramic Nonstick 6-Quart Slow Cooker | Nonstick, allows for easy meal prep and cleanup | $250 |
Recommended Utensils
For a good braise, you need the right utensils. A sturdy spoon or spatula and a meat fork are key. They make cooking and handling meat easier.
Helpful Gadgets
Some gadgets make braising better. A meat thermometer checks for 200°F to ensure tenderness. Tongs let you manage ingredients safely. Both are must-haves for braising.
For more braising tools, look into brands like Food52. Prices there go from $38.88 to $471.
Choosing the Right Ingredients
Choosing the right ingredients is key to a great braise. Understanding what meats, vegetables, and liquids to use is important. It helps you make a dish full of flavor and depth.
Types of Meats for Braising
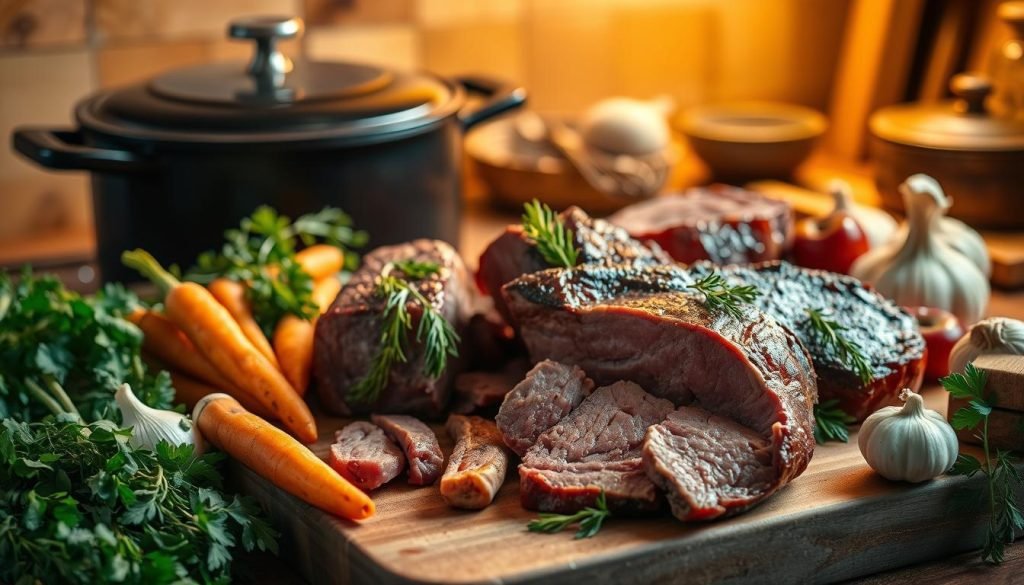
For braising meat, go for the tougher ones. Use cuts like chuck roast, short ribs, or pork shoulder. Lamb shanks and oxtails are also good. They become tender when braised and are juicy and tasty.
Bone-in meats like chicken thighs deliver richer flavor to your food. Chuck roast is great for braising and is a chef’s favorite.
Vegetables that Complement Braised Dishes
Braising veggies add flavor to the meat. Use carrots, celery, onions, radishes, and potatoes. They soak up the sauce’s flavor well.
Onions are key. They’re usually added first to create the dish’s base flavor. A mix of hearty veggies makes your meal balanced and nutritious.
Finding the Perfect Broth or Liquid
The right braising liquid is important for flavor. Broth, wine, beer, and tomato juice are common choices. Pick a liquid that matches your ingredients well.
For beef, rich broth works well. White wine is good for chicken. Adjust the liquid amount depending on how thick you want the sauce. Adding more liquid as it cooks is important.
During the slow cooking phase, constant topping up of broth or stock is important as the liquid evaporates and gets absorbed by the ingredients.
Braising turns tough meat tender. It also lets you play with veggies and sauces for a tasty dish.
Braising vs. Other Cooking Methods
Knowing the difference in cooking techniques is key in cooking. This guide talks about braising and how it’s different from stewing and roasting.
Comparing Braising with Stewing
Braising and stewing both use a mix of dry and wet heat. Braising is perfect for big, tough meats like beef short ribs and pork shoulder. First, you sear the meat at high heat (above 300°F) to make it tasty and colorful. Then, you cook it slowly in a tasty liquid, like wine or stock, at around 300-325°F.
| Aspect | Braising | Stewing |
|---|---|---|
| Type of Meat | Larger cuts | Smaller, cubed pieces |
| Liquid Coverage | Partially submerged | Fully submerged |
| Cooking Time | Long and slow | Moderate to long |
| Texture | “Fall-off-the-bone” tenderness | Rich and tender |
The Differences Between Braising and Roasting
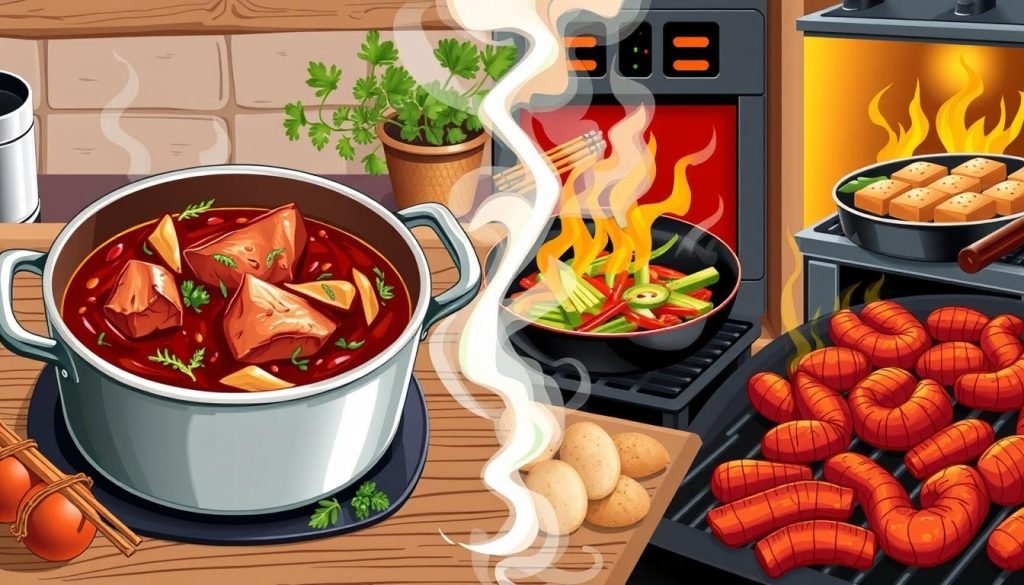
Roasting is different because it uses dry heat. Both might start with high heat to add flavor. But roasting then uses very high heat to crisp the outside. This method makes a crispy skin on meats like prime rib.
In professional kitchens, the right tools can really help. Whether it’s the juicy result of braising or the crispy finish of roasting, knowing these methods helps you cook better.
“Combination cooking methods like braising offer unparalleled tenderness, especially for tougher cuts, making it easier to feed a crowd with minimal active cooking time.”
Step-by-Step Braising Process
Braising makes tough meat soft and tasty. This guide will help you master braising, from start to finish. Follow these steps to make your meals better with deep, rich tastes.

Preparing Your Ingredients
First, cut off any extra fat from your meat, like chuck roast, pork shoulder, or lamb shanks. Then chop up veggies like onions, carrots, and celery. These add flavor to your dish. Use about 1 pound of potatoes and 1 pound of other veggies for a 2.5 to 3-pound roast. For herbs, use 1 teaspoon dried or 1 tablespoon fresh.
The Art of Searing
Searing meat creates a tasty crust. Heat a bit of oil in a pan or Dutch oven until it’s hot. Then brown the meat on every side. This locks in great flavor and is key to a delicious dish.
Simmering and Finishing
After browning the meat, add liquid like broth, wine, or beer. The liquid should cover the meat halfway to three-quarters. Heat it until it simmers, then cover and cook. You can cook on the stove or in the oven at 325°F. Cooking times vary but usually last 1.5 to 3 hours.
For lamb shanks between ½ to 1 pound, cook for 1.5 to 2 hours. They should reach an internal temperature of 160°F. The dish is ready if the meat falls apart easily with a fork.
| Step | Description | Time |
|---|---|---|
| Preparation | Trim meat and chop vegetables | 15-20 minutes |
| Searing | Brown the meat on all sides | 10-15 minutes |
| Simmering | Slow cook in braising liquid | 1.5 to 3 hours |
By using this guide, your braised dishes will always be tender and full of flavor. Braising lets you do other things while your meal cooks to perfection.
Flavoring Your Braise
Braising is not just about cooking, it’s about making your dish taste amazing. The right herbs, spices, and a bit of acid make all the difference. They make your braise taste better.
Herbs and Spices to Enhance Taste
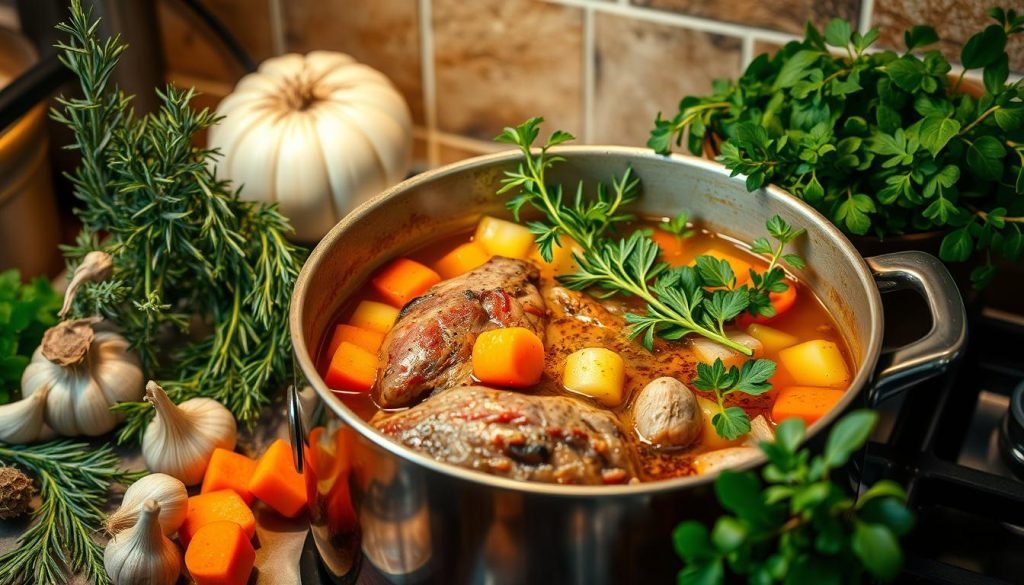
Herbs and spices add so much flavor to your dishes. Start with thyme, rosemary, and bay leaves. They make the braising liquid smell and taste great. Paprika adds earthiness, while cumin brings a bit of heat. A mix of garlic powder, cumin, brown sugar, salt, paprika, chili flakes, and pepper can make your dish taste fantastic.
Adding Acidity for Balance
Rich dishes need a little acid to balance the taste. Vinegar, vermouth, or lemon juice can do the trick. They make your dish brighter and keep it from feeling too heavy. For example, red wine vinegar or white wine works well with tender meat and complex flavors.
Here’s a quick reference guide:
| Flavor Element | Examples | Impact on Taste |
|---|---|---|
| Herbs | Thyme, Rosemary, Bay Leaves | Fragrant, Depth |
| Spices | Paprika, Cumin | Earthy, Mild Heat |
| Acidity | Vinegar, Lemon, Vermouth | Brightness, Balance |
By choosing the right flavors, your braise will impress everyone. Knowing how to enhance taste is key to braising well. This knowledge is important for any home cook.
Time and Temperature Guidelines
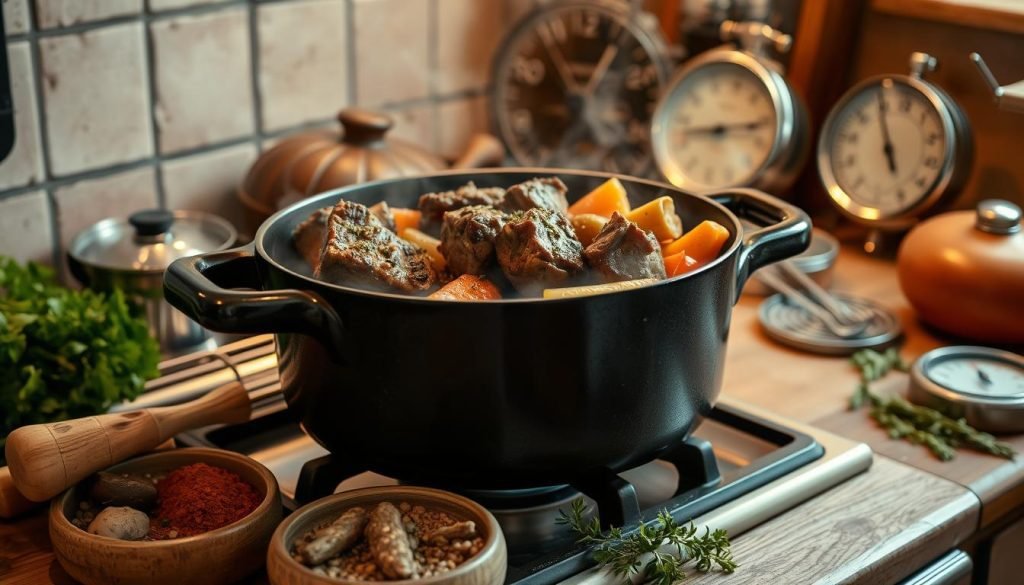
Knowing the right braising time and temperature makes your dishes tender and tasty. It’s important to keep the temperature low. Also, cook each meat type for just the right length of time.
Recommended Cooking Times for Various Meats
Different meats need different times to become perfectly soft. For example, chicken thighs take about 45 minutes. But beef short ribs and pork shoulder need up to 3 hours. Below is a helpful guideline:
- Chicken Thighs: 45 minutes
- Beef Short Ribs: 2.5 to 3 hours
- Pork Shoulder: 2.5 to 3 hours
- Lamb Shanks: 2 to 3 hours
Ideal Temperatures for Braising
For good braising, keep your oven between 300°F and 325°F. This slow heat breaks down the meat’s tough bits. It makes a delicious, gel-like broth. Big cuts like chuck roasts and lamb shanks do really well this way.
| Meat Type | Ideal Temperature (°F) | Cooking Time |
|---|---|---|
| Chicken Thighs | 300-325°F | 45 minutes |
| Beef Short Ribs | 300-325°F | 2.5 to 3 hours |
| Pork Shoulder | 300-325°F | 2.5 to 3 hours |
| Lamb Shanks | 300-325°F | 2 to 3 hours |
Follow this detailed cooking guide for tender and tasty meals every time.
Popular Braised Dishes to Try
Braised dishes mix tradition with amazing tastes and softness. They range from beloved classics to unique local treats. There’s a huge variety to try.

Classic Recipes You Can’t Miss
Beef Bourguignon and Coq Au Vin are timeless. These French dishes prove how braising changes ingredients into wonderful meals. They cook tough meat slowly in tasty liquid, usually wine. This process adds unique flavors.
Other timeless classics include:
- Boeuf Bourguignon
- Osso Buco
- Short Ribs
Cooking Regional Favorites
Trying regional braised dishes offers a glimpse into various cultures. Italy’s Osso Buco cooks veal with veggies and wine. France’s Cassoulet mixes beans and meats like duck and pork in a stew.
Here’s a closer look at some popular regional braised dishes:
| Dish | Region | Main Ingredients |
|---|---|---|
| Osso Buco | Italy | Veal shanks, wine, broth, vegetables |
| Cassoulet | France | Beans, duck confit, pork, sausages, broth |
| Kalbi Jjim | Korea | Beef short ribs, soy sauce, radish, mushrooms |
Making a Pot Roast at home or cooking global dishes expands your cooking skills. Braising makes food tender. It’s great for comfy dinners and big feasts.
Tips for Braising Success
To nail braised dishes, know the errors to dodge and how to tweak tastes. These skills will make your kitchen efforts much better.
Common Mistakes to Avoid
Braising needs you to wait and be exact. One big mistake is not searing the meat well. Make sure to brown it on every side for a tasty crust. This is key for great flavor.
Also, don’t let the heat get too high. You might burn the meat instead of browning it. Using the right amount of liquid is important too. It should only cover the meat halfway. This makes the juices tasty without too much water.
Try not to open the lid too often. It lets out heat and makes cooking take longer.
How to Adjust Flavors on the Fly
Being able to change your dish’s taste is crucial. If it’s missing something, add herbs or a bit of wine. This adds depth or a tangy kick.
If it’s too strong, more liquid can make it better. For more flavor, simmer to thicken the sauce. If it’s too salty, potatoes can help absorb some salt.
A meat thermometer helps you cook it just right. To finish, fresh herbs or picked veggies add a nice touch. They make your dish look and taste great.