How to Fry Food: A Step-by-Step Guide
Frying food like a pro is easier than you think. Mastering the oil temp control makes every kitchen a stage for amazing dishes. From crispy fried chicken to light tempura, learning to fry at home makes cooking an art and science. It gives your food the perfect crunch and taste. Learn the key strategies and safety tips for that golden crunch every time.
Key Takeaways
- Selection of oils with high polyphenols can enhance your frying experience.
- Understanding the distinct temperature ranges for different frying needs is crucial for safety and perfection.
- Implementing safety practices, like keeping children away and ensuring oil is cool before disposal, is essential.
- Using a thermometer or bread-test to check oil readiness prevents undercooking or overcooking.
- Choosing the right depth of oil and preheating it properly are key to achieving the right texture in shallow-fried foods.
- Learn to manage oil temperature to save time and enhance flavor for meals on busy nights.
- Proper oil disposal and pan maintenance contribute to kitchen safety and cleaner frying.
Understanding the Basics of Frying
Frying makes food tasty if done right. We’ll cover frying methods, oils, and equipment. Also, we’ll talk about food safety and choosing the right frying pan. We’ll even discuss how an air fryer can fit into all this.
Types of Frying Methods
Frying splits into deep and shallow frying. Deep frying cooks food fully in oil, keeping it moist inside but crispy outside. In shallow frying, less oil is used. It’s good for eggs, pancakes, or small meats. Air fryers are new. They use hot air for a crispy finish with little oil. This shows how frying safety has evolved.
Common Frying Oils
Choosing oil wisely is key for good frying. The best oils have a high smoke point and mild flavor. For instance, vegetable, canola, and peanut oils are great choices. Oils with antioxidants stand up to high heat well. They keep quality and health in check.
Equipment Needed for Frying
Safe and effective frying needs the right tools. You’ll need a strong frying pan or a deep pot, like a Dutch oven. A deep-fry thermometer helps keep oil at the best temperature. Use long chopsticks or metal tongs for safety.
For the modern kitchen, an air fryer is a smart pick. It needs much less oil. See how traditional and new frying equipment and oil use compare:
| Frying Method | Essential Equipment | Oil Usage |
|---|---|---|
| Deep Frying | Dutch Oven, Deep-Fry Thermometer | High – completely submerging food |
| Shallow Frying | Cast Iron Pan, Spatula | Moderate – coats the bottom of the pan |
| Air Frying | Air Fryer | Minimal – often just a light spray |
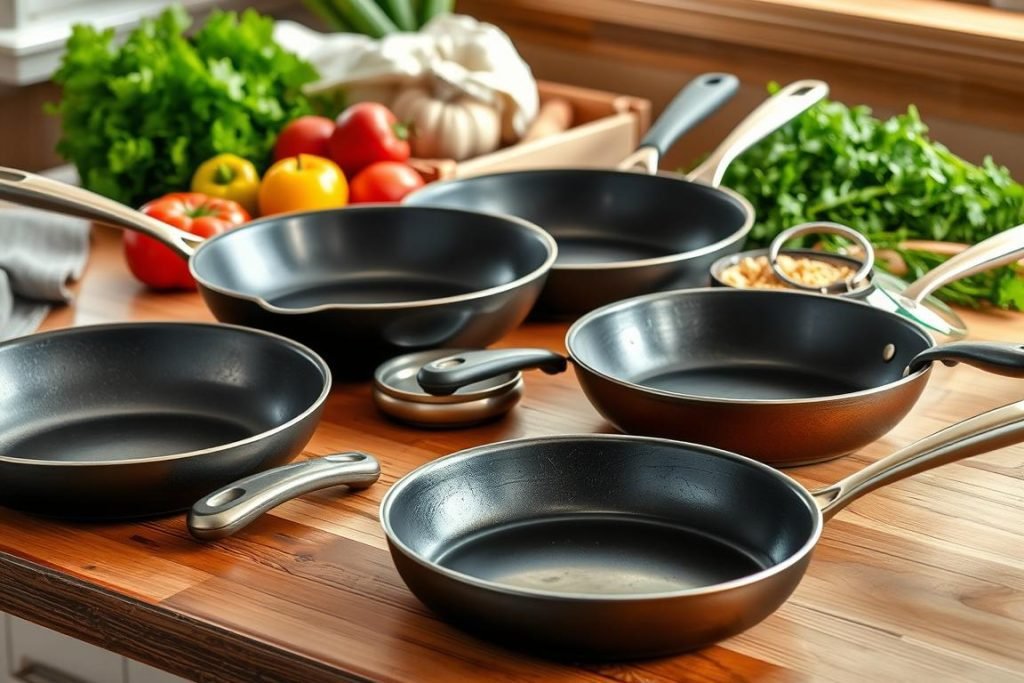
Choosing a frying pan? Think about pan depth and handle. Safe handles that stay cool are best. Make sure the oil won’t spill over the pot’s edge.
Learn about frying safety and pan selection to fry like a pro. These tips make frying safe and fun at home. Enjoy crispy, tasty fried foods easily.
Choosing the Right Ingredients
When you start frying, choosing the right ingredients is key. Picking wisely means tasty dishes and sticking to Healthy Frying Alternates. Always begin with fresh items for the best flavor and texture.
Freshness Matters
The freshest ingredients make the best fried foods. They stop sogginess and give better taste and crispness. Choose fresh local veggies and quality meats for top frying results.
Best Foods for Frying
The right foods get you the perfect golden crisp. Root veggies, thick meat cuts, and fresh seafood work well. They’re strong and hold moisture right for a crispy coating.
Prepping Ingredients for Frying
Getting ingredients ready is crucial. Make sure they’re room temp and dry to avoid oil splatter. Precise coating or battering creates even cooking and crispiness. Follow Crispy Coating Tips for best results.
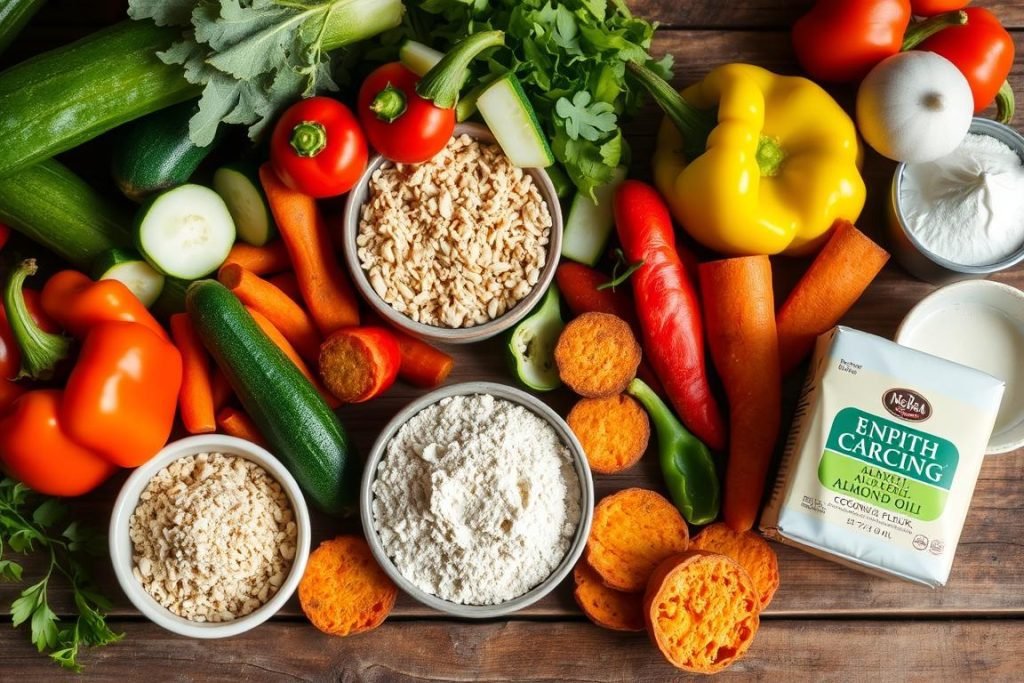
Right oil temperature is a must. Here’s a quick guide for perfect frying:
| Ingredient | Oil Temp (°F) | Frying Time | Breading Type |
|---|---|---|---|
| Potatoes | 375 | 5 mins | Light Dusting of Flour |
| Chicken | 350 | 8-10 mins | Flour, Egg, Bread Crumbs |
| Shrimp | 375 | 2-3 mins | Tempura |
| Fish Fillets | 350 | 4-5 mins | Beer Batter |
Focus on freshness, picking right, and prep. You’re on your way to master frying. This means healthier, tasty meals with the best crunch.
Preparing Your Cooking Space
Getting ready to fry is exciting but starting right is key. Set up your space well for both efficiency and safety. This means following Oil Disposal Guidelines and Food Safety in Frying tips.
Safety Precautions
To fry safely, first make your kitchen safe. Clear away anything flammable and check your gear works. Never leave hot oil alone to avoid accidents. Using splatter screens helps prevent burns from oil splashes too.
Setting Up Your Frying Station
Setting up right is essential for smooth frying and safety. Choose a deep enough pot to keep oil in. There should be 4 inches to the rim. And fill it only halfway to stop boil-overs.
Use oils like sunflower or peanut that don’t smoke easily. They’re perfect for hitting 350 degrees F without problems. Between batches, clean out crumbs with a skimmer to keep oil fresh and safe.
Have everything you need within reach. Separate areas for ready and waiting food. Keep tools like thermometers and skimmers handy. Clean as you go to avoid mess and keep things safe.
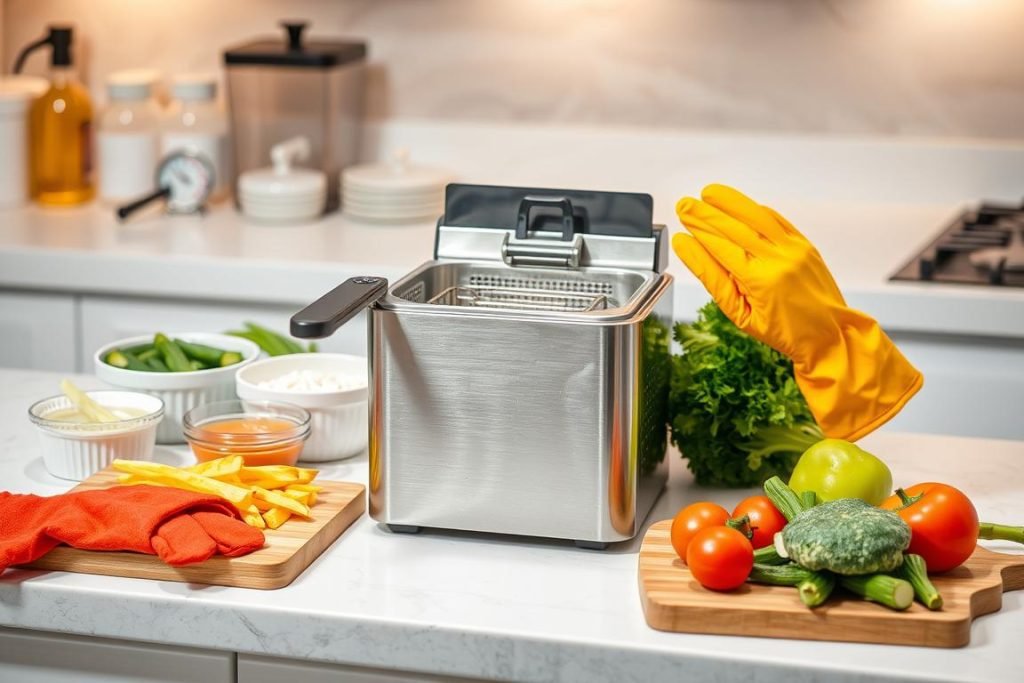
By following these steps and Oil Disposal Guidelines, cooking with oil is both fun and safe. Being prepared makes frying easy and worry-free. This means a great cooking time for everyone.
The Science of Frying
Learning the science of frying helps you master it. It’s all about getting that crispy coating right. Managing the heat and oil temperature is key. Let’s look into how heat, oil temperature, and science make food crispy.
How Heat Affects Food
When food hits hot oil, the water inside turns to steam. This cooks the food and makes the surface crispy. The Maillard reaction then adds color and flavor. This reaction happens best at certain temperatures, perfect for frying.
The Role of Oil Temperature
Getting the oil temperature right is very important. Oil gets hot quicker than water or air. That’s why Frymax is a top choice for over 60 years. The correct temperature cooks food fast without it getting greasy.
Crispiness and Texture
For great fried food, the right crispiness and texture are crucial. Using tips like panko for extra crunch or double-frying can improve your dish. Hot oil should sizzle right away for a perfect crispy outside.
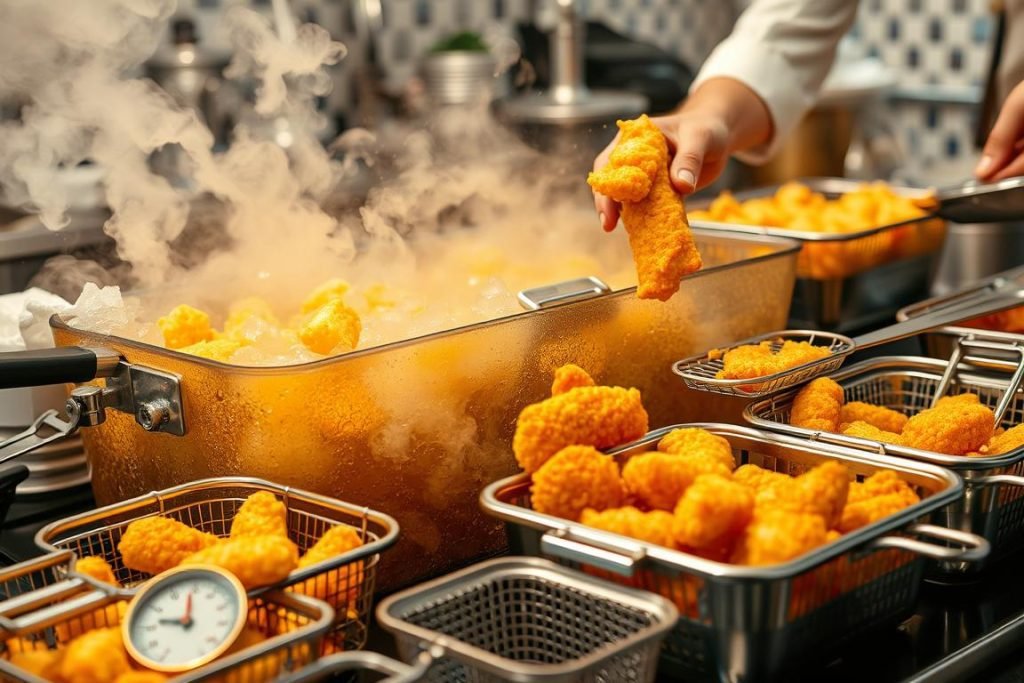
Here’s a table that shows the best oil temperatures for different foods:
| Food Item | Temperature (°F) | Cooking Time (min) |
|---|---|---|
| French Fries | 375 | 3-5 |
| Fried Chicken | 350 | 12-15 |
| Tonkatsu | 360 | 8 |
High temperature and quick cooking make for crispy coatings. Whether it’s canola, peanut, or vegetable oil, knowing their smoke points is key. Frymax oil shows how choosing the right oil impacts frying.
Selecting the Appropriate Oil
Choosing the right oil for frying is important. It affects both flavor and oil temperature control. Different oils have different smoke points. This is the temperature when oil starts to smoke and break down. Knowing these points can make frying healthier and improve food quality.
Differences Between Oils
Different oils are good for different kinds of cooking. Oils like canola, sunflower, and peanut are great for deep frying. They have high smoke points. Oils like flaxseed and extra-virgin olive oil are better for drizzling or dressings. They shouldn’t be used for high-heat cooking.
Smoke Points Explained
Smoke point levels keep oil temperature control in check during cooking. High smoke point oils don’t break down easily. This makes them suitable for healthier frying options. Oils with lower smoke points can burn quickly. This can ruin the flavor and might release harmful stuff.
| Oil Type | Smoke Point | Typical Use |
|---|---|---|
| Canola Oil | 468°F | Deep Frying |
| Soybean Oil | 450°F | Restaurant Frying |
| Avocado Oil | 520°F | Healthier Cooking Options |
| Olive Oil (Extra Virgin) | 375°F | Dressings and Low-Heat Cooking |
| Flaxseed Oil | 225°F | Salad Dressings |
Good oil management is key. This includes filtering and changing the oil for different foods. High oleic oils like avocado or high-grade canola oil are stable. They also make cooking healthier. This meets the need for healthy frying alternatives.
The Importance of Oil Temperature
Getting the oil temperature right is key for great deep-fried food. It ensures the food is safe to eat. It also makes sure the food’s texture and taste are good, and it doesn’t soak up too much oil. Keeping an eye on the temperature means the food cooks well. It won’t get too greasy or too soft.
Using a Thermometer
For top-notch deep frying, you really need an instant-read thermometer. This tool helps you keep the oil between 352°F and 365°F. That’s what the experts suggest. With it, you’ll know exactly when the oil is just right. This stops the oil from getting too hot or not hot enough. Both are important for making the food taste and feel right.
Recognizing the Right Temperature
Knowing when the oil is at the perfect temperature is a must for frying. You can try the chopstick test where bubbles form if the oil’s hot. Or, see if panko breadcrumbs sizzle in the oil. These tests help make sure the oil isn’t too hot. Keeping the oil from smoking keeps the food tasty and safe.
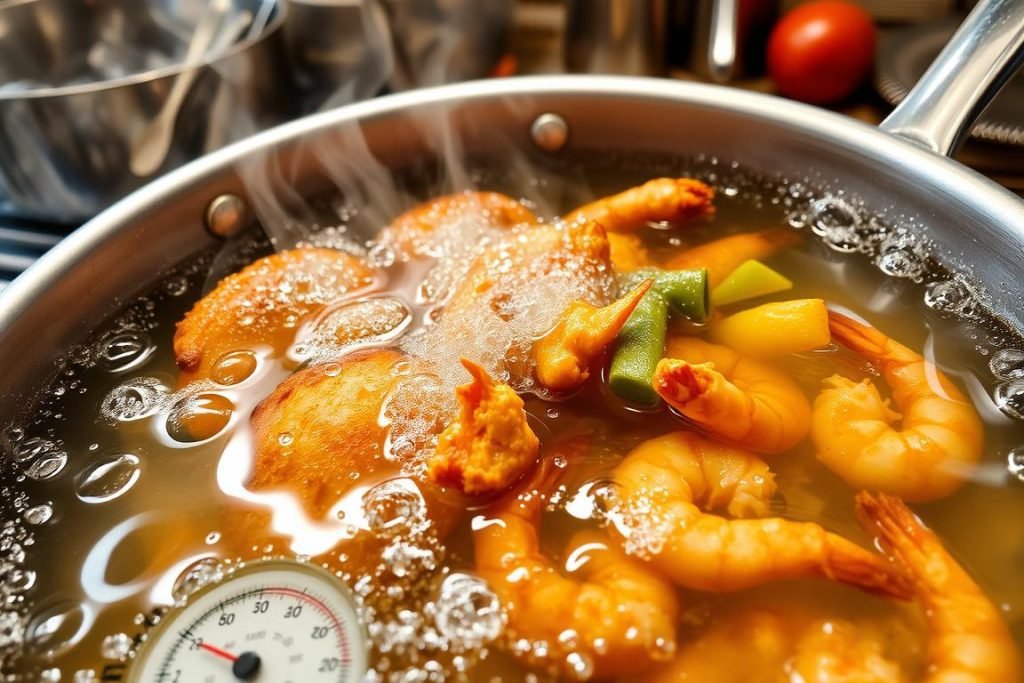
It’s also smart to know how different foods react with hot oil. Like, frozen fries need the oil to be a bit hotter because they’re moist. But soft things like apple fritters can’t handle that much heat. They might burn. The oil absorption rate changes based on the food’s temperature. This affects how crispy or soft the food gets.
| Fryer Operation | Oil Turnover Rate | AOM Stability of Shortening (hours) |
|---|---|---|
| Continuous production | 5-12 hours | 40-300 hours |
| Batch frying (french fries) | 20 hours | 200-350 hours |
Looking after the fryer oil is smart. It means your fried food will be better. Plus, the oil will last longer. This saves money for people who make food for others.
Techniques for Frying Foods
Frying isn’t just about hot oil and food. It involves different techniques like deep, shallow, and pan frying. Each method has its own setup and requirements. Knowing the right frying pan or air fryer can change the cooking game.
Deep Frying
Deep frying means dunking food in lots of oil. It needs high heat and the right oil level for even cooking. To get food crispy, the oil should be 350°F to 375°F. The oil should be 1-1.5 inches deep and heated slowly.
Shallow Frying
Shallow frying requires less oil. You only need enough to go halfway up the food. It’s great for larger or flat items. The right pan can make or break the texture and taste. Keep an eye on oil temperature, as it greatly affects the outcome.
Pan Frying
Pan frying is like sautéing but with less oil. A non-stick pan helps get a crispy surface. An air fryer is a great tool here. It uses hot air and little oil for a crispy finish. This makes food healthier without losing texture.
| Frying Method | Temperature | Oil Depth | Recommended Oil Type |
|---|---|---|---|
| Deep Frying | 350°F – 375°F | 1 – 1.5 inches | Neutral oils (Peanut, Canola) |
| Shallow Frying | 300°F – 350°F | About half the depth of the food | High smoke point oils |
| Pan Frying/Air Fryer | Medium-High | Minimal | Any low-fat cooking spray |
Kitchen success comes from knowing about temperatures, oils, and frying methods. With these tips, you can make meals or snacks better every time.
Breading and Coating Techniques
Getting the perfect crispiness in fried foods is key. It’s about knowing both wet and dry breading. Choosing the right batter recipes and crispy coating tips is also vital. These techniques ensure the food’s texture and flavor are top-notch.
Wet Breading Methods
Wet breading means dipping food into liquid batters like beer batter or tempura. These batters are great for a light, crispy texture. It’s important to keep the batter cold and the oil hot. This ensures the food cooks evenly and keeps its flavor and texture.
Dry Breading Techniques
Dry breading is a step-by-step method for a crispy cover. First, you dust the food in flour. Next, it’s dunked in beaten egg. Finally, you coat it with breadcrumbs. The right balance and temperature are crucial for success. Below, we share details from cooking studies on this method:
| Step | Ingredients & Characteristics | SEO Tips |
|---|---|---|
| 1. Flour Coating | 1 part flour; ensures even coating and moisture absorption. | Shake off excess to avoid clumps. |
| 2. Egg Wash | 1 part beaten egg with water or milk; acts as a glue. | Add seasoning like salt and mustard powder for flavor enhancement. |
| 3. Breadcrumbs | 1 part breadcrumbs; crisp texture provider. | Mix in paprika, Parmesan, or thyme for extra zing. |
Making meat thin increases the crispy area by 25%. When frying, use enough hot oil to cover the food halfway. This helps cook the food evenly.
Not overcrowding the pan can make food 20% crispier. After frying, draining the oil on paper helps keep the crunch. This also makes it less oily.
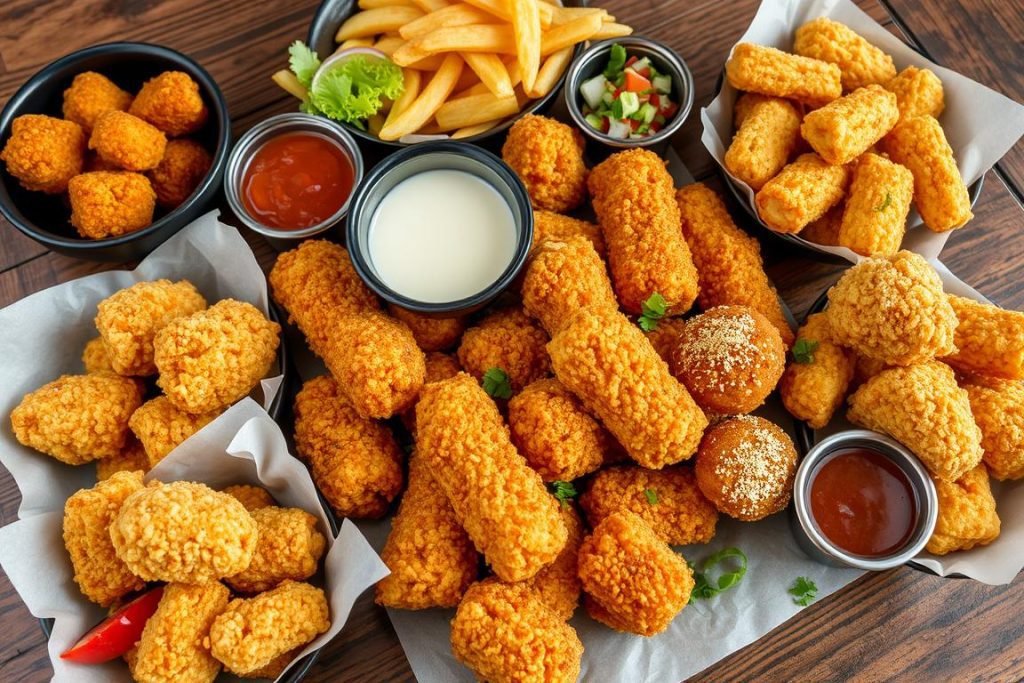
Trying gluten-free coatings like cornmeal or nut flour is good for those with dietary needs. It brings new flavors and textures. Sticking to these breading and coating methods results in crispy, delicious fried foods every time.
Managing Oil Spatter
Managing oil splatter is key for safe food frying and easier cleaning. Best practices improve safety. They also help follow oil disposal rules, keeping the environment safe.
Tips to Minimize Mess
Adding a bit of salt to your pan helps limit oil splatter. This trick works wonders with meats, fish, or veggies. Salt lowers oil splatter, making frying safer and neater.
| Food Item | Splatter Reduction with Salt (%) |
|---|---|
| Breakfast Sausage | 30% |
| Mushrooms and Peppers | 25% |
| Meatballs | 35% |
Cleaning Up Afterwards
Handling leftover oil right is crucial for a clean kitchen. Let oil cool, then dispose of it properly. Tools like mesh baskets help keep oil from spreading.
Clean regularly and dispose of oil right. This prevents fire risks and keeps food tasting good.
- Always skim off food particles from oil after frying to prevent them from burning in subsequent uses.
- Change oil regularly to avoid off-flavors and potential health hazards from degraded oil.

Following these tips keeps your food tasty and your kitchen safe. It shows you care about food safety in frying.
Serving and Pairing Fried Foods
Learning how to fry food is just a start. How you serve and pair it makes a big difference. Freshly fried calamari’s sizzle or french fries’ crunch can turn good into gourmet with the right sides.
Best Sauces and Dipping Options
Fried foods go well with many sauces and dips. From creamy aioli to simple ketchup, each sauce highlights the food’s best parts. For healthier choices, think about dips based on yogurt or homemade salsa. They cut calories but keep the taste.

Side Dishes That Complement Fried Foods
Choosing good side dishes can balance the richness of fried foods. Salads and roasted veggies offer fresh flavors and a crunchy bite. Adding these healthy frying alternatives brings nutrition and keeps meals exciting.
| Dish | Recommended Pairing | Source |
|---|---|---|
| Fried Chicken | Surly Hell Beer | Serious Eats |
| Fish & Chips | Hitachino Nest White Ale | Inside Beer |
| Fried Calamari | Brut Champagne | The Chicago Tribune |
| Chimichangas | Margaritas | Generic Culinary Blog |
| Fried Frog Legs | Bourbon with Creole Sauce | The Courier-Journal |
| Hot Dogs and Fries | Spiked Frozen Lemonade | Pink’s Hot Dogs |
In summary, mastering how to fry food also means knowing how to serve it. With creativity and care, every fried dish can be a joy to eat.
Storing and Reheating Leftover Fried Foods
Learning how to fry food is only step one. Making sure food safety in frying is followed after cooking is key. We’ll look at how to keep and reheat fried foods the right way.
Proper Storage Techniques
First, let cool to avoid sogginess from trapped heat. Lay them on paper towels to absorb extra grease. This keeps the crunch when you reheat.
After cooling, put your foods in tight containers and refrigerate. This keeps the flavor and texture good as new.
Best Ways to Reheat
Choosing the right reheating method is important. It decides if your food gets crispy again or stays soggy.
| Method | Temperature | Time | Texture Outcome |
|---|---|---|---|
| Oven | 400°F | 10-20 minutes | Crisp |
| Air Fryer | 400°F, then 350°F | 5 minutes, then 3 minutes | Evenly Crisp |
| Stovetop | 300°F | 2-3 minutes per side | Lightly Crisp |
Don’t use the microwave, as it makes food soggy. Reheat in the oven or air fryer at 400 degrees Fahrenheit for crunch. On the stovetop, heat oil to 300°F and cook for a bit on each side.
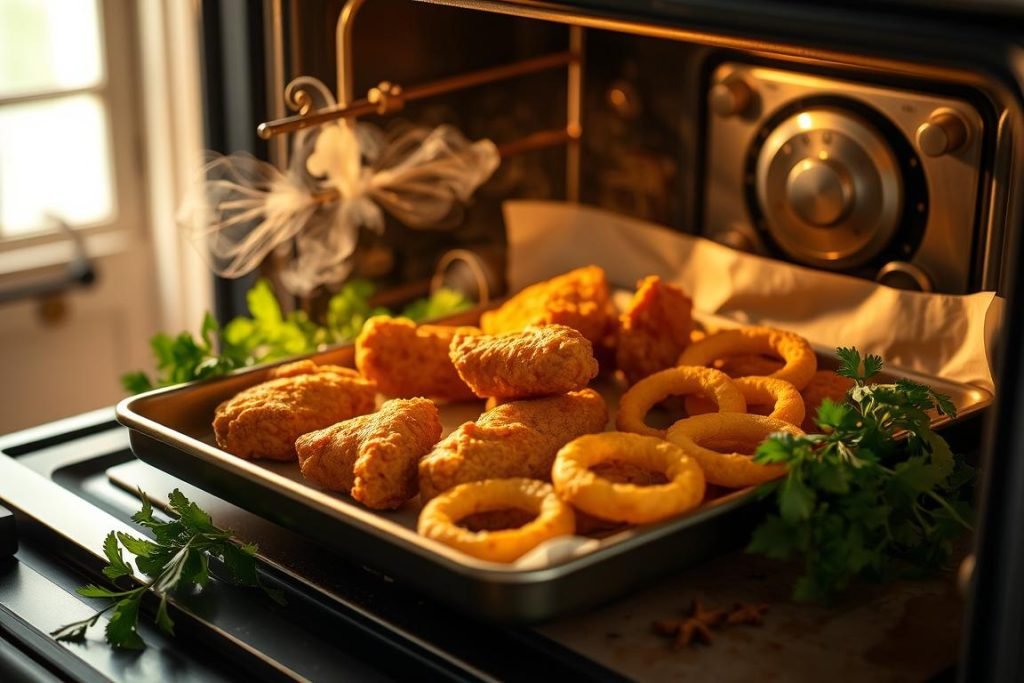
Follow these tips to enjoy fried foods like they’re freshly made. You’ll keep the delicious taste and texture.
Common Mistakes to Avoid When Frying
Frying can make simple foods taste amazing. But, it’s not just about putting food in hot oil. Mistakes like putting too many things in the pan are bad. Not following safety rules when frying is risky too. To fry well, you need to pay attention to many things. This includes choosing the right oil and knowing how to get rid of it safely.
Overcrowding the Pan
It’s important not to fry too many things at once. Doing this makes the oil cool down and cooks food badly. For good frying, like making chicken crispy, you need the right oil temperature. Around 360 degrees Fahrenheit is best. This lets the heat spread out well around each piece. Frying in small amounts keeps the oil hot, making the food crisp and not too greasy.
Ignoring Food Safety Guidelines
Following safety rules when frying is a must. Managing oil temperatures well stops food from being undercooked. It also avoids kitchen dangers, like fires from oil that’s too hot. Foods should be at room temperature and dry before frying. This stops bad reactions with the hot oil. Also, knowing how to safely throw away oil keeps the kitchen clean. Choosing oils with high smoke points, like vegetable or sunflower oil, is best for safe, tasty frying.