Jamaican Grater Cake Recipe – Traditional Coconut Candy
You’re about to initiate on a delightful journey of flavors with this Jamaican Grater Cake Recipe, a beloved traditional coconut candy that’s sure to satisfy your sweet tooth! This recipe combines fresh coconut, sugar, and a touch of spice to create a chewy, sweet treat perfect for sharing with friends and family. Get ready to impress everyone with your culinary skills as you whip up this nostalgic dessert that captures the essence of Jamaica!
Gathering Your Ingredients: The Key Players in Grater Cake
Essential Components: Coconut and Sugar
The backbone of any grater cake recipe is undoubtedly the fresh coconut and sugar. For the best results, choose a ripe coconut that is firm to the touch. You’ll want to extract the white flesh and grate it finely, as this enhances the texture and overall flavor of your cake. Using around 2 to 3 cups of grated coconut gives the cake its signature taste and chewiness. Pair this with an equal measure of granulated sugar, which not only sweetens the mixture but also helps to achieve that delightful, caramel-like finish when baked.
While you can use desiccated coconut in a pinch, don’t neglect the complexity that fresh coconut brings to your grater cake. The moisture from fresh coconut creates a moist texture that can’t be replicated, making all the difference in flavor and mouthfeel. Instead of settling for pre-packaged options, consider grating your own; the simple extra step promises a more vibrant result.
Optional Additions: Spice it Up with Flavorful Enhancements
Once you have your primary ingredients in place, think about enhancing your grater cake with a few optional additions. Typical enhancements include a splash of vanilla extract for depth of flavor, a pinch of salt to balance the sweetness, and a sprinkle of nutmeg or cinnamon for warmth. These spices can elevate the profile of your cake and add exciting notes that keep your taste buds guessing. For instance, 1 teaspoon of vanilla combined with 1/4 teaspoon of nutmeg can create a fragrant allure that complements the coconut beautifully.
You might also consider incorporating some citrus zest, such as lime or orange, which brightens the overall flavor and adds a refreshing twist. If your palate craves even more adventure, try mixing in some chopped nuts or dried fruit for an unexpected crunch or chew—there’s no limit to how you can personalize your grater cake. The key is to balance these flavors so they enhance, rather than overwhelm, the star ingredient: coconut.
Mastering the Technique: Steps to Perfect Grater Cake
Preparing the Coconut: Grate and Combine
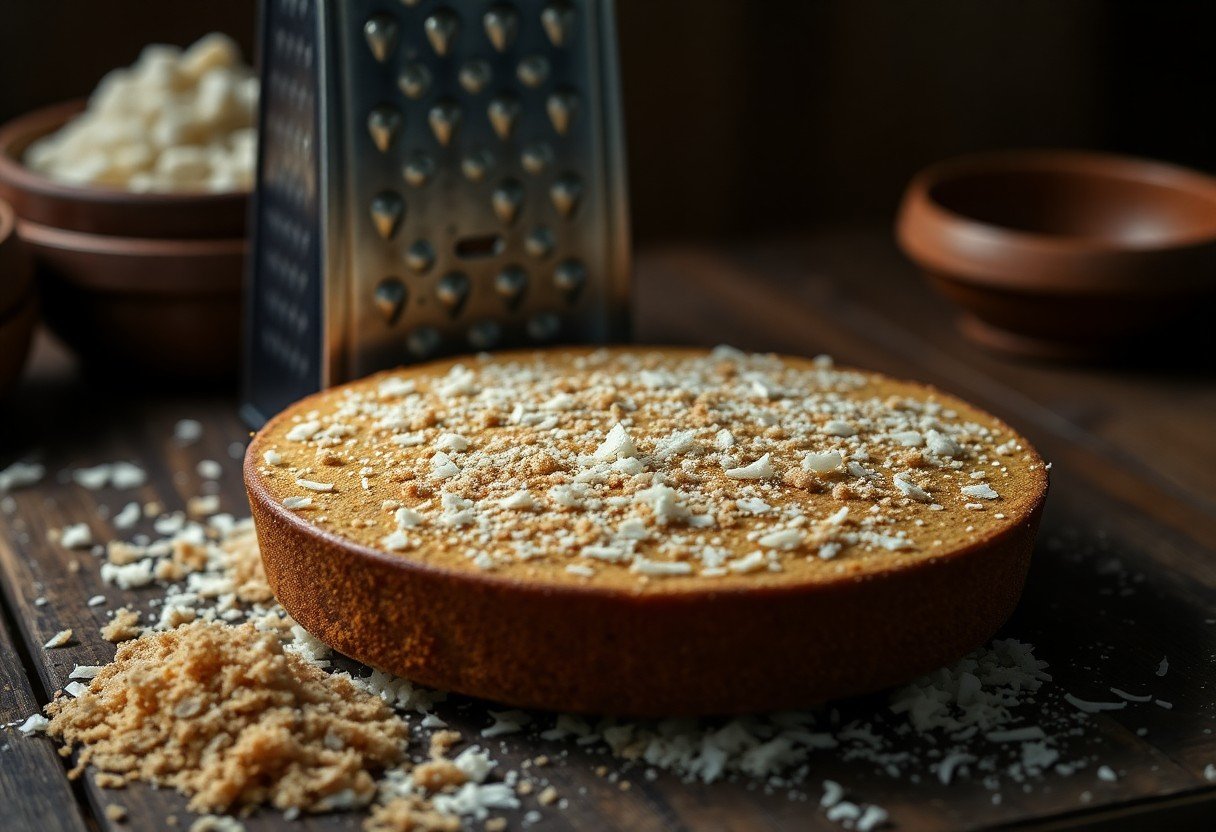
Start by selecting the freshest coconut you can find for the best flavor in your grater cake. Once you have your coconut, it’s time for the fun part – grating! Use a box grater or a food processor to achieve fine shreds; a coarse grate will not give the desired texture. Aim for about three cups of grated coconut, which will work beautifully with your sugar and other ingredients. Don’t forget to gently squeeze the grated coconut to remove excess moisture. This gives you a concentrated coconut flavor that really shines through in the final product.
After grating, it’s important to mix the coconut with about two cups of granulated sugar in a large bowl. This combination helps to draw out natural flavors while creating that sweetness you crave. You want to be thorough – use your hands to incorporate the sugar completely into the coconut. This step not only helps with flavor but also prepares the mixture for the next phase of the process, which is cooking.
Cooking Process: From Mixing to the Pot
The cooking stage is where your grater cake truly begins to take shape. Transfer your coconut-and-sugar mixture into a medium pot over medium heat. Keep stirring the mixture continuously to prevent it from burning, which can quickly happen due to the high sugar content. During this time, the mixture will start to come together and thicken, giving off a delightful coconut aroma sure to entice anyone in the vicinity!
A touch of vanilla essence or nutmeg can add depth to the flavor. Once it’s mixing and bubbling nicely, let it cook for about 20-30 minutes. Watching the consistency change is fascinating—this is where patience pays off and your dish becomes a cohesive batter. You’ll know it’s ready for the next step when it pulls away from the sides of the pot easily and is thick enough to hold its shape.
This cooking phase is not just about timing; it’s about texture and consistency. Stirring throughout the process ensures that the sugar melts evenly and the coconut doesn’t clump together. The mixture should be thick yet still pliable, making it easy to pour into your lined baking dish. The aroma and color changes as it cooks signifies successful progress, paving the way to that delightful Jamaican treat you’re crafting.
Timing is Everything: Perfecting the Cooking Duration
Achieving the Right Consistency: How to Know When It’s Done
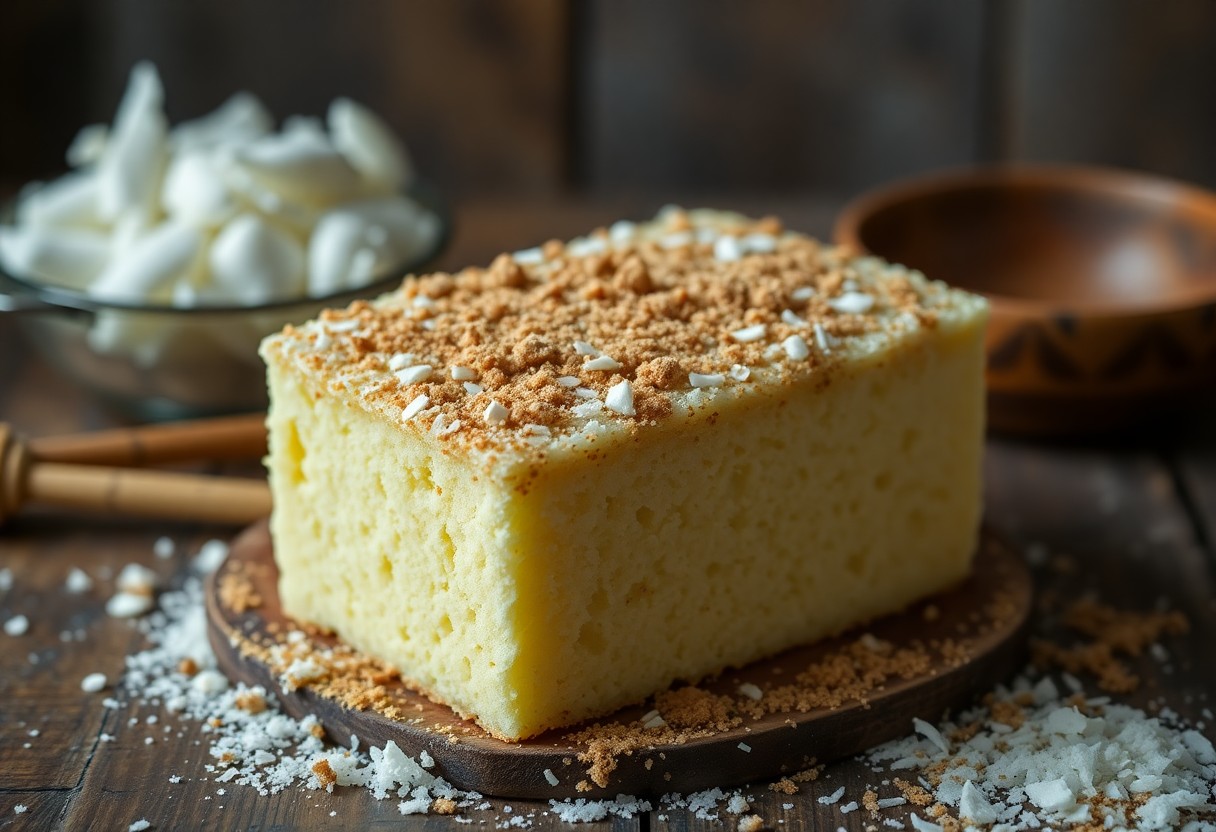
You can transform your grated coconut mixture into a scrumptious treat, but achieving the right consistency is key to success. As you cook the mixture, keep an eye on its appearance; it should thicken significantly, and the sugar should fully dissolve. Typically, around the 30-minute mark, you might notice the mixture clumping together and pulling away from the sides of the pot. This is your cue that it’s close to being ready. A simple test is to spoon a small amount onto a cold plate and let it cool. If it holds its shape without being too sticky or too hard, you’re right on track.
Temperature Control: Avoiding the Common Pitfalls
Controlling the temperature while cooking your grater cake will determine the final result. Aim for a medium heat—cooking it too low can lead to an overly sticky mixture that will not hold together, while too high a flame may burn the sugars, giving your cake a bitter taste. Ideally, the cooking process should take about 30 to 40 minutes. Utilize a candy or kitchen thermometer; the mixture should reach a temperature of around 240°F (115°C) for that perfect fudge-like consistency. If the heat is uneven, you may find that certain areas of your mixture cook faster than others, potentially compromising the integrity of the dish.
Temperature Control Tips
| Tip | Details |
| Stir Constantly | Ensure even cooking and prevent burning. |
| Use a Heavy-Bottomed Pot | This helps distribute heat evenly and prevents scorching. |
| Constantly Monitor Temperature | Avoid dramatic fluctuations for consistent results. |
Common pitfalls often occur from incorrect temperature management. If the mixture becomes too hot too quickly, it may caramelize, which changes the overall flavor profile and texture. Look out for small bubbles forming on the surface; this is an indicator that it’s nearing the boiling point. At this stage, adjusting the heat down slightly can help manage the cooking process better. Always trust your instincts; if something looks off, don’t hesitate to make adjustments for a more favorable outcome.
Additional Temperature Control Insights
| Insight | Details |
| Test with Water | Drop a small amount of mixture into cold water to check its firmness. |
| Take Notes | Document your cooking times and temperatures for future reference. |
The Art of Presentation: Serving Your Grater Cake
Traditional Ways to Serve: Capturing the Essence of Jamaican Culture
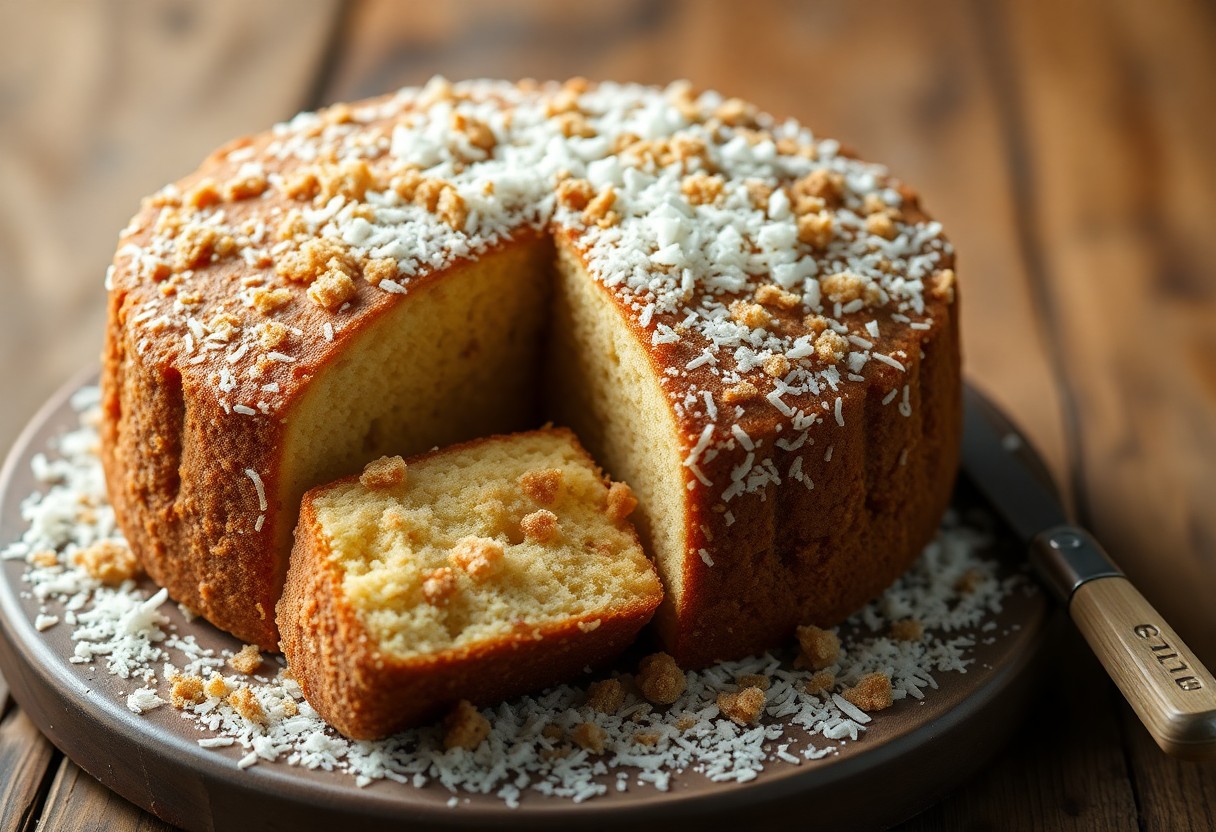
Serving your grater cake authentically can elevate the experience, allowing you to share a piece of Jamaica’s vibrant culture with friends and family. Traditionally, you would slice the cake into small, bite-sized pieces and arrange them on a colorful plate or in a woven basket. This presentation mirrors the communal spirit of Jamaican gatherings, where food becomes a shared pleasure. Often, grater cake is accompanied by a cup of steaming hot tea or a refreshing glass of coconut water, enhancing its tropical charm. To create that festive flair, consider decorating your serving platter with fresh coconut shavings, which not only look beautiful but also reinforce the main ingredient’s identity.
Creative Twists: Adding Your Personal Flair
While traditional presentation methods are rooted in culture, there’s plenty of room for you to add a contemporary touch to your grater cake display. Try infusing new flavors into your cake by incorporating hints of vanilla or almond extract, which can subtly elevate the overall taste without overshadowing the coconut’s richness. You can also explore drizzling some melted chocolate or icing on top, creating a striking contrast against the white coconut. Presentation could lean towards the artistic by serving your grater cake on a slate board alongside fresh fruit like mango slices or a scoop of ice cream, inviting guests to create their own dessert experience.
Your personal flair can also come through in the way you package the grater cake for gifting. Consider wrapping it in colorful cellophane tied with a natural twine for a rustic touch, or place it in decorative tins to make it a delightful treat for friends and family. Adding a handwritten note sharing your favorite memories tied to the recipe won’t just make your gift special; it will give a personal connection that resonates with tradition and love, truly embodying the spirit of Jamaican hospitality.
Troubleshooting Common Issues: Ensuring a Successful Bake
Addressing Texture Problems: What Went Wrong?
Sometimes, the texture of your grater cake may not turn out as expected. If your cake is too dry, it could be due to using excessive dry ingredients or cooking it for too long. A common issue is over-grating the coconut, leading to more dryness. Striking the right balance is key; aim for a medium coarseness when grating. On the other hand, if you find your cake is too wet or mushy, check the ratio of sugar and coconut. This mixture requires a careful balance to achieve that perfect sticky yet firm consistency.
Other texture issues might arise if the cake hasn’t been set properly. Baking for shorter periods is tempting if you’re eager to taste your delicious treat, but under-baking can result in a soggier finish. Always allow your grater cake ample time to cool after baking, as it continues to firm up once removed from the oven. A small test will tell if it’s ready; the edges should pull slightly from the pan, and the top should feel firm to the touch.
Flavor Adjustments: Tweaks for a Perfect Taste
The flavor of your grater cake is where you can really make it shine. If you find the sweetness overwhelming, a quick fix is reducing the sugar content slightly. Coconut itself boasts a natural sweetness, and cutting back can create a more balanced flavor profile. Incorporating a pinch of sea salt brings out the sweetness further and adds depth. Another option is to add a teaspoon of vanilla extract or a hint of nutmeg for an aromatic twist that can elevate your coconut flavor.
For those who want a little more zing, consider mixing in some citrus zest, like lime or orange. This can brighten the flavors and add an unexpected layer that complements the coconut beautifully. The key is to taste along the way and make adjustments as necessary – you want to create a grater cake that speaks to your palate.
Switching up ingredients can dramatically influence the taste of your grater cake. Adding shredded pineapple could introduce an appealing tropical element while reducing the overall sugar content. Similarly, experimenting with spices like cinnamon can offer comforting warmth, especially during the colder months. Adjusting flavors becomes an art form, where each addition allows you to customize your grater cake experience to your liking.
Summing up
From above, you can see that making Jamaican Grater Cake is not just about following a recipe; it’s about embracing the joyful spirit of the island and sharing sweet moments with family and friends. This traditional coconut candy is a delightful treat that brings a taste of Jamaica right into your kitchen. With just a few simple ingredients and a bit of patience, you can create a delicious dessert that everyone will love. Whether enjoyed as an afternoon snack or a special dessert, it adds a touch of warmth and nostalgia to any gathering.
By trying your hand at this classic recipe, you’re not only treating yourself to a delightful confection but also keeping a cherished Jamaican tradition alive. So gather your ingredients, channel your inner chef, and enjoy the process of making this beautiful, sweet treat. You’ll be rewarded with the satisfaction of a job well done—and a delicious treat that is sure to impress your loved ones!