Easy Sushi Rolls: DIY Guide
Ever thought about making sushi at home? It’s cheaper and more fun than eating out.
Making sushi at home saves money. It also lets you get creative in the kitchen. It’s a great way to make mealtime special for couples or families. This sushi guide will help you make your DIY sushi journey easy and fun.
Home-made sushi might not be as fancy as restaurant sushi. But it’s affordable and fun. You can use simple ingredients and tools to make sushi at home. So, let’s get started and enjoy making sushi at home!
Introduction to Sushi Making
The art of making sushi is loved by many around the world. It mixes old Japanese traditions with new cooking ideas. Making sushi at home is fun and rewarding.
What is Sushi?
Sushi is a key part of Japanese food. It has vinegar-seasoned rice and ingredients like seafood and veggies. It has changed a lot since the old days.

Types of Sushi Rolls
Sushi comes in many shapes and tastes. You can find simple nigiri or fancy maki rolls. Here’s a quick look at some:
- Nigiri: Rice with fish on top.
- Maki: Rolled sushi with seaweed and fillings.
- Temaki: Cone-shaped sushi.
- Uramaki: Rice on the outside.
- Sashimi: Raw fish without rice.
Each sushi type has its own feel and taste. This makes sushi great for everyone.
Why Make Sushi at Home?
Making sushi at home is fun. You can pick your own ingredients and save money. It’s a great way to try new things.
At home, you can learn and try different sushi types. Sharing homemade sushi with others is also fun.
With this knowledge, making sushi can be rewarding. It’s a great way to enjoy Japanese food.
Essential Ingredients for Sushi Rolls
Making tasty sushi rolls at home starts with picking the right ingredients. You’ll need sushi rice, nori, and fresh fillings. Each part is key to making a great roll. Here’s what you need to know.

Rice Selection
The base of any good sushi roll is the rice. You need sushi rice, which is special because it’s sticky. This stickiness keeps the roll together.
To cook sushi rice, use 300g of uncooked rice and 400ml of water. Add rice wine vinegar, mirin, sugar, and salt for flavor. Make sure the rice tastes tangy and a bit sweet. Rice vinegar is better than white vinegar for this.
Seaweed Types
Nori sheets are a must for sushi. They add a special umami flavor and help hold the roll together. The quality and thickness of nori affect your roll’s texture.
Maki sushi uses half a sheet of nori. This makes a roll about 2-2.5 inches wide. California rolls use a whole sheet for up to three fillings.
Fresh Fillings
Freshness is crucial for fresh sushi fillings. You can use sushi-grade fish or vegetarian sushi with veggies and fruits. The quality of your fillings greatly impacts your sushi experience.
Popular choices include avocado, cucumber, and carrots. You can also try mango and asparagus. Adding high-quality soy sauce, wasabi, and pickled ginger makes your sushi even better.
| Ingredient | Description | Details |
|---|---|---|
| Sushi Rice | Short or medium-grain white rice | 300g uncooked, 400ml water, seasoned with rice wine vinegar, mirin, sugar, salt |
| Nori Sheets | Seaweed sheets for rolls | Usually available in packs of 10, used whole or half depending on the type of roll |
| Fresh Fillings | Sushi-grade fish, vegetables, fruits | Salmon, tuna, avocado, cucumber, mango, etc. |
Choosing top-notch ingredients like sushi rice, nori, and fresh fillings lets you make great sushi at home. The secret to amazing sushi is in the details of each ingredient!
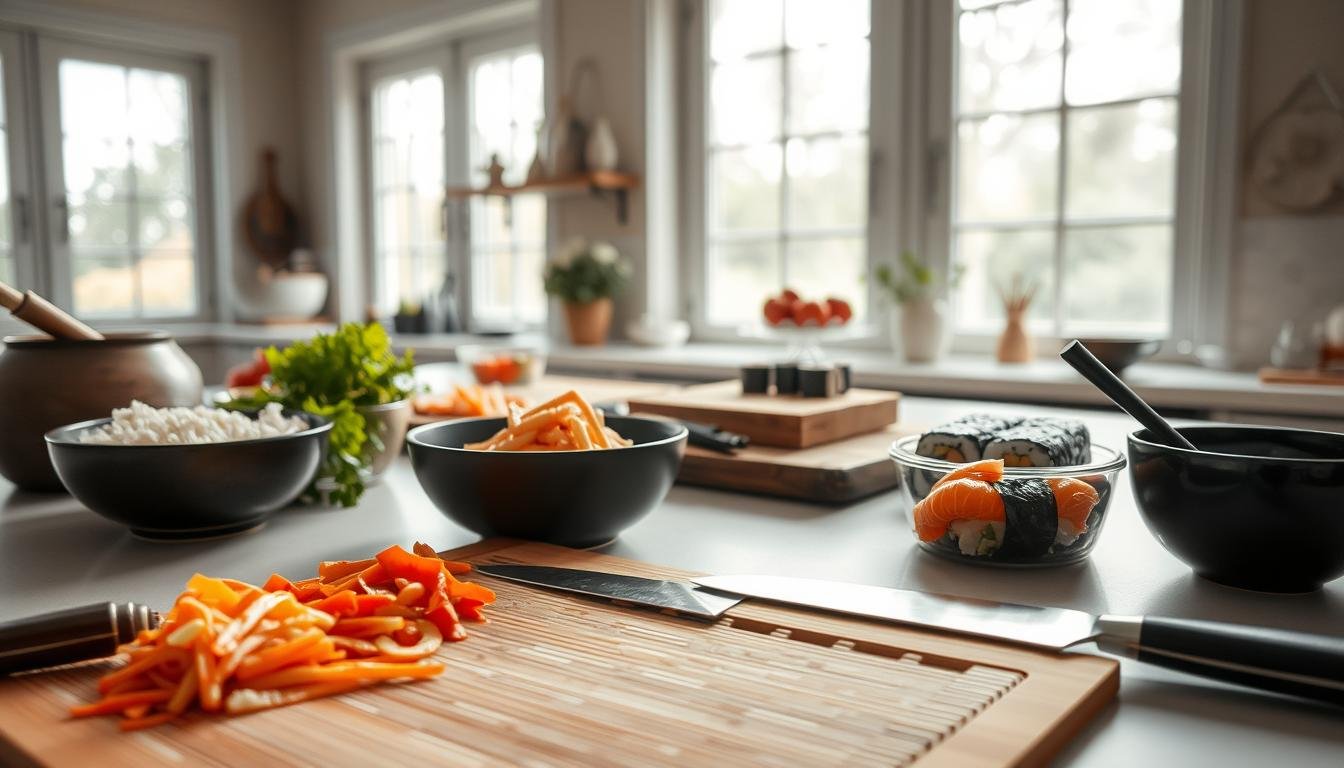
Tools You’ll Need for Sushi Making
To make sushi like a pro at home, you need special tools. These tools make making sushi easier and better. Let’s look at the key tools you need for sushi.

Sushi Mat
The bamboo sushi mat, or makisu, is key for rolling sushi. But, many like the Hasegawa plastic mat, $25, for being clean and strong. It’s a must for making sushi rolls that look great.
Sharp Knife
A sharp knife is very important for making sushi. You need to slice the rolls carefully. Chef Atsushi Haraguchi likes the Togiharu Gyuto, $179, for its sharpness and feel.
Rice Cooker
Good sushi rice comes from a great rice cooker. The Zojirushi Induction Rice Cooker, $310, cooks rice perfectly. It has a guide, countdown, and “keep warm” setting, making it essential for sushi.
With these tools, making sushi at home will be fun and easy. The right tools make your sushi-making better, making every session a joy.
| Tool | Recommended Brand/Model | Price |
|---|---|---|
| Bamboo Rolling Mat | Hasegawa Plastic Sushi Rolling Mat | $25 |
| Sharp Knife | Togiharu Hollow Ground Gyuto | $179 |
| Rice Cooker | Zojirushi Induction Rice Cooker | $310 |
Step-by-Step Sushi Rice Preparation
Perfect sushi starts with knowing how to cook sushi rice right. You need to cook, season, and cool the rice well. This makes it taste and feel just right for sushi. Let’s go through the steps to make your sushi rice perfect every time.

Cooking the Rice
Start by measuring 2 cups of Japanese short-grain rice. Rinse the rice in a strainer for 1-2 minutes until the water is clear. This removes extra starch, so your rice won’t be mushy.
Soak the rinsed rice in water for 20-30 minutes if you want. Then, mix 2 cups of rice with 2 cups of water in a rice cooker or pot. You can also add a 4-inch square of kombu for more flavor. Follow your rice cooker’s instructions or boil the water, then simmer for 15 minutes. Let it rest for 15 minutes more to steam evenly.
Seasoning Techniques
Seasoning makes plain rice into sushi rice. Mix 1/4 cup of rice vinegar, 4 teaspoons of sugar, and 1 teaspoon of fine sea salt in a saucepan. Heat it until the sugar and salt dissolve. Pour it over the hot rice.
Fold the seasoning into the rice gently. Don’t stir in circles to keep the grains whole. A wooden sushi bowl is best for this as it absorbs moisture and helps with texture.
Cooling the Rice
After seasoning, cool the rice quickly to room temperature. Spread it out in a dish and cool it with a fan for about 10 minutes. This keeps the rice right for making sushi.
- Measure 2 cups of Japanese short-grain rice and rinse.
- Cook the rice with 2 cups of water, and optionally, a piece of kombu.
- Prepare sushi rice seasoning with rice vinegar, sugar, and salt.
- Fold the seasoning into the hot rice using a slicing and lifting motion.
- Cool the rice quickly to room temperature using a fan.
Timing and Techniques
| Step | Details | Time |
|---|---|---|
| Rinsing | Rinse rice until water runs clear | 1-2 minutes |
| Soaking (optional) | Soak the rinsed rice in water | 20-30 minutes |
| Cooking | Simmer the rice | 15 minutes, plus 15 minutes resting |
| Seasoning | Mix rice vinegar, sugar, and salt, then fold into rice | 5 minutes |
| Cooling | Fold and cool rice with a fan | 10 minutes |
Mastering how to cook sushi rice is key. Use the right seasoning and cool it fast. This way, every bite of your sushi will be delicious and look great. You’ll make sushi as good as a restaurant’s at home.
Rolling Your First Sushi Roll
Rolling sushi is a mix of art and cooking skill. The right technique makes a big difference. It helps you make beautiful and tasty sushi rolls. If you’re new to *how to roll sushi*, here are some key *sushi making tips*. We’ll cover the basics and common mistakes beginners face.

Basic Sushi Rolling Technique
First, get your ingredients ready: sushi rice, nori (seaweed), and your fillings. Spread a thin layer of rice on the nori. Keep your hands wet to stop sticking.
Add your fillings evenly. Use a bamboo mat for *sushi rolling*. It helps roll evenly and tightly.
The rice and fillings amount changes with the sushi type:
- Uramaki is common in the U.S. and cuts into 8 pieces.
- Hosomaki uses less rice and cuts into 6 pieces.
- Futomaki is thicker, uses more rice, and cuts into 10 pieces.
Common Mistakes to Avoid
When learning *how to roll sushi*, beginners often make mistakes. One big one is overfilling. This makes the roll messy and hard to slice.
Using uneven pressure with the bamboo mat can also mess up the roll.
- Avoid Overfilling: Use less filling than you think you need.
- Consistent Pressure: Roll with even pressure to keep the roll together.
- Proper Rice Quantity: Futomaki needs nearly two handfuls of rice. Hosomaki needs a bit less than baseball-sized.
- Wet Knife: Use a wet knife for slicing to avoid sticking and get clean cuts.
Learning these *sushi making tips* improves your *sushi rolling* skills. Start with simple cucumber Hosomaki. It helps you get better before trying harder rolls.
Customizing Your Sushi Rolls

Making your sushi rolls your own is fun. You can pick from many ingredients to make unique flavors. Try mixing different things to find your favorite.
Popular Fillings to Try
Begin with fresh fish, veggies, and tempura. Try tuna, avocado, and cucumber for a good start. Add sesame seeds, pickled radish, and wasabi for more taste.
For vegans, use carrots or cucumber strips. These plant-based options are tasty and healthy.
Flavor Variations
Try new flavors like spicy mayo, yuzu sauce, or eel sauce. Mixing textures and tastes makes eating more fun. Add eggs with tuna for a mix of savory and rich.
Here’s a table to help you mix and match ingredients for tasty sushi:
| Ingredient | Flavor Profile |
|---|---|
| Sashimi-grade tuna | Umami, savory |
| Avocado | Creamy, mild |
| Cucumber | Fresh, crisp |
| Pickled radish (takuan) | Sweet, tangy |
| Spicy Sriracha Mayo | Spicy, creamy |
| Eel sauce | Sweet, savory |
Creative Topping Ideas
Add fun toppings like sesame seeds, jalapeño, or edible flowers. These not only look good but also taste great. Try new things to find your favorite flavors.
Serving and Enjoying Sushi
Learning to serve sushi can make your meal better. It’s all about how you arrange the sushi and what drinks you choose. Whether you’re having a sushi party or just eating alone, here’s how to serve it like a pro.
Plating Sushi Rolls
Plating sushi is like a work of art. You want to make it look good and easy to eat. Put different rolls in patterns to make it pretty. Leave space so you can pick them up easily.

About 70% of sushi fans like to use their hands. This means you should arrange the sushi so it’s easy to pick up. Each piece should be just one or two bites. This way, you can enjoy all the flavors.
Traditional Condiments
Condiments are key to great sushi. You need soy sauce, wasabi, and pickled ginger. Pickled ginger is a favorite for 60% of sushi lovers. It cleans your palate between bites.
But remember, 85% of sushi places say don’t mix wasabi and soy sauce. It can ruin the taste of the fish.
Using condiments right is also important. When you dip nigiri, do it rice-side down. This keeps the sushi roll together.
Pairing with Drinks
Drinks can make your sushi meal even better. Try sake or green tea. They match the sushi’s flavors without overpowering them. About 92% of sushi fans say start with sashimi and then sushi with rice. Pairing each with sake makes the flavors pop.
If you don’t like alcohol, green tea is a good choice. It helps with digestion and cleanses your palate. The goal is to choose drinks that enhance the sushi’s flavors.
| Aspect | Recommendation | Statistical Insight |
|---|---|---|
| Plating Technique | Alternate patterns, space rolls | 70% endorse hand usage |
| Condiment Usage | Proper soy sauce dipping | 85% on minimal soy sauce |
| Beverage Pairings | Sake, green tea | 92% favor sashimi first |
Knowing how to serve and enjoy sushi can make your meal special. Pay attention to how you plate it, use condiments right, and choose the right drinks. This way, you can enjoy every bite and make a memorable meal.
Storage Tips for Homemade Sushi
Keeping sushi fresh is key. It stops bacteria and keeps taste good. Use sealed containers and cool storage for best results.

How to Store Leftovers
Put leftover sushi in the fridge right away. Keep it cold, between 32°F to 38°F (0°C to 3°C). Use a tight container or wrap it well to keep it moist.
- Best to eat sushi within 24 hours after chilling.
- Don’t freeze fresh sushi. It makes rice dry and seaweed tough.
- Keep raw and cooked sushi apart to avoid mixing germs.
Best Practices for Freshness
Follow these tips for fresher sushi:
- Use airtight containers or wrap sushi tightly to keep it moist.
- Don’t leave sushi at room temperature for more than 4 hours.
- Use ice packs in containers if you can’t refrigerate.
- Seasoned sushi rice helps it stay fresh longer, thanks to vinegar, sugar, and salt.
| Storage Method | Recommended Temperature | Duration |
|---|---|---|
| Refrigeration | 32°F to 38°F (0°C to 3°C) | Up to 24 hours |
| Room Temperature | 40°F (4°C) and above | Up to 4 hours |
These tips keep your sushi safe and tasty. Good storage is key to enjoying your sushi without losing flavor and texture.
Conclusion: Your Sushi Journey
Starting your sushi making journey at home is exciting. You’ve learned about sushi’s history and the ingredients and tools needed. You also know how to make homemade sushi.
Exploring different fillings and flavors makes sushi making fun. It lets you create sushi that’s just right for you.
Encouragement to Experiment
Your sushi making journey is just starting. Try new things like fresh fish or avocado. Make sushi rolls that you like best.
Be creative and try new flavors. This makes sushi making fun and personal.
Final Thoughts on Sushi Making
Making sushi at home saves money and helps you appreciate Japanese food more. It’s a calming and rewarding process.
Homemade sushi is not just about skill. It shows your love for cooking. Enjoy the journey and keep making new sushi.