Caribbean Vegan Roti Bread Recipe
Let’s Get Rolling: The Basics of Roti Bread
The Dough
Crafting the perfect roti bread starts with the dough, a simple blend of flour, water, and a pinch of salt. Use whole wheat flour for that authentic taste and added nutrition. The key is to knead your dough until it’s soft and elastic—this can take about 10 minutes. If you’ve got a stand mixer, let it do the heavy lifting. When the dough is ready, allow it to rest for at least 30 minutes, covered with a damp cloth. This resting allows the gluten to relax and makes rolling out your rotis much easier.
Rolling Out Your Roti
Once your dough has rested, divide it into equal-sized balls, about the size of a golf ball. Lightly coat your work surface and rolling pin with flour to prevent sticking. Start rolling each ball gently, applying even pressure to create a flat, round disc. Aim for a diameter of about 8 to 10 inches. If you notice rough edges or uneven thickness, don’t fret. Just take a moment to reshape and roll out again until you achieve that desirable evenness. You might be surprised to discover that practice really does make perfect! Your first few might not resemble the ideal shape, but they will still taste delicious.
The Essential Ingredients: What Makes a Perfect Roti
Flour Choices: Beyond All-Purpose
You may have relied on all-purpose flour for many baking endeavors, but when it comes to making roti, exploring alternative flours can elevate your bread-making game. Whole wheat flour is a popular choice, as it adds a nutty flavor and additional nutritional benefits, such as more fiber which can keep you feeling full longer. For a gluten-free option, you might consider using chickpea flour, which introduces a delightful earthiness and pairs well with the traditional Caribbean flavors. Moreover, experimenting with a blend of flours can also yield fantastic results, so don’t hesitate to mix whole wheat flour with a bit of spelt or almond flour for distinct textures and tastes.
Don’t overlook the impact that flour type has on the overall texture of your roti. A higher protein content in bread flours will create a chewier roti, whereas using softer flours can produce a more tender and flaky bread. Test out different combinations to find the ideal balance for your palate!
The Role of Liquid: Water, Oil, or Something Special?
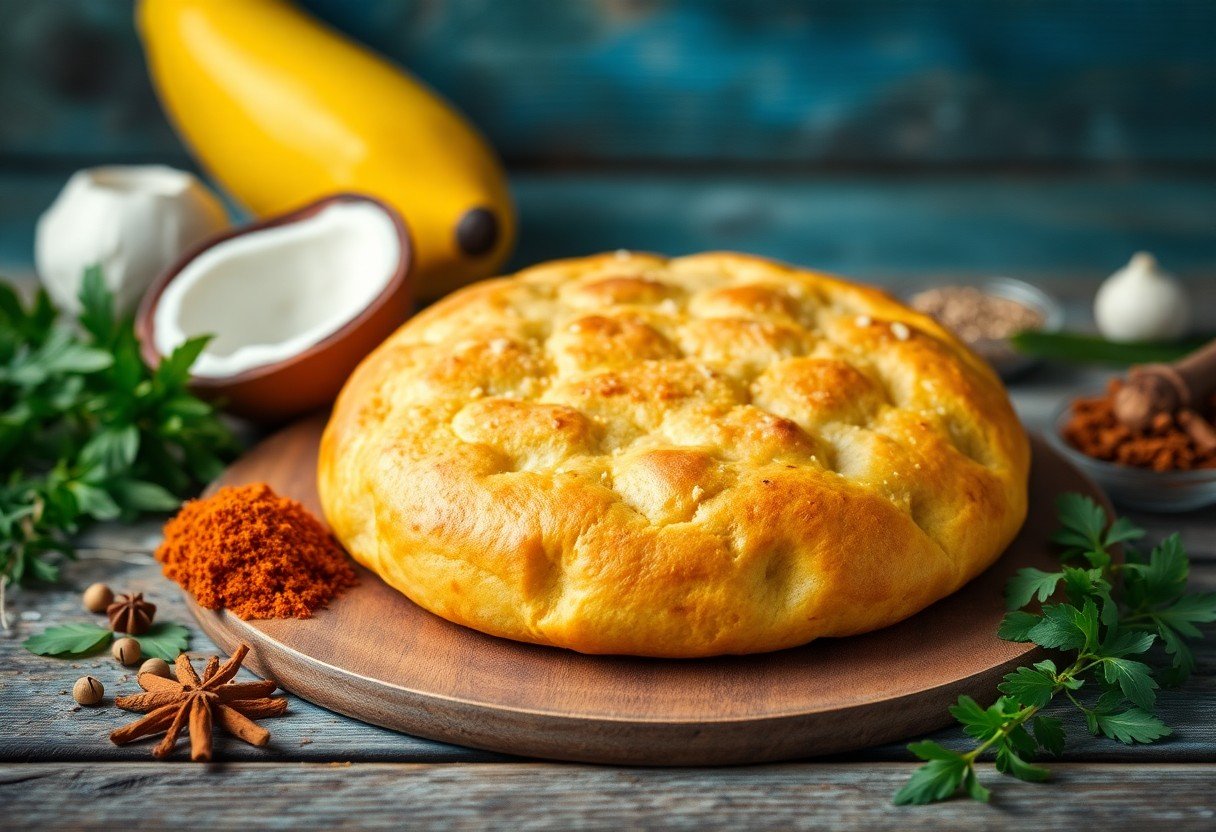
Liquid is another necessary component that plays a pivotal role in achieving the right consistency for your roti dough. Water is the traditional choice, but the type and temperature of the water can make a noticeable difference. Warm water helps dissolve the flour more effectively, resulting in a softer dough that’s easier to work with. Alternatively, incorporating a bit of coconut milk can add a rich flavor and enhance the overall softness of your roti. For an extra layer of flavor and moisture, consider adding a touch of non-dairy milk or even a small amount of fruity juices like mango or pineapple that align with Caribbean flavors.
Oil, though often used sparingly in traditional recipes, can contribute to a more pliable dough. Adding a splash of coconut oil not only infuses your roti with a subtle sweetness but also helps prevent the bread from drying out during cooking. Whether you decide to stick with standard water, introduce a creative flavoring agent, or opt for oil, your choice will directly impact the texture and mouthfeel of your final product. Play around with various liquids to discover what best suits your unique roti style.

Crafting the Dough: Techniques for Success
Mixing and Kneading: Getting the Consistency Just Right
Start by combining your chosen flour with a pinch of salt in a large mixing bowl. Gradually add warm water, mixing with a fork or your fingers until the dough starts to come together. You want it to be soft but not sticky—the perfect consistency will allow you to knead without too much excess flour. Transfer the mixture onto a lightly floured surface and begin kneading. The goal is to develop the gluten, creating a flexible dough that will puff up beautifully when cooked. Knead for about 5 to 10 minutes, giving the dough a gentle push and fold technique to ensure even texture throughout.
Resting Time: Why Patience is Key
After you’ve kneaded the dough to the right texture, covering it with a damp cloth or plastic wrap is necessary. This resting period, which you should aim for at least 30 minutes, allows the gluten to relax, enabling the roti to roll out easily without snapping back. As the dough rests, moisture is evenly distributed, which contributes to a more tender and flaky final product. This is no time to rush; while it might feel tempting to jump straight into rolling, the flavor and texture benefits from this break are worth the wait.
Giving your dough adequate resting time is a game-changer. The longer you allow it to sit, the better the final result will be. You can even let the dough rest for several hours or overnight in the fridge; just be sure to bring it back to room temperature before rolling. This not only enhances the flavor but also makes the dough more pliable. Embracing this step in the process will set you up for success, ensuring your Caribbean vegan roti bread is as delicious and satisfying as possible.
The Art of Cooking: Mastering Your Flame
Cooking roti requires a delicate balance of heat and timing, and mastering your flame can make all the difference in achieving that perfect puff. The choice between using a stovetop or a griddle can greatly affect your roti’s texture and taste. Stovetops offer more direct control, allowing you to easily adjust the flame as needed. Griddles, on the other hand, provide a larger cooking surface which is excellent for making multiple rotis at once. Each method brings its own set of advantages, so choose based on whether you prefer an intense direct cook or the evenness provided by a griddle’s surface. Whichever you pick, ensuring your surface is adequately preheated can really enhance the cooking process, giving you beautifully cooked roti without scorch marks.
The Heat Dilemma: Stovetop vs. Griddle
Considering which method to use, stovetops allow you to manipulate the flame instantaneously. You’ll find that cooking on a gas stovetop can yield a lively flame, perfect for creating the hot bursts needed for puffing. This responsiveness is critical when you want to ensure each side receives adequate heat without overcooking. However, if you prefer an electric griddle, selecting one with consistent, high-heat capabilities can significantly influence your roti’s outcome, helping them attain those desirable char spots. The overall benefit of a griddle is that it can accommodate several rounds of roti, allowing you to churn out a batch more efficiently.
Techniques for Perfect Puffing: Tips and Tricks
Achieving that fluffy, velvety texture is an art that requires a few tricks up your sleeve. Start by ensuring your dough is rested appropriately, as this allows the gluten to relax and contributes to a better puff during cooking. Once you’ve rolled out the roti, there’s no need to skimp on applying pressure when placing it on the heated surface. Use a flat spatula or even your fingers to gently press the edges, encouraging steam to create those puffs. If you notice the roti not puffing up, it may help to temporarily lift it off the heat and return it to the flame for a quicker burst of heat on the underside.
- Ensure your dough is well-rested for optimal gluten relaxation.
- Press firmly on the edges once on the heat to encourage steam puffing.
- Return the roti to the flame if it’s not puffing well.
Further enhancing your puffing technique involves utilizing moisture effectively. A light brush of water on your rolled-out roti before cooking can help promote steam, contributing to a better rise. Be cautious not to overdo it; too much moisture can lead to a gluey texture instead of the desired lightness. Dusting your work surface with extra flour keeps everything manageable and prevents sticking, which is vital for maintaining the integrity of the dough. Lastly, keep your heat steady but adaptable; fluctuations can lead to inconsistent results. Assume that with a mindful approach to both heat management and ingredient preparation, you can consistently create impressive rotis.
- Apply a light brush of water to aid in steam production.
- Use a dusting of flour to prevent sticking.
- Maintain steady heat, adjusting as necessary for even results.
Creative Variations: Adding Caribbean Flair
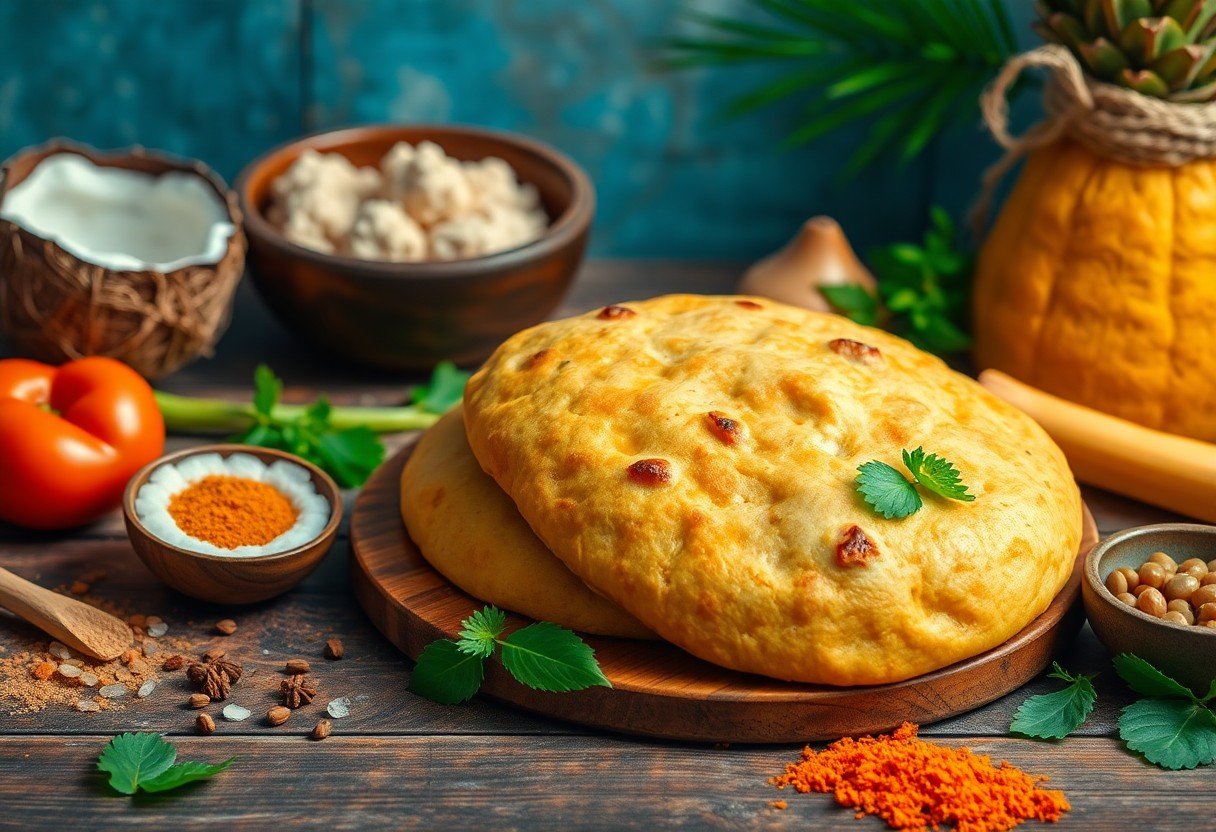
Incorporating Caribbean flair into your vegan roti bread can elevate your culinary experience and introduce a delightful twist to traditional recipes. With the vibrant palette of flavors available in Caribbean cuisine, your roti can become a canvas for creativity. Think about filling your roti with spicy chickpeas, sautéed vegetables, or an aromatic mango chutney to enhance the flavor profile. Each option tells a different story while ensuring that the essence of the Caribbean is felt in every bite. You might even consider adding a hint of coconut milk to the dough for an enticing tropical finish, adding an unexpected depth that complements the savory fillings beautifully.
Flavorful Fillings: From Spicy to Sweet
Your choice of fillings can truly define the success of your roti experience. Popular savory options include jerk tofu, seasoned lentils, and curried potatoes that pack a punch with their spiciness and depth. Adding a few slices of fresh avocado can create a creamy contrast that balances heat. For a sweet twist, consider a filling of pineapple and coconut caramel or spicy-sweet guava paste. These unexpected combinations not only honor the traditional roots but also allow you to play with flavors that excite your palate.
Herbs and Spices: Elevating the Traditional Recipe
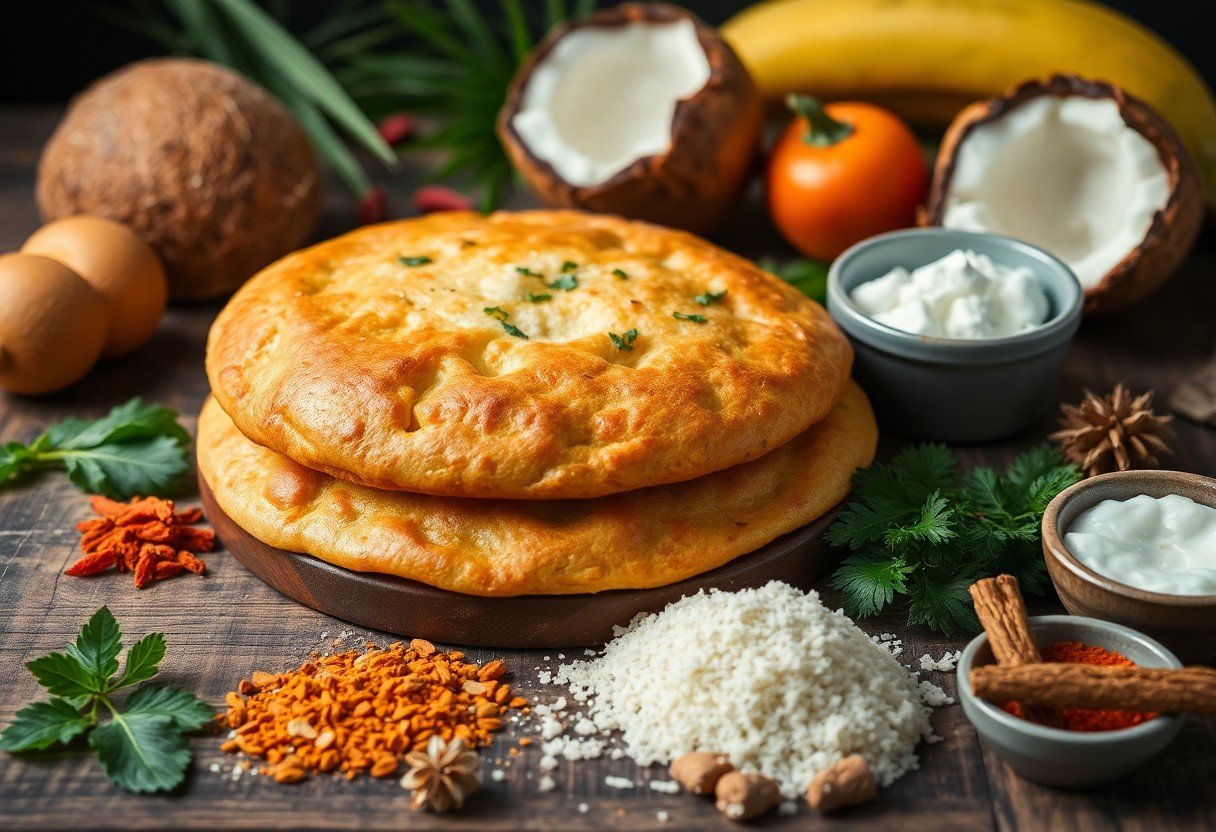
Utilizing various herbs and spices can transform your roti from ordinary to extraordinary. Cilantro, thyme, and scallions are staples in Caribbean dishes that can be finely chopped and added to the dough for a fragrant aroma that permeates each bite. Incorporating spices like allspice, nutmeg, or even a dash of cayenne pepper can impart a warmth that resonates with the Caribbean spirit. Experimentation with combinations, such as blending ginger and garlic for a distinct flavor kick, can also add depth without overwhelming the palate.
Infusing your roti with herbs and spices contributes to an authentic Caribbean experience right in the comfort of your kitchen. The addition of these ingredients not only enhances the flavor but also brings unexpected dimension to the familiar roti. Imagine taking a bite and being greeted by the peppery aroma of scallions followed by the subtle heat of cayenne. It’s for these reasons that the traditional recipe becomes an exciting journey of discovery, inviting you to play with your food, celebrate the diversity of ingredients, and create a roti that reflects your unique taste and love for the Caribbean culture.
Troubleshooting: Common Roti Missteps and Solutions
Dough Not Rising: Diagnosing the Issue
If your roti dough fails to rise, the problem could stem from a few different sources. Start by checking the yeast you used; it must be fresh and active. Expired yeast or improperly stored yeast can prevent your dough from rising properly. Ensure that the warm water you added to the dough isn’t too hot, as temperatures above 110°F (43°C) can kill the yeast, while cold water may inhibit its effectiveness. If you suspect an issue with the yeast, consider conducting a simple test: combine some yeast with warm water and sugar, then wait for about ten minutes. If it bubbles and foams, you’re good to go.
Your environment also plays a role in dough rising. If you live in a cooler climate, yeast may take longer to activate. In such cases, you can create a warm rising environment by placing the dough in the oven with the light on or in a sunny spot. To further encourage rising, cover your dough with a damp cloth to keep it moist. If after trying these steps the dough still doesn’t rise, it’s best to start anew with fresh ingredients.
Uneven Cooking: How to Get a Uniform Roti
A consistent cooking method is necessary for achieving evenly cooked roti. Begin by preheating your tawa or frying pan adequately; a surface that’s too cold will lead to an uneven cook, while a surface that’s too hot may scorch the bread. Using medium heat and allowing the roti to cook on one side until bubbles form is key, as this creates steam that puffs up the bread. It’s beneficial to keep an eye on the roti as it cooks, flipping it when necessary to achieve that golden-brown charm without scorching. A little practice goes a long way, helping you develop a feel for the timing.
With slight adjustments, you can enhance the uniformity of your roti. Consider flipping the bread multiple times during the cooking process, especially if you’re struggling with hot spots or uneven heat distribution. This ensures every part of the roti has the chance to receive equal heat, resulting in a beautifully puffed and evenly cooked bread. Utilizing a bread box can also help retain some warmth after cooking while you prepare additional rotis, allowing you to serve them fresh and hot.
Summing Up
With this in mind, you can now enjoy the delightful experience of making Caribbean vegan roti bread right in your own kitchen. This recipe not only allows you to indulge in the rich flavors and textures of Caribbean cuisine but also ensures that you are creating a dish that is plant-based and wholesome. By mastering this simple yet versatile bread, you can elevate your meals and impress your family and friends with your culinary prowess.
Embrace the joy of cooking by experimenting with different fillings and spices, tailoring the roti to your personal preferences. Each bite of your homemade vegan roti will surely transport you to the sunny Caribbean islands, allowing you to savor a taste of paradise. So roll up your sleeves, gather your ingredients, and get ready to create a dish that will become a staple in your home. Happy cooking!