9 Must-Try Sourdough Recipes for Home Bakers
Have you ever wondered how to turn flour and water into something amazing? Start a fun baking journey with these 9 key sourdough recipes! They range from classic breads to new treats, offering something for every baker.
Looking to better your sourdough bread or find simple recipes? You’re in the perfect spot. These recipes are great for beginners and pros alike. They cover many flavors and methods. So, get ready to make your friends and family say “wow” with your baking!
Key Takeaways
- Sourdough starter can be made in one week using only two ingredients: flour and water.
- The Everyday Sourdough Bread Recipe is categorized as high-hydration, which can result in an open crumb structure.
- Sourdough Dinner Rolls have a pull-apart brioche texture similar to Parker House rolls.
- Sourdough Cottage Cheese Protein Pancakes contain 20g of protein per serving.
- The Sourdough Discard Chocolate Chip Cookies feature crispy edges and gooey chocolate pools, emphasizing the versatility of sourdough discard.
Introduction to Sourdough Baking
Welcome to the fun world of sourdough baking! Don’t worry if you’re new. You’re in safe hands here. Sourdough baking is a centuries-old art. It dates back to 4000 BC. I’m excited to show you how to make bread that tastes great and is good for you. Are you ready to try a beginner’s recipe and learn about sourdough starter? Let’s start!
What is Sourdough?
Sourdough baking uses natural fermentation for its unique tangy taste and light texture. We don’t use store-bought yeast. Instead, we use a sourdough starter. This is a mix of flour and water full of wild yeast and good bacteria. This old way of rising bread has lasted from ancient Egypt to pioneers in Alaska!
Benefits of Baking with Sourdough
Baking with sourdough has many great benefits. First, fermentation makes gluten easier to handle for your stomach. The acids formed during fermentation help you get more nutrients. And making your own sourdough feels amazing. Think about the joy of taking a perfect loaf out of your oven!
Tools Needed for Sourdough Baking
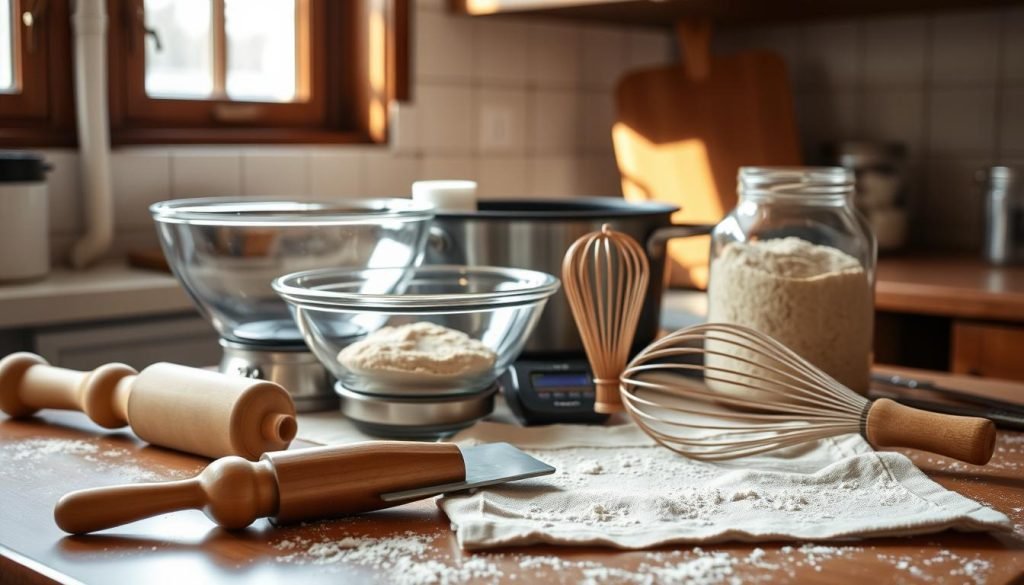
There are some key tools for sourdough baking. A digital scale is very important for exact measurements. A Dutch oven gets the crust just right by keeping steam in. Banneton baskets help your dough keep its shape and texture. And you’ll need a good lame or razor for scoring the dough. With these tools from a good starter guide, baking bread will be easy and fun.
Classic Sourdough Bread Recipe
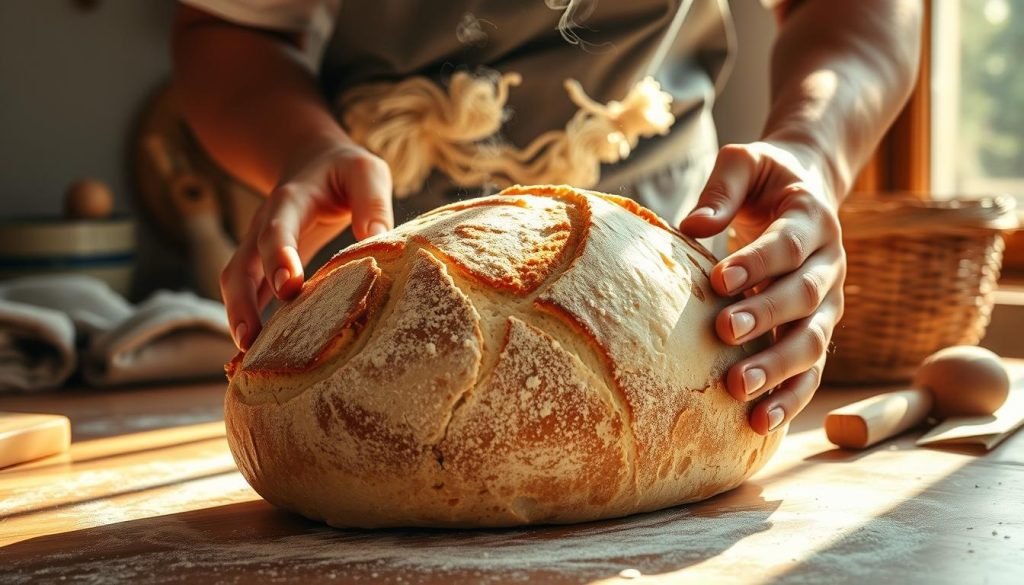
Ready to dive into the world of homemade sourdough bread? Let’s start this exciting baking journey! The smell of fresh sourdough in your kitchen is unforgettable. With some easy steps, you’ll soon bake like a pro.
Ingredients Required
Want to make artisan sourdough bread at home? Here’s what you’ll need:
- 500g bread flour
- 150g sourdough starter
- 250g warm water
- 10g fine sea salt
- 25g olive oil
Step-by-Step Instructions
Ready to begin baking? Just follow these steps:
- Mix the Dough: First, mix bread flour, warm water, and sourdough starter in a big bowl. After stirring, let it rest for 30 minutes (autolyse).
- Add Salt and Olive Oil: Then, sprinkle fine sea salt and add olive oil to the dough. Mix well, by hand or with a mixer and dough hook.
- Stretch and Fold: Do 6 stretch and folds over 4 hours. Start with three 15 minute intervals, then three 30 minute ones.
- Bulk Fermentation: Let the dough rise in a warm spot until almost double. This takes about 4 hours.
- Shape the Dough: Next, split the dough in half. Shape each half into a loaf.
- Proofing: Put the loaves in proofing baskets. Then cover and chill overnight at 38°F (3°C).
- Baking: Heat your oven to 450°F (230°C). Put the dough in a Dutch oven, score the top, and bake covered for 20 minutes. Then, bake 30 more minutes without the lid.
- Cooling: Once baked, cool the bread on a rack for 1-2 hours before cutting.
Tips for Perfect Crust and Texture
For a perfect crust and chewy inside, check out these tips:
- Scoring the dough: Score the dough with a sharp razor or lame. This helps it expand beautifully.
- Using a Dutch oven: It captures steam for an artisan-style crust.
- Temperature: Keep the dough at 78°F (25°C) for best fermentation.
- Chilling the dough helps with flavor and makes shaping easier.
By following these steps and tips, you’ll get great at baking artisan sourdough bread. Enjoy your baking journey!
Sourdough Pancakes: A Breakfast Delight
Start your day with these tasty sourdough pancakes! They’re a great way to use sourdough discard. This easy recipe makes fluffy, tangy pancakes that will be your new favorite!

Ingredients for Sourdough Pancakes
Here’s what you need:
- 2 cups of all-purpose flour
- 2 teaspoons of baking powder
- 1 cup of sourdough discard
- 1 cup of warm water (115°F/46°C)
- 1 cup of low-fat buttermilk
- 100 grams of sourdough discard or active sourdough starter (1/2 cup)
- 1 large egg, at room temperature
- 2 tablespoons extra light olive oil or vegetable oil, plus more for cooking
- 3 tablespoons granulated sugar
- 1 ½ teaspoons instant yeast
- 1 ¼ teaspoons fine sea salt
- 2 ⅔ cups all-purpose flour (approximately 330 grams)
Preparation Steps
Let’s make some pancakes:
- Fermentation: Mix sourdough discard with warm water. Let it sit for 2 hours.
- Combine Ingredients: Mix flour, baking powder, sugar, salt, and yeast in a bowl.
- Create the Batter: Whisk together egg, buttermilk, and oil in another bowl; then add the sourdough.
- Mix Together: Gradually mix dry ingredients into wet ones until the batter is thick but pourable.
- Cook: On a medium-heated griddle, cook 1/4 cup batter per pancake for 2-3 minutes on each side.
Variations to Try
Change up your pancakes with these ideas:
- Blueberry Bliss: Add blueberries to the mix.
- Chocolate Chip Heaven: Throw in chocolate chips.
- Cinnamon Delight: Mix in some cinnamon.
Make about 12 pancakes with only 144 calories each. With 4g of protein and 24g of carbs, they’re tasty and healthy. The prep and cook time is over two hours, but they’re worth it. Try these sourdough pancakes and improve your breakfast!
Sourdough Pizza Dough Recipe
Hey pizza lovers! Are you ready to elevate your homemade pizza game? Let’s get started!
Essential Ingredients
For a truly delightful pizza experience, you need the following ingredients:
– 375 grams of water (reduce by 25 grams if it’s warm)
– 100 grams of active sourdough starter
– 10 grams of salt
– 500 grams of high-quality flour (all-purpose, bread flour, or tipo 00)
This creates a perfectly balanced dough with a 75% hydration level. Ready to gather your ingredients? Let’s dive in!
Making the Dough
First, mix the water and sourdough starter in a bowl. Then, add the flour and salt gradually. Keep stirring until you get a shaggy dough.
Knead for about 10 minutes until it passes the windowpane test. Let the dough rest at room temp for 6 to 18 hours. Or, let it sit overnight to ferment. For extra flavor, try cold fermenting in the fridge for up to 36 hours!
After fermentation, divide the dough into 4 equal parts. Let them rest for 30 minutes before making your pizzas. Make sure the dough rises properly. It should increase in volume by 50% to 75%.
Baking Tips for the Perfect Pizza
Preheat your oven to 550ºF. Lightly stretch and shape the dough into 8-inch pizzas. Each pizza crust has about 541 calories, along with other nutrients.
Bake each pizza for 5 to 6 minutes. Want a golden brown top? Broil it for an extra 2-4 minutes. And voila! Whether you like plain cheese or trying new toppings, this sourdough pizza dough recipe is perfect!
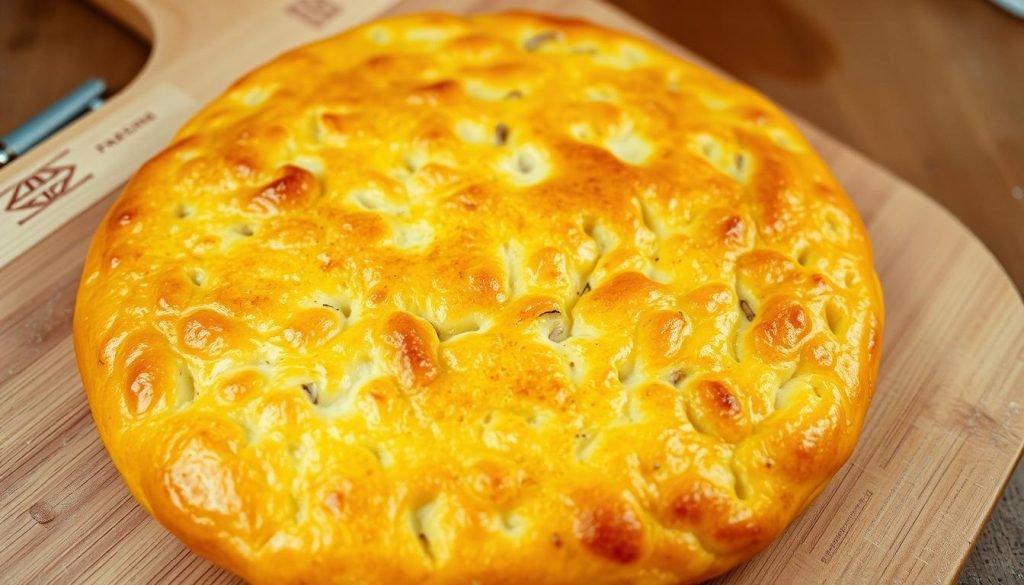
Remember, you can also freeze the dough for up to 3 months. Just thaw it in the fridge overnight. Happy baking!
Flavor-Infused Sourdough Bread
Are you ready to make your sourdough bread even better? Let’s explore making flavor-infused sourdough bread! Adding a few things can turn a normal loaf into something special.
Options for Flavor Additives
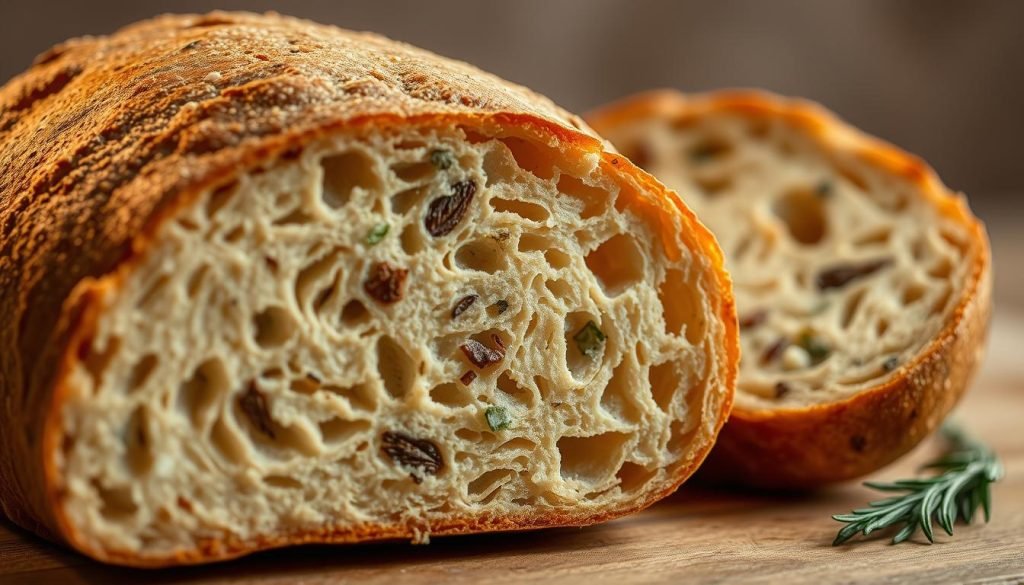
You can pick from so many flavors! Try herbs like rosemary or thyme for a savory taste. Dried fruits, chocolate, or cinnamon are great for sweetness. For something different, add cheese, olives, or sun-dried tomatoes. Remember, add-ins should be less than 20% of the flour’s weight. If using 500 grams of flour, add up to 100 grams of extras.
Mixing Techniques
Choosing your flavors is just the start. It’s important to mix them in the right way. Add your extras during the dough’s stretch and fold phase. If I do six sets of folds, I add them on the third or fourth one. For wet add-ins like olives, you may need less water in your dough. Soaking raisins or dried cranberries before adding them helps with texture and taste.
Baking Instructions
To bake flavor-infused sourdough well, follow these steps. First, heat your oven with a Dutch oven inside for steam. This steam makes the crust perfect! Place your dough in the hot Dutch oven to bake. Cover and bake for 25 minutes, then uncover for another 20-25 minutes for a golden crust.
Now, it’s time to get creative with your sourdough bread! You can create loaves with amazing flavors that everyone will love. Whether you like things savory, sweet, or in between, there’s a flavored sourdough bread for you.
Sourdough Cinnamon Rolls
Do you want the amazing taste of sourdough cinnamon rolls? You’re in the right spot! Let’s learn how to make these yummy treats. They mix sourdough bread’s tang with sweet cinnamon.

Required Ingredients
Here’s what you need:
- 8 tablespoons (113 g) of butter
- 2 ½ cups (300 g) all-purpose flour
- ⅓ cup (100 g) sourdough starter discard
- 1 cup (240 g) buttermilk
- 1 tablespoon + 1 teaspoon (25 g) honey
- ¾ teaspoon (4 g) salt
- 1 teaspoon baking powder
- ½ teaspoon baking soda
For the cinnamon-sugar filling:
- ¾ cup (150 g) light brown sugar
- 2 teaspoons ground cinnamon
- 4 tablespoons (56 g) melted butter
Preparing the Dough
To start your sourdough cinnamon rolls, mix sourdough starter, buttermilk, honey, salt, baking powder, and baking soda. Add 2 ½ cups flour. You’ll get a soft dough. Cover it well. Let it ferment for 10-12 hours at 68-70°F. In warmer kitchens (over 75°F), let it ferment for 7-8 hours.
After fermenting, roll the dough about ¼ inch thick. This should be about 12″ x 24″. Rest it for 10 minutes before rolling. This makes it easier to handle.
How to Assemble and Bake
Spread melted butter on the rolled dough. Then, put the brown sugar and cinnamon on top. This should be even. Roll the dough into a cylinder. Cut this into 12 pieces, each 1⅕ inches wide.
Put the rolls in a 14-inch skillet or a 9×13 baking dish. Let them rise for 1-2 hours until they puff up. Heat your oven to 375°F. Bake for 20-25 minutes. They should be golden brown and smell great.
To add something special, make a glaze. Use 1 tablespoon melted butter, 1 cup powdered sugar, 1 teaspoon vanilla extract, and 2 tablespoons milk. Pour the glaze over the warm rolls before serving.
Enjoy the gooey, sweet taste of these sourdough cinnamon rolls right from your oven. It’s like having a bakery at home!
Sourdough Crackers for Snacking
Who knew sourdough discard could make such tasty crackers? Making them is an easy way to turn leftovers into snacks. Let’s learn how simple ingredients make crunchy delights.
Simple Ingredients
Sourdough crackers need simple things. You’ll use 1 cup of discard, getting smart with leftovers. Mix 1/2 cup each of rye and all-purpose flour. Add 1 teaspoon of salt, less for low-sodium options. Include 4 tablespoons of butter. Maybe throw in herbs like Italian seasoning!

Rolling and Cutting the Dough
Mix your dough, then chill it for 30 minutes. It’s easier to work with then. Roll it until it’s no thicker than 1/16 inch for even baking. Cut the dough into squares or other shapes with a pizza cutter.
Baking to Perfection
Start by heating your oven to 350°F. Put dough squares on a lined baking sheet. Bake 15 minutes, then check and rotate for even browning. Bake 20 to 25 more minutes until golden. Let them cool completely. Store in an airtight container for a week or freeze!
These tips will help you make yummy crackers from sourdough discard. It’s an easy, must-try recipe. Enjoy your snacking!
Gluten-Free Sourdough Options
Baking gluten-free sourdough bread is very fun! Picture making a sourdough bread without gluten. Sounds great, doesn’t it? To begin, let’s go over some important info.
Alternative Flours to Use
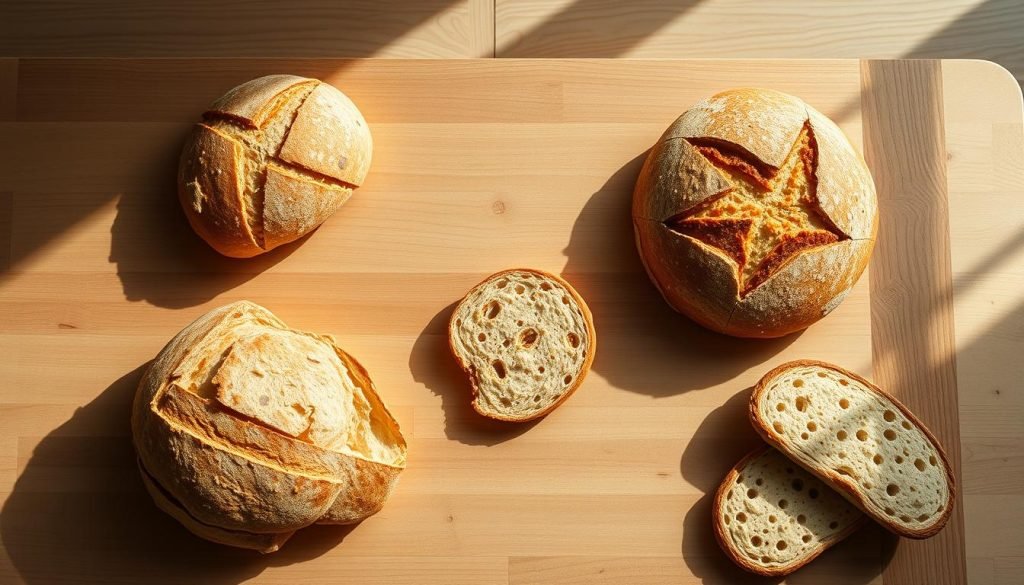
Choosing the correct flour is crucial. I usually pick rice flour, almond flour, or a gluten-free bread flour mix. These options keep the bread’s taste and texture right. Make sure to measure everything correctly with a kitchen scale!
Recipe for Gluten-Free Sourdough Bread
Ready to start baking? Here’s a great recipe for you! Use 60 grams of gluten-free sourdough starter, 390 grams of gfJules Gluten Free All Purpose Flour, and 390 ml water. Add 1.5 teaspoons of sea salt and some psyllium husk for texture.
First, mix everything well. Let the dough sit for 3-4 hours. Be patient as it proofs and chills for 1 day and 4 hours. Bake at 500°F, then lower to 450°F for 40 minutes with the lid on, and 20 minutes without. Enjoy your tasty homemade sourdough bread!
Common Mistakes to Avoid
Let’s avoid some mistakes. Make sure not to hurry the dough’s rise. Give it 3 hours to proof. Ensure your starter is active and ready. Keep the dough at a 1:1 flour to water ratio. Check that the bread’s inside temperature is 205°F. With patience and accuracy, you’ll make the perfect gluten-free sourdough bread.
Begin your gluten-free sourdough adventure and change how you bake! Success comes from using the right ingredients, being patient, and putting in a lot of love!
Refreshing Sourdough Starter Techniques
To master a sourdough starter, it’s key to keep it ready for baking. We’ll explore the top ways to care for your starter. This includes when to feed it and monitoring its health!
When to Feed Your Starter
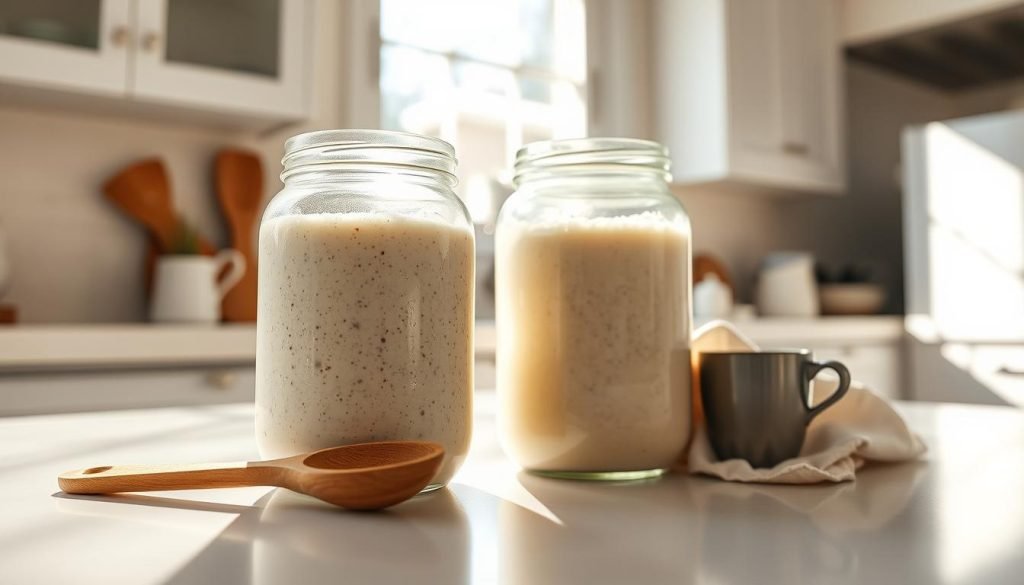
Think of feeding your sourdough starter as setting a regular meal plan! For beginners, it’s recommended to feed it twice a day. This is vital if you bake often. Feed it with a 1:5:5 ratio: 20g starter, 100g water, and 100g flour.
You’ll see its peak ripeness in about 8-10 hours. Significant bubbles should appear by 3 p.m. If the dome flattens by 7 p.m., it’s time to feed it again!
How to Store Your Starter
Proper storage is crucial for keeping your starter ready. Place it in a clean jar and cover it loosely. A cool spot between 68°F and 72°F is ideal. Taking a break from baking? Store the starter in the fridge at 41°F.
But don’t forget to refresh it weekly. This keeps it alive, even when you’re not baking regularly.
Understanding Starter Activity Levels
Watching your starter’s activity is essential. A healthy starter will rise and bubble. You should also notice a nice sour smell. Its size can double in just four hours after feeding!
If it collapses after 24 hours, it’s over-fermented. Try adjusting water temperature and inoculation rates. This helps manage fermentation better.
A lively sourdough starter makes baking more enjoyable. Watch for bubbles, smell, and how it looks. Happy baking!
Troubleshooting Common Sourdough Problems
Making artisan sourdough can feel like a tricky experiment sometimes. But don’t worry—I’m here to help you fix sourdough bread problems. We’ll look at how to understand your dough and fix issues like hard crusts and off tastes.
Understanding Dough Capabilities
Dough behaves in tricky ways, but getting to know it is key. For example, a common rule is using 10%-20% sourdough starter based on the flour’s weight. Yeast and bacteria thrive at 75°F-80°F. If your dough spreads too much, it might be under or over-fermented. So, watching the fermentation time is very important.
Hard Crust Vs. Soft Crust
Getting the crust right is a big challenge for home bakers. If your crust is too hard, you could lower the oven temperature to 425-450°F in the middle of baking. A Dutch oven can also help you get a better crust. For a softer crust, keeping the bread in a plastic bag helps it stay moist. Sourdough that’s ready to bake should have grown by about 35-50%.
Flavor Issues: What Went Wrong?
If your sourdough tastes wrong, it’s a bummer. The taste could be too sour or not tangy enough. This usually comes down to how you ferment the dough and take care of your starter. For a stronger sour taste, delay feeding your starter. If it’s too sour, feed it more and use it when it’s peaking. A pale crust might mean you haven’t fermented long enough, which also messes with taste and looks.
Learning these sourdough baking tips can help avoid common mistakes. Keep trying and enjoy the process!
Conclusion: Embracing Sourdough Baking
Our sourdough baking journey ends, but the adventure in your kitchen is just starting. You have many recipes to try now. From the classic breads to sweet cinnamon rolls and even gluten-free versions. Sourdough isn’t just tasty. It’s full of health benefits like less sugar after eating and more good stuff from its fermentation.
Encouraging Experimentation
I love the endless options with sourdough baking! Feel free to change things up. Use different kinds of flour, water amounts, and tastes. Sourdough lets you tweak basic recipes to make them perfect for you. You could aim for that ideal texture or go for bread with big, airy holes. The real magic of sourdough is changing it up and finding new joys in every bake.
Final Thoughts on Sourdough Recipes
It doesn’t matter if you’re just starting or you’ve been baking for a while. Sourdough baking always brings something new. It lets you make tasty, healthy bread and enjoy the whole process. Cutting into a loaf you baked yourself is incredibly rewarding. Dive into sourdough baking for the delicious bread, the learning, and the surprises. This 6,000-year-old craft of making sourdough bread is now yours to enjoy. Happy baking!