Perfect Baking: Measuring Ingredients Guide
Do you ever wonder why your cakes don’t rise and cookies spread too much? It might surprise you, but measuring right is the secret! Welcome to the ultimate baking measuring ingredients guide. We’ll cover accurate measuring techniques and tips for a perfect bake every time.
This section is all about the tools and methods for precise ingredient measurement. Precision isn’t just recommended; it’s essential. We’ll discuss why it matters and common errors from wrong measurements. Ready to make your home baking stand out? Let’s dive in!
Key Takeaways
- Accurate ingredients measurement is crucial for baking success.
- Common mistakes are often caused by incorrect flour and sugar measurements.
- The “spoon & level” method helps prevent up to 50% excess flour.
- Baking powder and baking soda lose potency rather quickly.
- Using a digital scale ensures the most precise measurements.
The Importance of Accurate Ingredient Measurements
Baking is not just art, it’s science too. Precise ingredient measurements are very important. They help us get fluffy cakes and tasty cookies. Even a small mistake can mess things up. Have your cookies ever been too hard? It might be because of wrong measurements.
Why Precision Matters in Baking
Baking is all about chemistry! Baking measurement tips are key. A little more butter or an extra egg can change everything. Not measuring right means risking our treats not tasting good.
Using a kitchen scale can help. It’s more accurate than just using a cup. Universities teach the importance of using scales. They show how to use dry and liquid measuring cups right. This helps our baking be perfect.
Common Baking Mistakes Due to Mismeasuring
Measuring flour the wrong way can cause big problems. The way you measure can add up to 15 grams more per cup. This changes how your baking turns out. Using dry cups for liquids is another mistake. This can cause spills and wrong measurements. Always use liquid cups for liquids.
Temperature of ingredients is crucial! The wrong temperature can ruin your dough or make your cake too heavy. That’s why it’s important to measure right. Doing so stops baking soda from making your treats taste soapy. Follow these tips for perfect bakes every time!
Tools You Need for Measuring Ingredients
In baking, being accurate is key! A tiny mistake can ruin your cookies or cake. Getting measurements exactly right is your secret to being a great baker. Let’s look at the must-have tools for every baker.
Essential Measuring Cups and Spoons
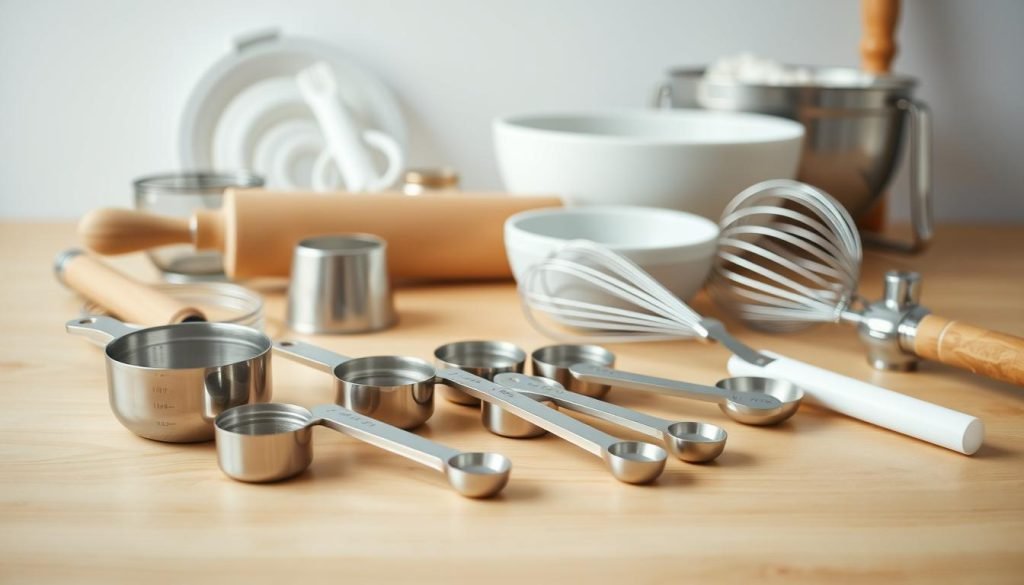
Measuring cups and spoons are a must for bakers. Not knowing this, you might add too much flour by packing it. That could mess up your baking! It’s smart to use copper cups for dry and glass cups for wet ingredients. Pressing brown sugar down avoids gaps that can mess up your recipes. And always check liquid measurements at eye level to avoid mistakes.
Digital Scales: A Baker’s Best Friend
A digital kitchen scale can change your baking for the better. Though not common in the U.S., it gives you perfect precision. This is crucial for ingredients like flour and sugar, whose volumes can change. Consider getting a scale from brands like Escali or OXO for their trustworthiness and ease.
Check out this comparison of measuring tools:
| Tool | Best For | Accuracy Improvement |
|---|---|---|
| Measuring Cups and Spoons | Both dry and liquid ingredients | Improves by 10%-15% |
| Digital Kitchen Scale | All ingredients, especially dry | Improves by 5%-10% |
| Glass Liquid Measuring Cups | Liquid ingredients | Prevents up to a 1/4 cup error |
So, be sure to have your measuring cups and spoons ready. And don’t forget a digital scale. These tools will take your baking to the next level!
Measuring Dry Ingredients: Techniques and Tips
Baking is a science where every detail matters. The right way to measure dry stuff can be the difference. It’s all about being exact to get a light cake, not a heavy one.
How to Measure Flour Correctly
Flour is super important in baking. Measuring it right can change everything. I like the Spoon and Sweep Method. You spoon the flour into the cup and sweep off extra with something straight. It makes sure you don’t pack in too much flour.
For top accuracy, a kitchen scale for baking is amazing. Weighing your flour gets it just right every time. Since flour’s weight can change, this method is reliable. If a recipe says to sift, do it. It affects how much the flour weighs!
Effective Methods for Measuring Sugar
The way to measure sugar can change a bit by its type. For granulated sugar, just scoop and level. Brown sugar needs to be packed tight to measure right. Its moisture and how you pack it change the final amount.
Good measuring cups and spoons make a difference. Measure into a clean bowl to keep your mix just right. This helps not to add too much by mistake.
Tools for Measuring Other Dry Ingredients
Ingredients like baking powder and cocoa need careful measuring too. Use good measuring spoons for these. Always level them off for the right amount.
- Also weigh these with a kitchen scale for baking for the best baking.
- Put them in separate bowls before measuring. This stops spills and too much going in your bowl.
- Sift stuff like cocoa to break up lumps and mix well in your recipe.
The right tools make baking better. Pick durable, precise ones to improve your baking!
Measuring Liquid Ingredients: Best Practices
When baking, getting measuring liquid ingredients right is crucial for tasty results! You need the correct tools and methods. Here are some foolproof tips for perfect measurements every time.
Techniques for Accurate Liquid Measurement
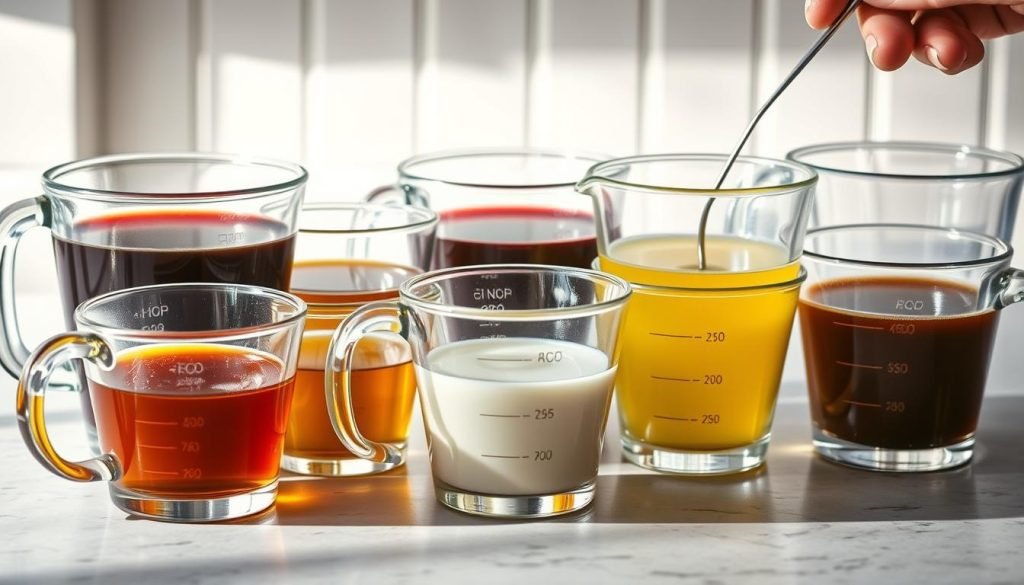
First, always pick a liquid measuring cup with a spout and clear marks. Set it on a level surface. Then bend down to make sure you’re at eye level with the mark. This step is vital for a good bake!
Think about using a jeweler’s scale for super precise measurements. Such attention to detail can really improve your baking.
Conversion Guide for Liquid Ingredients
Keeping a baking conversion chart close by saves time and ensures consistency. This is key when you need to switch from cups to milliliters. Here is a useful guide:
| Measurement | Equivalent |
|---|---|
| 1 tablespoon (tbsp) | 3 teaspoons (tsp) |
| 1 fluid ounce (fl oz) | 2 tablespoons (tbsp) |
| 1 cup | 8 fluid ounces (fl oz) |
| 1 pint (pt) | 2 cups |
| 1 quart (qt) | 4 cups |
| 1 gallon (gal) | 4 quarts |
| 1 liter (L) | 4.23 cups |
| 1 milliliter (mL) | 0.034 fluid ounces (fl oz) |
Always use the baking conversion chart above for accurate measurement conversions. With these expert tips, measuring your liquid ingredients accurately will lead to amazing baking every time!
Understanding Ingredient Volume vs. Weight
Baking is an art that needs precision. Many overlook the difference between measuring by weight and volume. This is key for perfect baking. Weight measurements are better than volume for getting it just right.
Why Weight is Preferable for Consistency
Weight measurements offer consistency. A cup of flour might weigh between 120 to 150 grams. This big difference affects your baking. For example, flour and sugar weigh differently in cups. This difference can change how your baking turns out.
Digital scales can help a lot. They cost less than $20. They keep your measurements exact, like 130 grams of flour is always 130 grams. Using weight gets rid of the guesswork in measuring.
How to Convert Volume Measurements to Weight
It’s easy to convert volume to weight once you know how. Here’s a quick guide to help:
- 1 cup of water = 236 grams
- 1 cup of flour = 125 grams
- 1 cup of granulated sugar = 200 grams
- 1 cup of brown sugar = 220 grams
- 1 cup of butter = 226 grams
- 1 cup of milk or cream = 240 grams
- 1 cup of cocoa powder = 120 grams
Knowing these conversions helps in baking accurately. For example, water and flour weigh differently. This shows why it’s important to understand ingredient density.
Getting quality measuring tools like stainless steel cups or a digital scale can make a big difference. These can give you more accuracy in your baking. If you’ve had trouble with recipes before, maybe it’s time to switch to weighing ingredients!
The Role of Temperature in Ingredient Measurements
Successful baking relies heavily on baking ingredient temperature. Ever asked why recipes say to use room temperature or cold items? Let’s look at the reasons. We’ll share some great kitchen baking tips to help you out.
Why Ingredient Temperature Affects Measurement
Temperature plays a big role in how accurate your measurements are. For example, room temperature for baking items is about 70°F (21°C). At this warmth, ingredients like butter and eggs mix well. This gives you a smooth batter. If butter is too cold, around 40°F, it won’t blend right. You’ll get lumps even after beating it for a while. This makes your finished product feel different.
Room temperature butter, though, is creamy and mixes without curdling. This means it emulsifies well. Warm ingredients, near 80°F, can make the batter too runny. This might break the emulsion. Isn’t it interesting how just 10°F can change your baking so much?
Tips for Measuring Cold vs. Room Temperature Ingredients
What should we do to measure correctly? For flaky treats like pie crusts, you need cold ingredients. Cold butter keeps its shape, giving you that flaky feel. Butter warms up in about 30-60 minutes. But if you cut it into small pieces, it takes about 5 minutes! Eggs warm up in warm water in 5 minutes. Milk or cream takes about 15-20 seconds in a microwave.
Did you know that whipped cream needs really cold cream to thicken? But egg whites reach their best volume at room temperature. These details show how important baking ingredient temperature is. Remember these kitchen baking tips, and your measurements will be spot on!
How to Adjust Measurements for High Altitude Baking
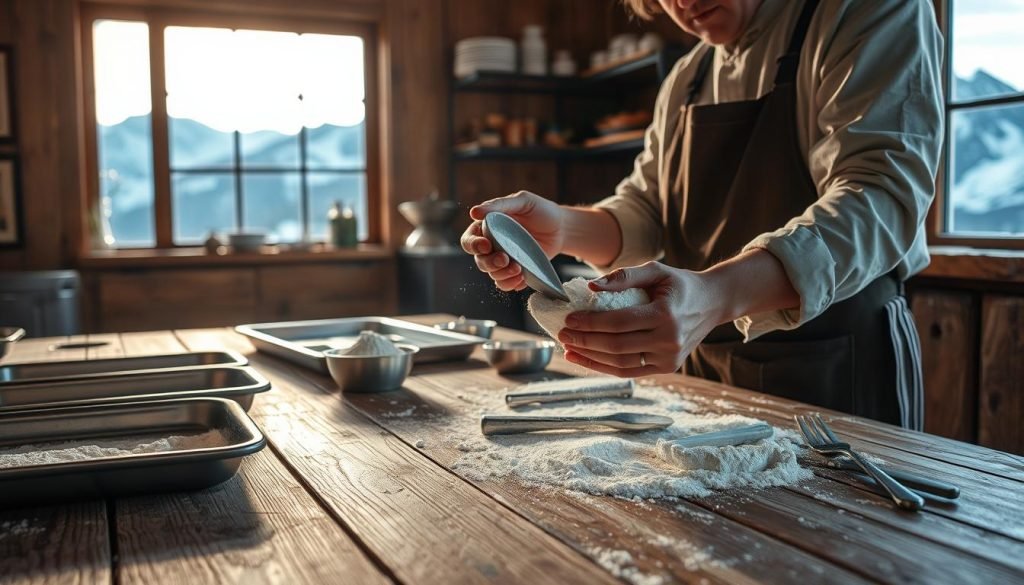
Baking at higher altitudes can be quite the adventure! The thinner air affects your ingredients and their behavior. I’ve seen my cakes fall and cookies burn. But there’s hope. With some tweaks, we can get perfect results. Let’s explore how we can adjust our baking measurements for high altitude!
Understanding the Effects of Altitude on Baking
So, what’s “high altitude”? It’s anything above 3,500 feet. Baking gets harder every 1,000 feet up. Air pressure drops, making water boil at lower temps and leavening agents work too fast. Wow! So, we must tweak our baking to fix this.
Adjusting Ingredient Measurements Accordingly
If you’re baking at 3,500 feet, here’s what to do:
- Increase your oven’s temp by 15-25°F.
- Reduce baking time by 5-8 minutes per 30 minutes of baking.
- Add 1-2 tablespoons more liquid per cup.
- Add 1 tablespoon of flour per recipe.
- Use up to 1 tablespoon less sugar per cup.
- Decrease leavening agents by ⅛ teaspoon per teaspoon.
At 5,000 feet, heat the oven 25°F more and adjust ingredients more. It seems hard, but practice makes perfect.
Using high-protein flour helps. Don’t forget the extra-large eggs for moisture. Yeast dough is tricky, rising faster at high altitudes. Reduce yeast by 25% to prevent over-proofing.
Remember, adjusting for high altitude takes some trial and error. Change one thing at a time to see improvement. With these tips, high altitude baking will get easier. Soon, you’ll enjoy perfectly baked goodies again!
Troubleshooting Common Measuring Issues
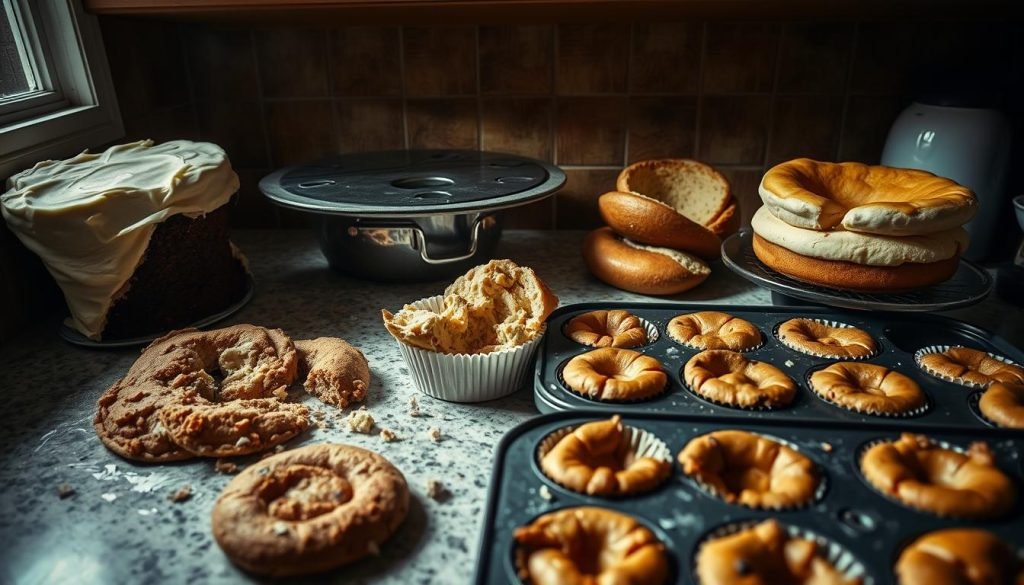
Ever put too much flour or not enough sugar in your mix? Don’t worry, fixing these common baking errors is pretty straightforward. With a few tweaks, your recipe can be back on track.
What to Do When You Overmeasure
Too much flour can make your treats heavy and dry. Adding too much flour is easy, sometimes up to 40% too much. To fix it, take out 1-2 tablespoons per cup of extra flour. Then, counter the extra dryness with a splash more milk or water.
If you put in too much baking soda or powder, even a little, it could mess up your dish’s texture. A kitchen scale is your best friend here for getting the exact amount right.
Fixing Recipes if Ingredients are Undermeasured
Forgot to add enough sugar? Your dessert might not taste right or hold together well. For sugar, 1 US cup should weigh around 200g. If it’s short, gently mix in more sugar until it tastes just right.
Leavening agents are crucial for the right puff in your baked goods. A bit less can flatten your masterpiece. Use a digital scale for perfect measurement – 5g (1 teaspoon) can make a world of difference.
Final Tips for Perfectly Measuring Baking Ingredients
Welcome to the final step of our baking journey! You’ve learned the importance of measuring right. We’ve covered the tools and methods for dry and wet ingredients. Now, let’s set up a standard measuring system and organize our baking area!
Creating a Standardized Measuring System
Adopting a standard system is a great baking tip. Ever noticed how using different units like cups or grams can affect your baking? Weighing ingredients can help you be more exact. For example, a cup of flour can weigh differently by up to 30 grams. This difference can change how your baking turns out!
Using grams for measurement gives you more control. Did you know 28.4 grams is equal to one ounce? This shows how accurate the metric system is. Once you’re used to it, you’ll find your baking more consistent and fun.
Keeping Your Baking Space Organized
An organized baking spot makes baking better. It’s good to have tools and ingredients close by. Why not keep a special cabinet or drawer for your cups, scales, and spoons? Label your flour, sugar, and baking powder so you can find them fast. A neat space means less stress and more fun baking.
Using these measuring tips and keeping your space tidy will help you bake better. Remember, being prepared makes baking easier and more fun. Happy baking!