Master Mixing Techniques for Perfect Baking Results
Have you ever wondered why your cakes aren’t fluffy or your cookies too chewy? Let’s explore the secret to perfect baking – it’s all in how you mix!
Enter the world of essential baking techniques. Here, the right mixing method can make your homemade goodies outstanding. This guide will show you how to mix things right. From airy cakes to chewy cookies, we’ll help you achieve the textures you dream of. Whether you’re starting out or perfecting your craft, your journey to baking mastery begins now!
Key Takeaways
- Blended cakes are more liquid, often requiring a “pour” rather than a “scoop.”
- Foam cakes rely on whipped egg whites for structure instead of fat.
- The creaming method alternates flour and liquids to reduce fat and promote gluten formation.
- Proper ingredient mixing greatly affects texture and rise.
- Overmixing can lead to dense cakes and chewy cookies, while undermixing can result in poor texture.
- The muffin method advises separate mixing of wet and dry ingredients to avoid overmixing.
- Properly kneaded bread dough should be smooth and stretchy, springing back when lightly pressed.
Introduction to Baking Mixing Techniques
Mixing isn’t just stirring; it’s key to good baking! It affects the texture, flavor, and success of what you bake. This part will show you the main mixing methods. Knowing when and how to use each method is important. With techniques like creaming and kneading, you’ll become a better baker.
Importance of Proper Mixing
Mixing right is crucial for the perfect texture and flavor. It makes sure ingredients mix well. This creates good gluten and adds air. Mixing wrong can make baked goods dense or flat. We want to avoid that! These tips will help you get great results every time.
General Mixing Principles
There are important techniques in baking. Here are some main mixing principles:
- Creaming Method: Adds air to butter and sugar with a paddle attachment. Used in cakes and cookies for a fluffy texture.
- Kneading: Needed for gluten in bread and doughs. A mixer’s dough hook is perfect for this.
- Sifting: Gets rid of lumps and adds air to dry ingredients. Use a sifter or strainer.
- Folding: Gently mixes batter to keep air pockets. Important for meringues.
- Whipping: Beats vigorously to add air, often with a mixer’s whip attachment.
- Stirring vs. Beating: Stirring is gentle, for mixing without overworking. Beating adds more air.
Each mixing method has its own rules and best times. For example, lean dough needs 9-15 minutes of mixing. Rich dough takes more than 12 minutes. Even temperature matters, like 76-82°F for white bread dough. Knowing these tips is key to mastering recipes.
Below, find a table of important mixing times and temperatures:
| Type of Dough/Batter | Mixing Time | Final Temperature |
|---|---|---|
| Lean Dough (yeast-leavened) | 9–15 minutes | 76–82°F (25–28°C) |
| Crackers | 5–10 minutes | — |
| Rich Dough (non-laminated) | More than 12 minutes | 76–85°F (24–29°F) |
| Rich Dough (laminated) | Less than 7 minutes | 60–65°F (15–18°C) |
| Chemically-leavened pastry | 4–20 minutes | — |
| Batter and Chiffon Cakes | — | 65–72°F (18–22°C) |
| Cookies | — | 68–75°F (20–24°C) |
Knowing and using these mixing methods will really improve your baking. So, get your mixer ready and start baking!
Understanding Different Mixing Methods
Diving into mixing methods can boost your baking skills! Each technique makes your treats feel and taste a certain way. Want a fluffy cake or a chewy cookie? Knowing these mixing tricks is key.
Creaming Method
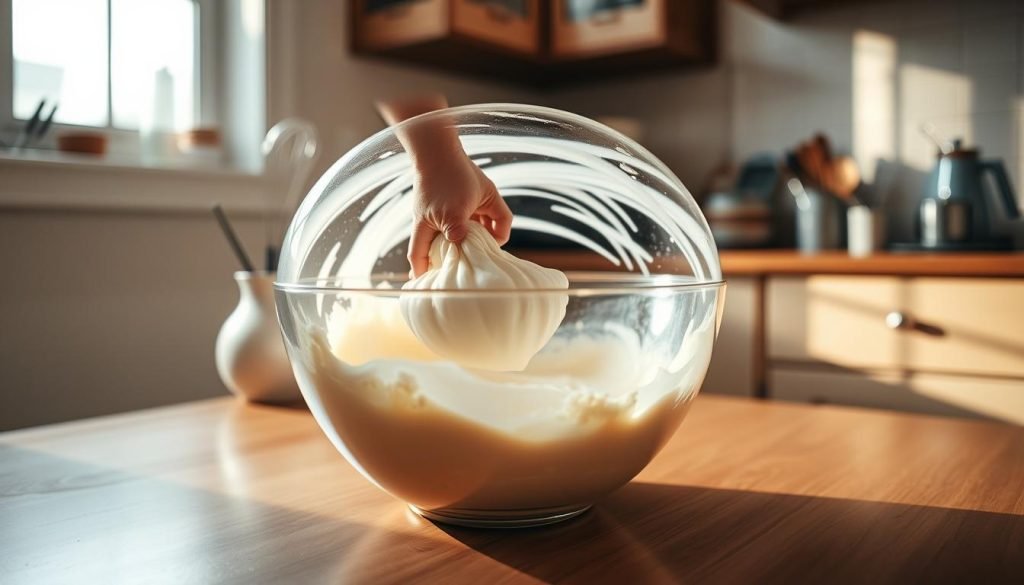
The creaming method is key for many cakes and cookies. It mixes butter and sugar until fluffy, like frosting. This adds air, helping cakes rise. For best results, use a mixer and add ingredients in parts.
Folding Technique
Use the folding method for light batters, like in sponge cakes or soufflés. It combines ingredients without losing air. With a spatula, fold gently, keeping the mixture airy.
Stirring vs. Beating
Knowing when to stir and when to beat is important. Stirring is gentle, good for muffin batters. It makes for a tender crumb. Beating is energetic, ideal for dough or whipping eggs. It’s all about choosing the right method for your recipe.
Tools and Equipment for Mixing
To make the perfect bake, you need the right tools. Let’s talk about the must-haves in your kitchen. These include mixing tools and deciding whether to use hand or stand mixers.
Essential Mixing Tools
Here are the must-have baking essentials for any home baker:
- Wire whisk: It’s best for mixing dry stuff and making batters light and fluffy.
- Rubber spatula: It helps in folding and ensures gentle mixing of batters.
- Measuring cups and spoons: For baking, measuring accurately is key. Sets usually have various sizes.
- Stand mixer: It’s great for tough dough and mixing big amounts easily.
Choosing the Right Mixer
Finding the right mixer is a smart baking move. Here’s a closer look:
| Mixer Type | Benefits |
|---|---|
| Hand Mixer | It’s mobile and excellent for simple mixing tasks, with different speed options. |
| Stand Mixer | This one takes on heavy mixing without trouble and has various attachments. |
For example, KitchenAid® offers hand mixers in 5-, 7-, or 9-speed models. This variety meets all baking needs.
Hand Mixing vs. Stand Mixing
Can’t decide between hand and stand mixers? Here’s some guidance:
- Hand Mixing: It’s best for small amounts and simple jobs. Plus, it’s easy to move and cheaper.
- Stand Mixing: Choose this for tough mixing jobs. It makes baking easier, especially for big or frequent projects.
Hand mixers can whip up 200 cookies in one go—a real time-saver! Stand mixers are good for hard doughs and busy kitchens.
What’s best depends on how much you bake. Enjoy your baking!
The Science Behind Mixing
Mixing isn’t just a part of a recipe. It’s key in baking science, affecting your baked goods’ success! Knowing how things mix together and the best techniques can really change your baking. Let’s look at some secrets of mixing. They show how elements work together to make perfect textures and flavors.
How Ingredients Interact
Ever wonder why croissants are flaky or bread rises just right? It’s about how ingredients work together. When mixed, things like flour, yeast, water, and sugar start to interact. For bread, yeast is key. It works with flour, water, sugar, and salt for that lovely rise. The mix of wet and dry stuff is crucial too. Changing this balance can make textures vary from dense to light and airy.
Here’s something interesting: The Maillard reaction makes that delicious brown crust. This reaction starts when mixing and continues as it bakes. Isn’t that cool?
The Role of Air in Baking
Air is really important in mixing. Adding air makes your baked goods lighter and fluffier. When you whip or whisk, air gets into the batter. This air expands when baking. Avoid overmixing in the Muffin Method, or you’ll lose those air pockets. This can make your baking dense and dry. The Creaming Method is different. It’s used for fat and sugar-rich batter. You cream until it’s light and fluffy. This adds lots of air for a cake texture.

To wrap up, knowing the *science* behind mixing can elevate your baking! The role of ingredients, adding air, and the right proportions all create magic in the kitchen. Whether you’re starting or have baked for years, these tips are gold. Now, get out there and show off your mixing skills!
Common Mistakes in Mixing
Mixing right is key for great baking outcomes. Avoiding mistakes ensures your goodies come out perfect. Let’s talk about two big issues: overmixing and undermixing. Understanding them can boost your baking skills!
Overmixing and Its Effects
Overmixing happens a lot in baking. It occurs when batter or dough is mixed too much, causing too much gluten to form. In cakes, this results in a tough, chewy texture. Muffins can end up with big holes inside. Ever seen dough climb up the mixer’s hook? That’s overmixing too!
A tip to avoid overmixing is to mix just until ingredients are combined. This little mixing trick makes bakes soft and tender. If overmixed, let the dough rest for 20 minutes before adding salt to fix it.
Undermixing: What It Means
Undermixing is also a big baking error. It means not mixing enough, causing flour clumps or liquid pools. This makes baked items bake unevenly.
To avoid this, scrape the bowl often. If using a mixer, finish mixing by hand. This ensures no dry spots are left.
Pay attention to these baking errors and use these tricks to improve. Happy baking!
Mixing Techniques for Different Types of Batters
Mixing the right way can change how your baked goods turn out. Different batters need their own special touch. Knowing the best baking tips for cakes, cookies, or bread can make all the difference. Let’s dive into how to mix cake batters, cookie doughs, and bread doughs.
Cake Batter Mixing Techniques
The creaming method works great for cake batter. You beat butter and sugar until fluffy to add air. This helps the cake rise well. There’s also the reverse creaming method, mixing flour and butter first. Then, adding eggs can create a good rise. To get a light cake, try the foaming method. Eggs and sugar are whisked until triple in size. It makes cakes tall and light.
Cookie Dough Mixing Guidelines
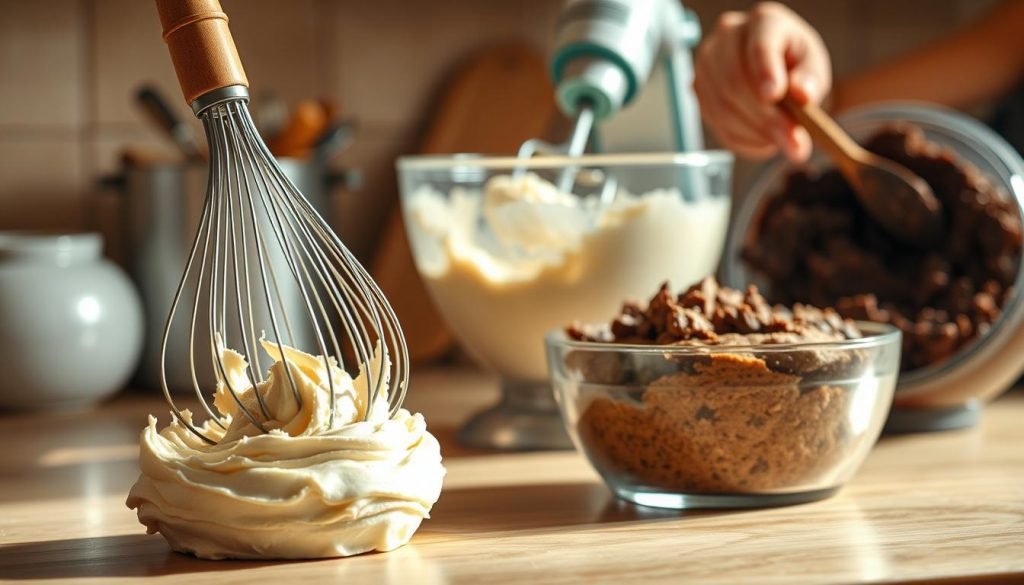
Cookie dough mixing is different. The main rule is not to overmix it. Overmixed dough leads to hard cookies. For great cookies, mix dry and wet ingredients carefully. This avoids too much gluten, which makes cookies chewy. A pro tip is to chill the dough before baking. It really helps with texture.
Bread Dough Mixing Methods
Making bread dough is precise work. First, mix ingredients until they form a dough. Then, start kneading. Each bread type has its own kneading time. It can vary if you’re kneading by hand or with a mixer. Not enough kneading results in dense bread. Too much makes it tough. Hand-kneading is good for beginners. These baking tips really can improve your bread!
The Role of Temperature in Mixing
Did you know that temperature is as important as the mixing technique? In baking, the temperature of ingredients and surroundings is key. It determines the taste and texture of your bake. Let’s explore why temperature is so vital in baking!
Importance of Ingredient Temperature
The temperature of ingredients affects your baking a lot. For example, too cold butter can mess up the creaming. And milk that’s too warm might stop yeast from working in bread. You should keep your dough between 75°F to 78°F (24°C to 25°C). This helps your dough ferment well, creating light and fluffy bread.
Managing Mixing Temperature
Handling the temperature when mixing is crucial. It can make your dough perfect or over-proof it. The best temperature for bacteria and yeasts in the mix is about 89°F (32°C) and 80°F (27°C), respectively. Mostly white flour needs about 75°F to 78°F (24°C to 25°C). Whole-grain flour does best at around 75°F (23°C).
Why does this matter so much? Keeping a steady temperature means you can predict how your bake will turn out. If the dough gets too hot, it might lose its shape and become too airy. If it’s too cold, your bake could be too heavy. Paying attention to temperature helps you learn more about baking. It also improves your baking skills!
Adjusting Mixing Techniques for Dietary Needs
It’s super important to adjust our baking for different diets. Did you know about 32 million Americans have food allergies? That includes 1 in 13 kids. With a 50% increase in kids’ food allergies from 1997 to 2011, learning dietary baking is key. This way, everyone can try your tasty bakes.
For those on a gluten-free or vegan diet, changing how we mix ingredients helps. Let’s dig into the details!
Mixing Techniques for Gluten-Free Baking
Gluten-free baking often uses special flours, like almond or coconut. They soak up water differently. Since about 1% of people worldwide can’t eat gluten, there’s a big need for these products. To bake gluten-free food well:
- Mix your ingredients well to avoid lumps. This makes sure leavening agents are spread out nicely.
- Gluten-free flours need more liquid. So, you might need to add a little extra to your mix.
- Use gluten-free baking powder and soda to keep things safe. For example, 1 teaspoon of gluten-free baking powder weighs around 4 grams.
Vegan Baking Techniques
Vegan baking is fun and rewarding. With rising sales of vegan cheese and more people choosing plant-based milk, it’s a popular choice. Here’s how to bake vegan treats well:
- Substitute Eggs: Use 1/4 cup of applesauce or mashed bananas for one egg. This helps hold everything together and keeps it moist.
- Dairy-Free Options: Use vegan butter or coconut oil instead of regular butter. About 1 cup, or 227 grams, works well.
- Sweetening Naturally: Choose natural sweeteners like maple syrup. Using 3/4 to 1 cup of maple syrup instead of sugar is healthier and tastes great.
- Whipping Time: Try whipping chilled coconut cream for a dairy-free fluffy texture.
Changing how we mix for different diets lets everyone enjoy baking. This way, no one misses out because of their dietary needs!
Advanced Mixing Techniques
If you want to improve your baking, learn advanced baking techniques first! Let’s explore how slowly adding ingredients and making foams can change your baking.
Incorporating Ingredients Gradually
Adding ingredients slowly is a key baking trick. It makes sure every addition blends well, giving you smooth batter. With the creaming method, mixing takes about 3 to 5 minutes for a fluffy result. But, with the reverse creaming, used in tiered wedding cakes for its even top and dense texture, it shows how crucial slow mixing is.
Techniques for Creating Foam
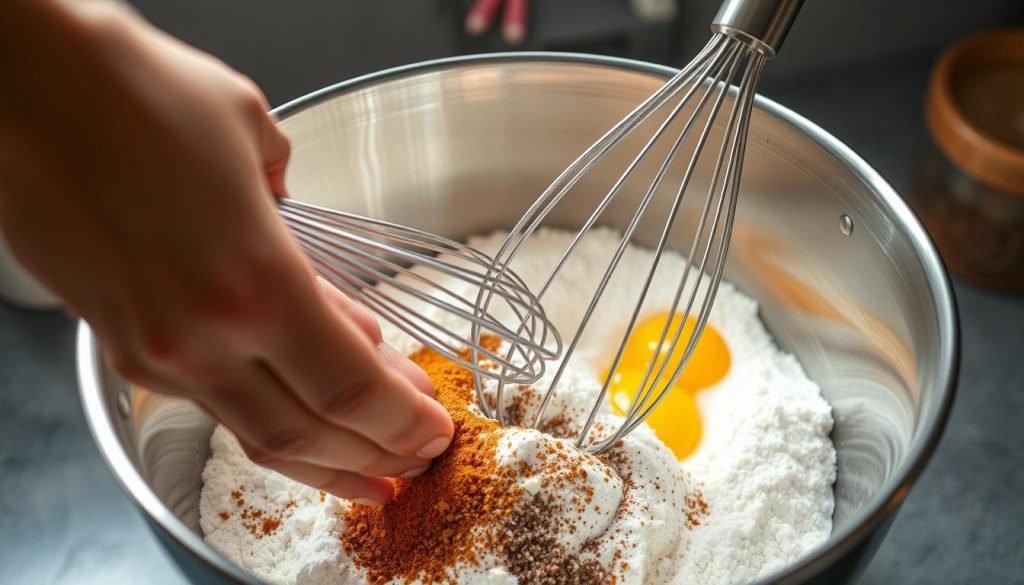
Creating foam is vital for advanced baking techniques. It works great for light cakes like angel food. By beating, this method adds air and changes how proteins in eggs or cream work. But, it’s not ideal for heavy cakes, as the foam can get too compressed. The right foam makes sponge cakes soft, airy, and delicious.
By slowly adding ingredients and mastering the art of foams, you can truly improve your baking. Try these methods next time you bake. Have fun baking!
Achieving the Right Consistency
Getting the consistency right in baking is key. It affects the texture, taste, and the joy of eating your creations. As a home baker, mastering consistency can lift your skills to pro level!
Recognizing Proper Batter Consistency
Learning the right batter consistency is a top baking tip. It shouldn’t be too dry or too sticky. This balance makes your final product wonderful. Picture a cake that’s airy or cookies that keep their shape. Achieving the ideal consistency means desserts are perfect every time!
Adjusting Liquid Ratios
Adjusting liquid ratios is a key trick for perfect batter. A small change can make a big difference. Add liquids slowly to avoid splashes for better mixing. Slow mixing at the start is best. Take it slow for the best results!
| Type of Mixer | Typical Use | Advantages |
|---|---|---|
| Stand Mixer | Heavy-duty tasks, large quantities | Efficiency, speed, and reduced human error |
| Handheld Mixer | Smaller batches | Easy to manage, affordable, and effective for home baking |
| Spiral Mixer | Kneading large volumes of dough | High productivity, ideal for commercial settings |
Whether at home or in a professional setting, mastering mixing best practices is key. It makes sure your batter is perfect, leading to the best baking results!
Mixing Techniques for Special Occasions
Every special occasion needs unique baking skills. Getting your mix right can elevate your baking from good to great! There are key techniques for big events or custom cakes to make them stand out.
Preparing for Large-Scale Baking
Planning is crucial for baking big. Get your ingredients and tools ready early. For special bakes, texture and consistency matter a lot. Did you know for the right consistency, a standard cake mix often needs half a cup of oil?
Being organized is important. For better efficiency, use mixers with big bowls. It’s also key to add air properly for fluffier results. Since over 80% of Americans bake for events, how you manage your time is very important!
Techniques for Custom Cakes
Custom cakes require creativity and skill. A top technique is creaming, crucial for a light texture. This means beating butter and sugar until they’re fluffy, adding air. Did you know butter, solid at room temperature, gives cakes structure?
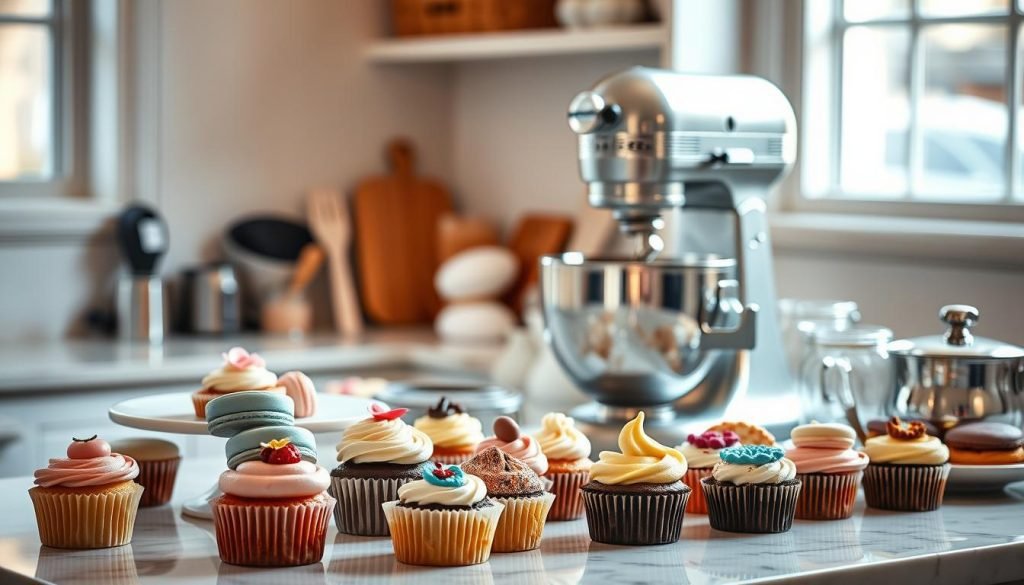
Keep ingredients like eggs and milk at room temperature for smooth mixing. Proper folding keeps the air in, important for light cakes. Such care makes special occasion cakes special.
For unique cakes, try edible printing and sculpting, now more popular by 25%! Remember, a cake’s look matters a lot, influencing about 70% of customers.
Conclusion: Perfecting Your Mixing Skills
As we finish our baking mix journey, know that practice makes perfect! Mixing is an art and a science. Mastering it means trying new things often. Whether it’s kneading low hydration dough for 5 to 7 minutes, or handling dough with up to 85% moisture, each bake makes you better.
Practice and Experimentation
Don’t worry about getting messy! Regular practice makes different mixing methods easier to handle. For example, making a high-fat dough like brioche needs a lot of mixing. Using electric mixers helps a lot. Try out the creaming method, used in about 60% of cookies and cakes, or folding, needed for 40% of light desserts like mousses. Learning to whisk for 15 minutes for perfect meringues takes patience but is worth it.
Resources for Further Learning
Want to learn more about baking science? There are books, online classes, and baking groups full of info. Experimenting with different flours, like rye versus wheat, teaches you a lot. Knowing when to add fats for better texture is key. Keep your kitchen around 20 to 23 degrees Celsius. This helps your dough ferment just right, between 24 to 26 degrees Celsius.
Keep learning and enjoy your baking!