Sharp Knife Secrets: The Ultimate Guide to Knife Sharpening

Have you ever wondered why pro chefs love super sharp knives? It’s not just about cutting well; it’s for safety and speed too.
This guide teaches you all about keeping knives sharp. You’ll see why a sharp blade is key, look at different ways to sharpen, and find out what tools you need. This is handy for both newbies and seasoned cooks wanting to get better at sharpening.
Did you know sharp knives need up to 50% less force for cutting than dull ones? This makes chopping easier and safer. A sharp knife also cuts down on prep time by 30%. Isn’t that cool?
Dull knives need three times more work to cut the same as sharp ones. Sharp knives can make cooking fun and save your knives for years. We’ll show you how to sharpen knives with stones or electric sharpeners. This way, you find what works best for you.
Ready to upgrade your knife skills and keep them in top shape? Dive into the secrets of knife sharpening. It will change how you use your kitchen tools.
Understanding Knife Skills
Mastering knife skills makes you better and safer in the kitchen. You will cut food better and faster. This means your meals will be ready quicker.
Why Knife Skills Matter
Sharp knife skills are super important. They make you faster in the kitchen. You can cut like a pro with less chance of getting hurt.
Being safe is also key. A lot of kitchen accidents happen because of bad knife use. Using knives the right way means fewer cuts. A clean work area and clean tools are also a must for safety.
The Benefits of Sharp Knives
Learning to use knives right has big perks. A sharp knife means neat cuts. This makes your food look and taste better.
Sharp knives also make cutting quicker and easier. And they are safer. You’re less likely to cut yourself.
Using the right sharp knife matters a lot. It helps in the kitchen a lot. And keeps you safe while you’re cooking.
Anatomy of a Knife
It’s important to know about knives to pick the best one for cooking. Let’s look at the different kinds of knives, what they’re made of, and how they’re built.
Different Knife Types and Their Uses
You only need three knives in the kitchen: a chef’s knife, a serrated bread knife, and a paring knife. These knives can do almost everything in the kitchen. The chef’s knife is good for chopping, slicing, and dicing. A serrated knife is great for cutting tough stuff like bread. A paring knife is for small jobs, like peeling or cutting garlic. But, many people don’t use all the knives they own.
Blade Materials Explained
The stuff a knife is made of changes how it works and how long it lasts. Stainless steel and ceramic are popular for knives. Japanese steel AUS-10 is tough and keeps its edge well. Ceramic blades stay sharp a long time but can break easily. Brands like Misen make knives that stay sharp longer without being too expensive.
Knife Components: What Makes a Knife Work?
Kitchen knives have several parts that all have a role. The main parts are the blade, handle, edge, tip, and tang. Full-tang knives, where the metal goes through the handle, are strong but pricey. The bolster helps with balance. It’s usually on Western knives, not Japanese ones. Knowing these parts helps you choose the right knife.
- Tip: Essential for delicate cuts and precision work.
- Edge: The cutting part of the blade, which can be flat or serrated.
- Heel: Used for tasks requiring force, like chopping through bones or tough vegetables.
Understanding the different knives, what they’re made of, and their parts helps you cook better.
Essential Knife Techniques
Learning to handle knives well makes cooking safer and faster. Knowing how to hold, chop, and slice gives you confidence to cook anything.
How to Hold a Knife Properly
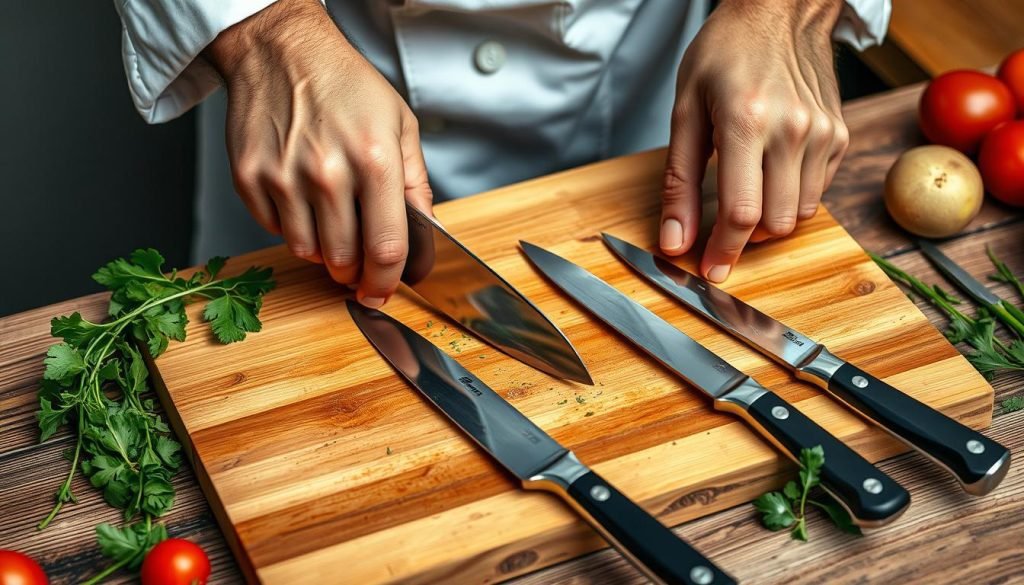
It’s important to hold a knife the right way. Wrap three fingers around the handle tightly. Your thumb and index finger should pinch the blade’s base, near the handle. This grip keeps the knife stable and makes cutting precise.
The Rocking Motion Explained
The rocking motion is key for smooth chopping. Keep the knife tip down on the board. Then, rock the blade up and down to cut. This method doesn’t smash the food and makes your pieces even. It’s great for herbs and veggies.
Chopping vs. Slicing
Knowing when to chop or slice is key in the kitchen. Chopping is for making small pieces with quick, up-and-down cuts. Slicing is for thin, even pieces with side-to-side cuts. Use a chef’s knife for veggies to slice well. These tips will boost your knife skills.
The Importance of Knife Sharpening
Keeping your kitchen knives sharp makes cooking easier. It also boosts safety and improves your cooking.
Signs Your Knife Needs Sharpening
Knowing when a knife is dull can be tricky. Look for trouble cutting soft foods like tomatoes. Needing to saw through meat also means it’s time to sharpen. Plus, dull knives slip more, which can cause cuts. Sharp knives are safer, reducing accidents by nearly 50%.
The Benefits of Regular Sharpening
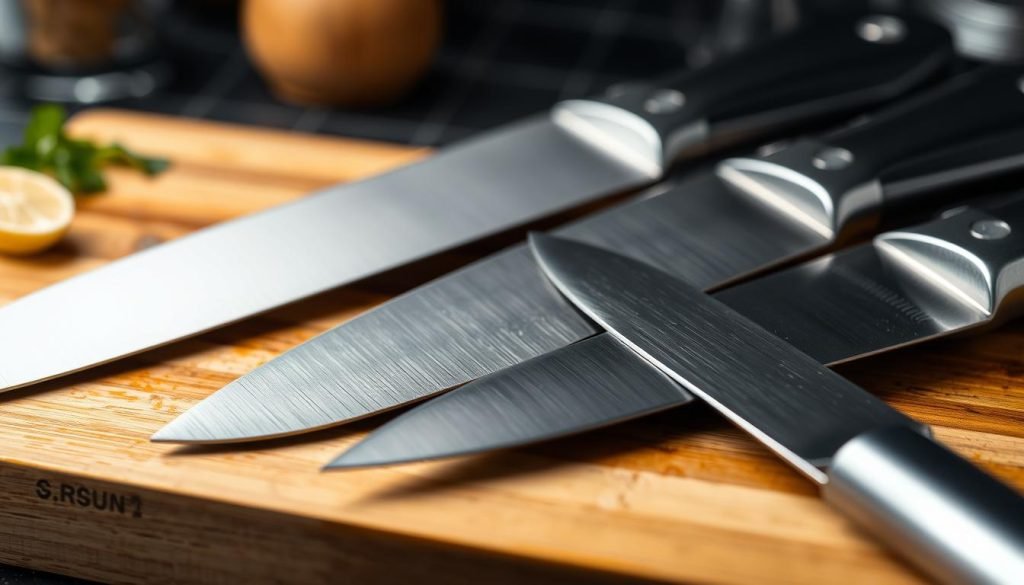
Sharpening your knife has many perks. A sharp knife means you can cook faster and cut foods more nicely. Keeping a knife sharp may make it last 75% longer. This works best with good knife care.
Sharpening knives professionally can cost a lot and take time. Learning to use a whetstone at home saves money. Honing rods help too, keeping your knife sharp longer between sharpenings.
How often you need to sharpen depends on how much you use the knife. If cutting gets harder, it’s time to sharpen. Overall, sharpening makes cooking safer and more fun.
Different Sharpening Techniques
Learning about knife sharpening can really change how you cook. What method you pick depends on what you like, the knives you have, and how sharp you want them. Let’s look at three main ways: using a whetstone, honing, and electric sharpeners.
Whetstone Method: The Traditional Approach
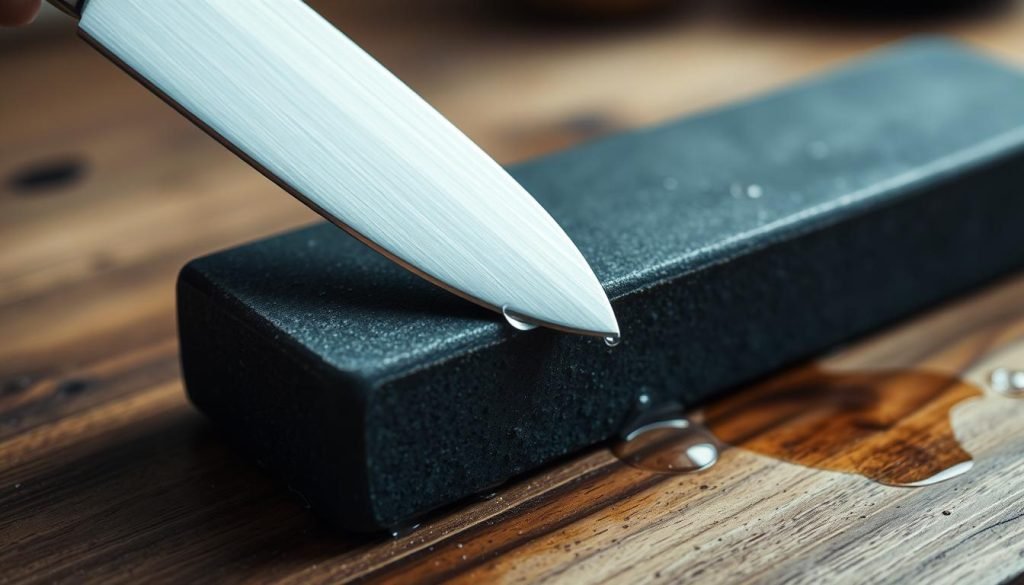
Using a whetstone is a top choice. It involves stones with different roughness to get a super sharp blade. You start with a rough 220-grit side for really dull knives. Then, move to a 1000-grit side for a smooth edge. You should soak the stone for 5 minutes before starting. This old-school way works great for many knives, including fancy Western and Japanese ones.
Using a Honing Rod for Maintenance
Honing rods help keep knives in good shape but don’t really sharpen them. They straighten the blade’s edge, which can get out of line with regular use. Steel rods are good for knives with a 52-56 HRC hardness. They’re often used in chef and butcher knives. If you use a honing rod often, you won’t need to sharpen your knives all the time.
Electric Sharpeners: Pros and Cons
Electric sharpeners are fast and easy, perfect if you’re in a hurry. They can adjust to different angles, fitting a variety of knives. But, they might not be as precise as whetstone or honing. Also, using them too much can wear down your knives quicker.
| Technique | Effectiveness | Ease of Use | Suitable Knives |
|---|---|---|---|
| Whetstone | High | Requires Skill | All Types |
| Honing Rod | Moderate | Easy | Maintenance for All Types |
| Electric Sharpener | Moderate to High | Easy | Various Angles |
How to Choose the Right Sharpening Tool
It’s important to pick the right sharpener for your knife and how often you’ll use it. A good sharpening tool makes your knives last longer and cuts better. This improves your cooking.
Evaluating Whetstones and Their Grit
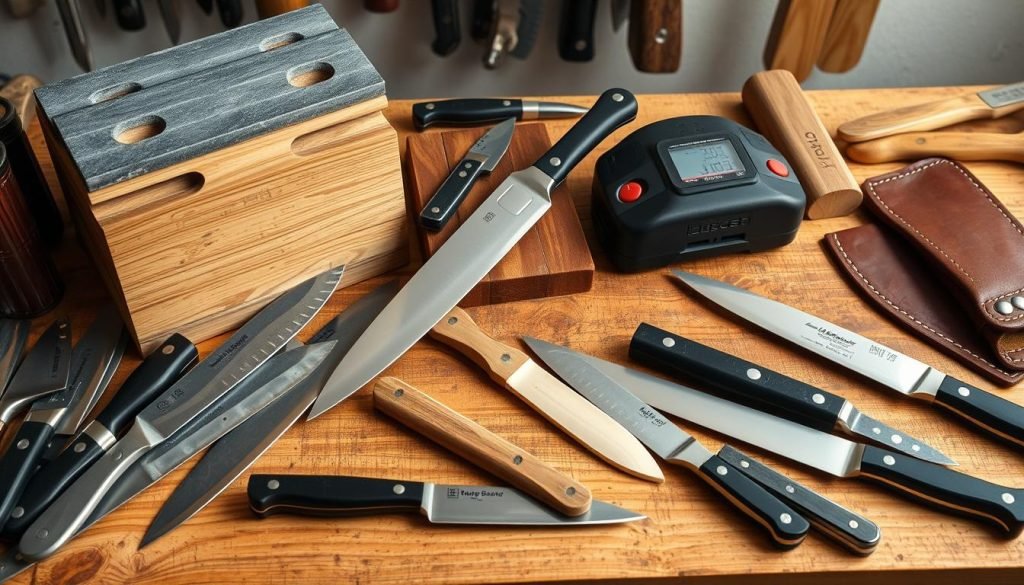
Knowing about whetstone grit is key. Whetstones cost from $30 to $300, with price affecting quality. Chefs like them for the control and sharp edge they give. You might want a rough grit for dull knives and a fine grit for upkeep. High-quality stones are a great investment for serious cooks.
- Coarse Grit (200-600): Ideal for very dull or damaged knives.
- Medium Grit (800-2000): Suitable for regular sharpening and maintenance.
- Fine Grit (3000+): Perfect for polishing and achieving a razor-sharp edge.
Choosing Between Manual and Electric Sharpeners
Choosing manual or electric sharpeners depends on how much you sharpen and your knives. Manual sharpeners are good for those who sharpen less often. They range from $5 to $50. They’re quick and best for small fixes, not full sharpening.
Electric sharpeners, costing $30 to $600, work well for those who sharpen a lot. They give fast results but can wear down knives with too much use. Ergonomic designs and flexible-belt sharpeners give more comfort and control.
About 70% of knife users say good sharpeners make cooking easier. They cut meal prep time by up to 20%. So, finding the right sharpener for your needs is crucial.
Step-by-Step Knife Sharpening Guide
Any home chef needs to know how to sharpen knives. This guide will take you through the sharpening steps. You’ll learn everything from getting ready to the final clean-up.
Preparing Your Whetstone
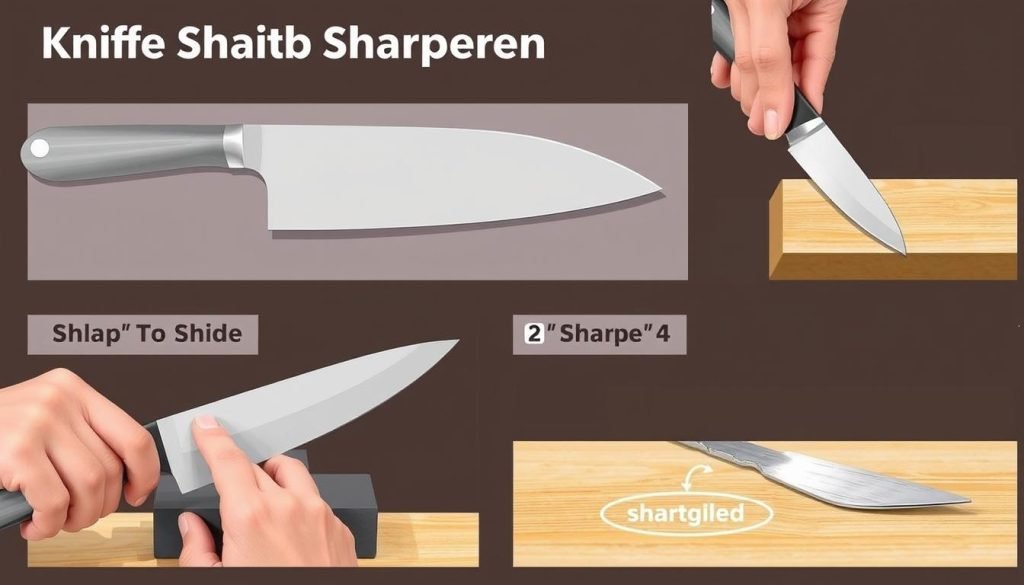
Prepare your whetstone before starting. If you’re asking how to use a whetstone, soak it in water for 45 minutes. This makes sure the stone is ready for a smoother sharpening process.
- Choose the right type of stone: Water stones and diamond stones require water, while oil stones such as Arkansas and India stones need oil.
- Select the appropriate grit: Use coarse stones for very dull or nicked blades and finer grit stones for regular maintenance.
- Ensure the stone size is adequate: Aim for at least 2.5 inches wide by 8 inches long, and 1 inch thick.
The Sharpening Process Explained
Learning how to sharpen your knife with a whetstone is key. Here’s a simple guide:
- Hold the knife at a 20-degree angle against the stone.
- Start with 10 strokes on each side with a coarse stone for very dull knives.
- Create a burr on one side before switching. A burr means the edge is sharp.
- Switch to a finer grit stone to make the edge even sharper. Aim for a grit of 2,000 or more.
- Pros might use ultra-fine stones (8,000+ grit) for the final polish. But that’s often more than home cooks need.
Keep the angle steady, usually between 15 to 20 degrees, while you sharpen.
Cleaning Your Knife Post-Sharpening
After sharpening, follow these knife cleaning tips to keep your knife in good shape:
First, wipe off metal bits with a damp cloth. Then wash the knife in warm, soapy water. Make sure it’s fully dry before you store it. This helps avoid rust and damage.
Here’s a quick table summarizing the sharpening steps and knife cleaning tips:
| Step | Description |
|---|---|
| 1. Preparing | Soak whetstone for at least 45 minutes |
| 2. Initial Sharpening | 10 strokes at 20-degree angle with coarse stone |
| 3. Burr Formation | Check for a burr before switching sides |
| 4. Refining | Use finer stone to refine the edge |
| 5. Final Polishing | Ultra-fine stone (optional, for professional precision) |
| 6. Cleaning | Wipe and wash the blade, dry completely |
Follow these steps to keep your knives sharp. Your cooking will be easier and more fun.
Maintaining Your Knives
Keep your knives lasting longer and performing better by caring for them well. By cleaning and storing them wisely, you can make cooking more fun. These steps improve your knives and your cooking.
Cleaning and Drying Techniques
Start caring for your knives by cleaning them right. Use warm, soapy water and clean them after using. Don’t soak them, as this can harm the blade and handle. Also, clean your knives between uses to avoid spreading germs.
After washing, dry your knives well to stop rust. Use a clean, dry cloth for this. Never let them air-dry because this can cause rust.
Storing Knives Safely
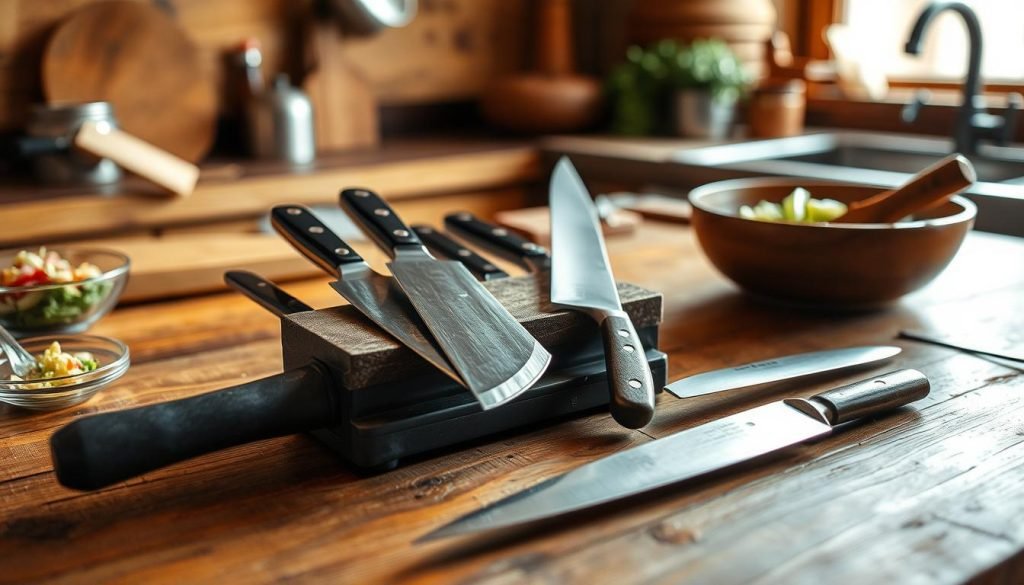
Storing your knives correctly keeps them sharp and safe. Use a knife block, a magnetic strip, or an organizer in a drawer. These help keep knives from touching each other, keeping them sharp and safe.
Regular Maintenance Tips
Keeping a regular upkeep routine is key. Sharpen your knives often to keep them ready and safe. A dull knife is not safe as it needs more force and can cause cuts.
Always cut on wood or plastic boards to keep your knives sharp. Glass can dull them fast, making sharpening a frequent need.
| Maintenance Step | Guideline |
|---|---|
| Cleaning | Use warm, soapy water; avoid soaking |
| Drying | Thoroughly dry with a clean cloth |
| Storage | Store in a knife block, magnetic strip, or in-drawer organizer |
| Sharpening | Regularly hone and sharpen knives |
| Cutting Surfaces | Use wood or plastic boards only |
Knife Skills for Beginners
Learning basic knife skills can totally change how you cook. Knowing the right way to use a knife makes cooking faster and safer.
Basic Cutting Techniques to Master
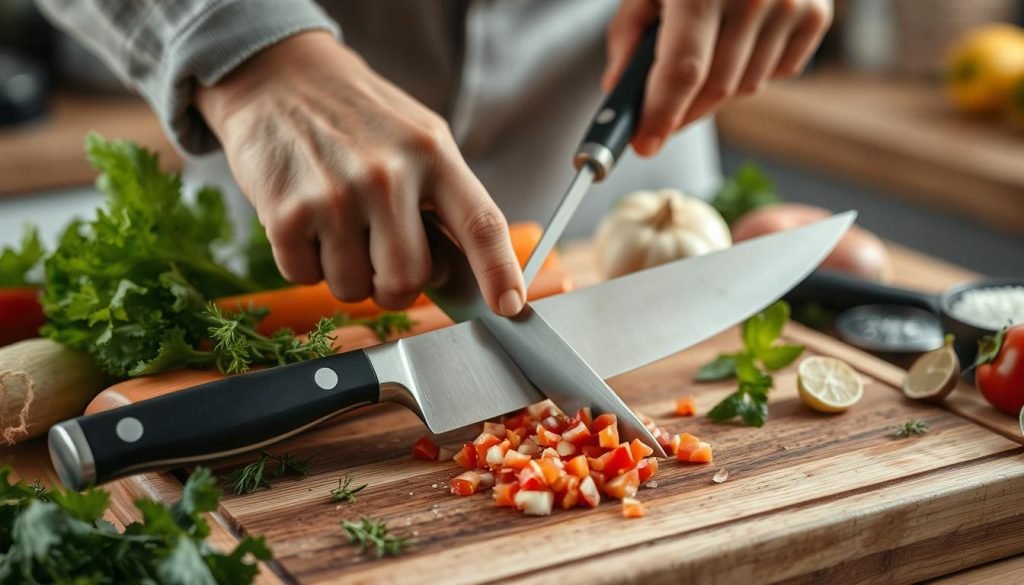
First, you’ll need to learn some key cutting styles. Here are six important ones:
- Slice: A basic cut for veggies and meats.
- Bias Slice: An angled cut good for stir-fry and salads.
- Mince: Super fine cutting, great for garlic and herbs.
- Dice: Even square cuts for things like onions and carrots.
- Wedges: For cutting fruits and veggies, like potatoes and lemons.
- Chiffonade: Thin ribbons, often for leafy greens like spinach.
Common Mistakes to Avoid
When you’re starting, make sure to dodge these errors:
- Incorrect Grip: Use the Handshake Grip or the Pinch Grip for control.
- Ignoring Safety: Cut on a stable surface to avoid slips.
- Using a Dull Knife: Sharp knives are safer and easier to use.
- Improper Cuts: Learn the right ways to cut for better results.
By nailing these basic skills and steering clear of mistakes, your knife skills will soar. Enjoy your chopping!
Advanced Knife Skills
Learning advanced knife skills can make you much better at cooking. At MustangChef Summer Camp, you will learn advanced cutting and garnishing. These lessons get more challenging step by step.
Techniques for Professional Chefs
Professional chefs use special cutting methods that are more than simple slicing. For example, the tournée cut makes tiny vegetable shapes. This shows how precise you need to be.
Tournée cuts make a seven-sided shape. Cutting fluted mushrooms needs careful knife control. This cut looks like a crescent moon.
There are also quick ways to chop herbs, like the “Rolling Pin Chop.” It’s important to keep knives sharp for safety. Regular sharpening keeps your knives ready for anything.
Specialty Cuts: Julienne and Brunoise
Specialty cuts like Julienne and Brunoise make dishes look and taste finer. Julienne is perfect for thin garnishes, while Brunoise cut makes tiny cubes for soups.
You can make your dishes prettier with cuts like the carrot flower or the apple swan. Soaking carrot flowers in salty water changes their texture. This makes the food look better.
Joining knife skills workshops helps you get better. It adds to knowing how to prepare ingredients well. For example, Katsuraregi is good for garnishes, and Mirepoix adds texture to French dishes.
| Cut Type | Dimensions | Usage |
|---|---|---|
| Fine Julienne | 2mm x 2mm | Delicate garnishes, enhancing sauces |
| Brunoise | 1mm x 1mm | Subtle flavor additions to soups and sauces |
| Tournée | Varied sizes (e.g., Château: 2.5” x 1.5”) | Elegant vegetable shapes for garnishing |
| Fluted Mushroom | Crescent moon-shaped | Decorative mushroom garnishes |
| Rolling Pin Chop | N/A | Efficiently chopping large quantities of herbs |
Safety Tips for Using Knives
Knowing how to handle knives safely is very important. If you’re new or have been in the kitchen for a long time, the right knife safety tips are key. They keep you safe and make sure you use the right cutting boards.
How to Avoid Common Injuries
Keeping your knives sharp is a good start to avoid cuts. Dull knives can slip and hurt you because you push harder. Did you know 27% of knife injuries at work come from dull knives? Only let trained people sharpen knives to keep it safe.
It’s also important to use and store knives the right way. OSHA says keeping knives safe stops accidents. Half of knife accidents at work come from not storing them right. Never leave knives in a sink with water; it causes many cleaning injuries.
Having a “safety circle” around you is super important. Make sure you have space to use a knife without hurting anyone. Tools like knives that hide the blade are also safer. They stop the blade from accidentally cutting you.
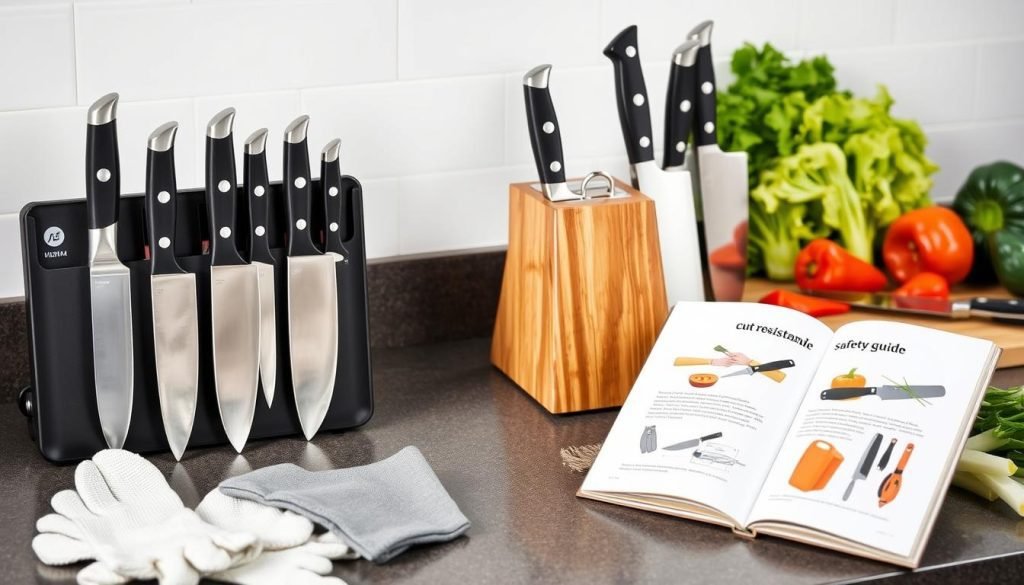
The Importance of a Good Cutting Surface
Choosing the right cutting board is key for knife safety. Use a sturdy, non-slip board made of wood or plastic. This stops the board from moving and preventing knife injuries. Wrong use of cutting boards causes 75% of knife injuries.
Also, keep your cutting area clean to avoid accidents. A clean space stops distractions and reduces accidents. A lot of accidents happen because people are not paying attention. So, focus when you use a knife to stay safe.
Following these knife safety tips will keep you and your knives in good shape. It makes cutting safer and easier every time.
How Does the Type of Cutting Board Affect the Sharpness of My Knife?
The type of cutting board significantly impacts the sharpness of your knife. Softer materials like wood and plastic are gentler on blades, helping maintain their edge longer. In contrast, glass or stone surfaces can dull your knives quickly. For optimal performance, focus on finding the perfect cutting board that complements your knife.
Resources for Improving Knife Skills
Learning knife skills makes cooking fun, not just another job. Here are great resources to help. You’ll find top books, online lessons, and workshops in your area.
Recommended Books and Guides
Many good books teach knife skills. For example, “Mastering Knife Skills” by Norman Weinstein is great. Also, the “Professional Chef” by The Culinary Institute of America is useful. They teach basics to advanced cuts.
Online Tutorials and Classes
Websites like YouTube and MasterClass have cooking videos by experts. They make learning easier. Skills improve a lot this way. Sites like Skillshare offer courses on cutting techniques too.
Local Workshops and Community Programs
Local centers and schools offer special knife classes. These classes let you practice with experts. They also teach how to avoid cuts. This makes your cooking faster and safer.