Authentic Puerto Rican Flan Recipe – Silky Custard Dessert
A Slice of Puerto Rico: The Flan’s Cultural Significance
The Heart of Celebrations
Flan holds a special spot in the hearts of Puerto Ricans, often gracing tables during family gatherings, birthdays, and national holidays. Picture a festive table adorned with colorful decorations, laughter ringing in the air, and your favorite flan making a grand entrance as dessert. This custard dessert isn’t just a sweet treat; it symbolizes love, tradition, and the warmth of family ties. As you dig into a slice, you partake in a moment rich with history, connecting you to countless generations who have savored it just as you do today.
A Legacy Passed Down
The recipe for flan varies from household to household, each variation telling its unique story. Passed down through generations, your grandmother’s flan might have a hint of cinnamon or a splash of vanilla, while your aunt’s version is infused with coconut—each contributing to the island’s rich culinary tapestry. The use of local ingredients like *queso blanco* or *leche evaporada* not only enhances the flavor but also keeps you rooted in the land. By savoring the flan, you embrace a piece of Puerto Rican heritage, a shared experience that often brings nostalgia and a sense of belonging. It’s more than just a dessert; it’s your way of preserving and celebrating a culture that’s colorful and diverse.

Crafting the Perfect Flan Base
Selecting High-Quality Ingredients
Your flan’s final flavor and texture hinge on the ingredients you choose. Look for eggs that are fresh and organic, as they will lend a rich taste and proper texture to your custard. Using whole milk versus skim milk is another choice that pays off; it adds creaminess, ensuring your flan has that desired silky mouthfeel. For sweetness, granulated sugar is a must, but consider using vanilla extract or even vanilla beans for added depth of flavor. Each ingredient plays a role in making sure your flan is nothing short of perfection.
Essential Tools for Flan-Making
A few key tools will make the flan-making process seamless. First, you’ll need a sturdy mixing bowl to combine your cream, eggs, and sugar. A whisk is crucial for achieving a smooth, lump-free mixture. You can also use an electric mixer for ease. If you prefer a stovetop method, a saucepan is necessary for caramelizing your sugar into a luscious syrup. Don’t forget a baking dish for the flan itself, ideally one that resists warping in the oven.
On top of those basics, utilizing a water bath—or bain-marie—can elevate your flan, preventing it from cooking unevenly and ensuring a smooth consistency. If you have access to a kitchen thermometer, it can help you monitor the water temperature while baking, adhering to the golden rule of low and slow cooking. Investing in these tools guarantees that your homemade flan will turn out as delightful and creamy as you envision.

The Art of Caramelization: Achieving Liquid Gold
Techniques for a Beautiful Caramel
Creating a stunning caramel requires a steady hand and a bit of patience. Start by using a heavy-bottomed saucepan; it helps to distribute heat evenly, which is vital for preventing uneven cooking. Combine sugar with a splash of water in the pan, just enough to moisten the sugar. Allow it to cook undisturbed over medium heat. As it begins to melt, you’ll notice the edges start turning golden. At this stage, gently swirl the pan to encourage the sugar to melt evenly, but avoid stirring with a spoon, as this can cause unwanted crystallization. The goal is to reach a deep amber color, signaling a rich flavor awaits.
As you approach the desired hue, keep a close eye; caramel can go from perfect to burnt in seconds. Once it reaches that liquid gold status, quickly remove it from the heat and pour it into your flan mold, swirling it around to coat the bottom evenly. This caramel layer not only serves as a gorgeous topping but also imparts a subtle sweetness and a beautiful contrast to the creamy flan.
Common Pitfalls in Caramel Making
Every aspiring flan-maker fears the dreaded burnt caramel, and it’s a common occurrence for many. As you create your caramel, unnecessary stirring or whisking can lead to unwanted crystallization. This results in a grainy texture that ruins the smoothness you desire. Instead, focus on turning the pan gently to distribute heat without disturbing the sugar too much.
Another pitfall is the temptation to rush the process by increasing the heat to speed things along. High temperatures can result in uneven cooking, leading to clumps of sugar rather than the silky liquid you seek. A steady medium heat allows for proper melting and caramelization, letting you achieve that perfect, glossy finish that makes flan truly irresistible.
Being aware of your surroundings can make a significant difference in your caramel-making success. Avoid distractions while watching the sugar; it’s all about timing and observation. If you see that the sugar is browning unevenly, use a silicone spatula to carefully reshape the melted sugar, pushing the darker sections toward the center. With these tips in mind, you’ll create mesmerizing homemade caramel every time, adding that vital layer of flavor to your Puerto Rican flan.
Blending for Silky Smoothness
Mastering the Custard Mixture
To achieve the ultimate creamy texture in your flan, the way you blend your ingredients is key. Start by whisking together your eggs and condensed milk in a large bowl. Incorporating the evaporated milk next adds a rich depth to the custard. Blend everything thoroughly until you see a uniform mixture, which helps prevent any graininess in your final product. Using a handheld blender can help achieve that silky finish more effectively than by hand, ensuring you avoid the dreaded scrambled egg texture.
Tips for Avoiding Lumps
Consistency is vital; lumpy custard can ruin your flan experience. After you incorporate your ingredients, consider straining the mixture through a fine-mesh sieve to catch any unforgiving lumps or bubbles that may have formed. This simple step saves you from unpleasant surprises when it’s time to serve your flan. Pour it gently into your prepared caramel-coated mold, ensuring a smooth pour helps maintain that desired consistency.
- Always use fresh eggs for optimal flavor.
- Strain the mixture through a fine-mesh sieve for the best results.
- Whisk thoroughly, but avoid excessive whisking which can introduce air bubbles.
- Opt for a handheld blender to achieve perfectly blended custard.
- Pour the mixture slowly to avoid bubbles as you fill your mold.
Knowing how to handle your mixture with care will lead to the finest custard. Pay attention to the texture as you blend, ensuring it becomes smooth and well combined without any visible clumps. If lumps do develop, stress can be alleviated by focusing on the straining process, allowing you to achieve that velvety richness you desire. Perceiving the smoothness in your flan base is a precursor to a delectable dessert experience.
- Using room temperature ingredients can help in creating a more homogenous mixture.
- Mix only until incorporated to prevent introducing too much air into the custard.
- Take your time and blend gently, ensuring a consistent texture.
- Consider adding flavorings like vanilla extract for added depth.
- Know that any visible lumps can likely be addressed through careful straining.
Proper blending and attentiveness during preparation can mean the difference between a mediocre flan and an extraordinary one. By prioritizing your ingredients’ consistency and texture, your resulting dessert will reach that sought-after smooth finish. Perceiving the potential of your carefully crafted custard will elevate your cooking experience and leave your guests craving more.
Baking It to Perfection: The Water Bath Method
Why a Water Bath Matters
Opting for a water bath in the flan baking process allows for even heat distribution, preventing the edges of your custard from overcooking while the center remains underdone. This gentle cooking method promotes a creamy, silky texture that you’ll find in authentic Puerto Rican flan. If you’ve ever encountered a flan with a grainy or rubbery consistency, it’s likely due to direct heat that alters the delicate structure of the custard.
Additionally, the water bath helps stabilize the baking environment, reducing the chances of cracking on the flan’s surface. As your flan slowly bakes in its warm bath, the moisture envelops the baking dish, creating a mini steam oven that nurtures the cake-like structure without shocking it with harsh temperatures.
Key Points About the Water Bath Method
| Benefit | Description |
|———————————-|————————————————————-|
| Even Heat Distribution | Prevents overcooked edges and undercooked center |
| Creamy Texture | Promotes a delicate, silken custard |
| Moisture Stabilization | Minimizes the risk of cracking on the flan surface |
Timing and Temperature for Optimal Results
For a flawless flan, maintaining the right timing and temperature is necessary. Preheat your oven to 350°F (175°C) before placing your flan in the water bath; this initial high temperature initiates the cooking process effectively. Aim for a baking time of about 50 to 60 minutes. The flan is ready when the edges are set but the middle still has a slight jiggle—don’t worry, it will firm up as it cools. Each oven is unique, so keep an eye on your creation during the final minutes of baking.
An instant-read thermometer can be your best friend here. Aim for an internal temperature of around 180°F (82°C) to know your flan is cooked perfectly. If you notice that the flan exhibits signs of puffing or the surface is bubbling, it’s a signal to reduce the temperature for a more gentle finish—this level of attention ensures that your flan comes out just right.
Timing and Temperature Guidelines
| Aspect | Details |
|——————-|——————————————-|
| Oven Temperature | Preheat to 350°F (175°C) |
| Baking Time | 50 to 60 minutes |
| Internal Temperature| Aim for 180°F (82°C) |
As the flan bakes, use this time to reflect on what makes this dessert special—a blend of tradition, flavor, and patience. Each minute of that slow bake brings your flan closer to perfection. Always trust your instincts and the gentle golden glow that starts to develop; it’s part of the love you’re pouring into your creation. This is where science meets art in the kitchen, and you’re the chef!
The Grand Unveiling: Serving and Presentation
How to Properly Flip Your Flan
Once your flan has set and cooled, the moment of truth is upon you. To properly flip it, first ensure that your flan has completely chilled in the refrigerator for at least four hours or overnight—this not only enhances the texture but also helps it to hold its shape. To release the flan, run a thin knife around the edge of the pan, creating a small gap. Place a large serving plate upside down on top of the flan and, while holding both the plate and flan, flip them swiftly but carefully. A satisfying ‘thud’ indicates a successful transfer, and those edges of caramel should cascade down in a glossy waterfall, adding to the visual appeal.
If the flan doesn’t come out as cleanly as you hoped, don’t fret! Patience is key; you can gently waddle the flan back and forth in its dish to loosen it slightly. With steady hands, give one more flip and watch the flan tumble gracefully onto the plate, ready for its starring role in your dessert spread!
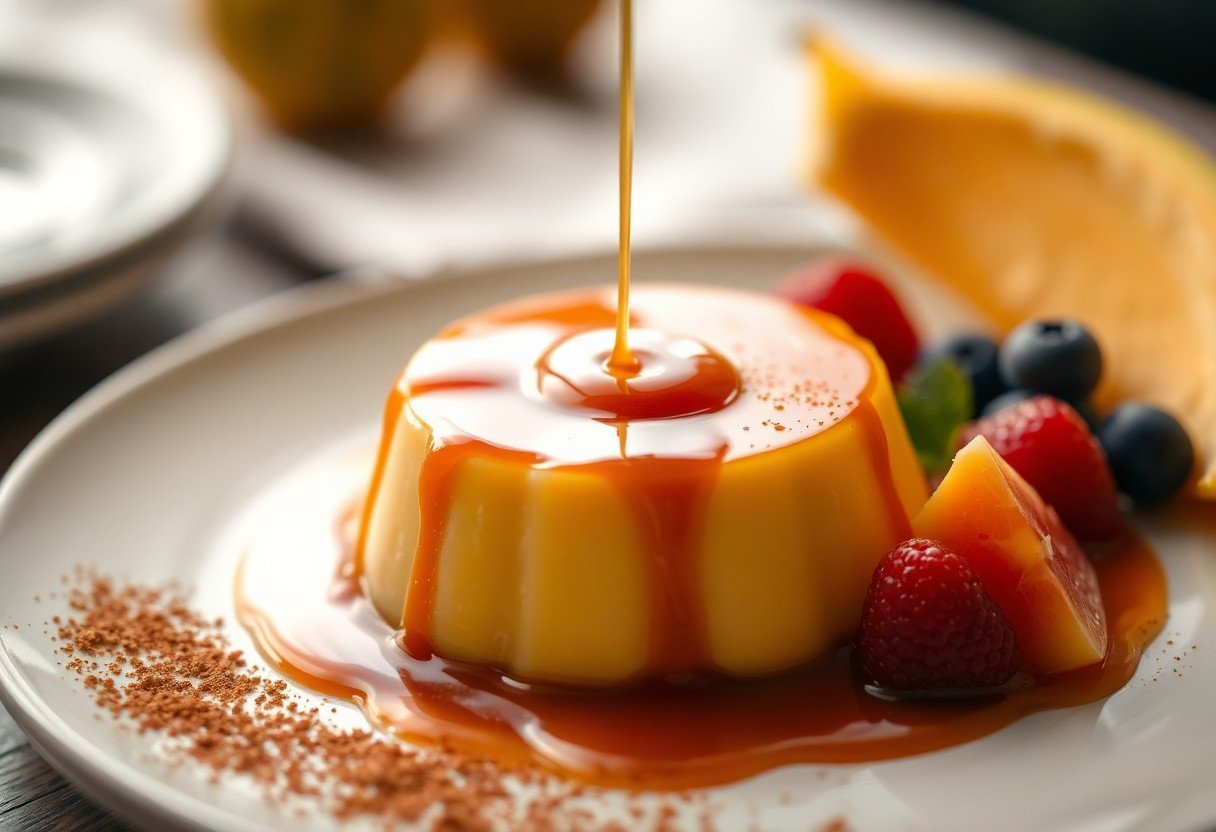
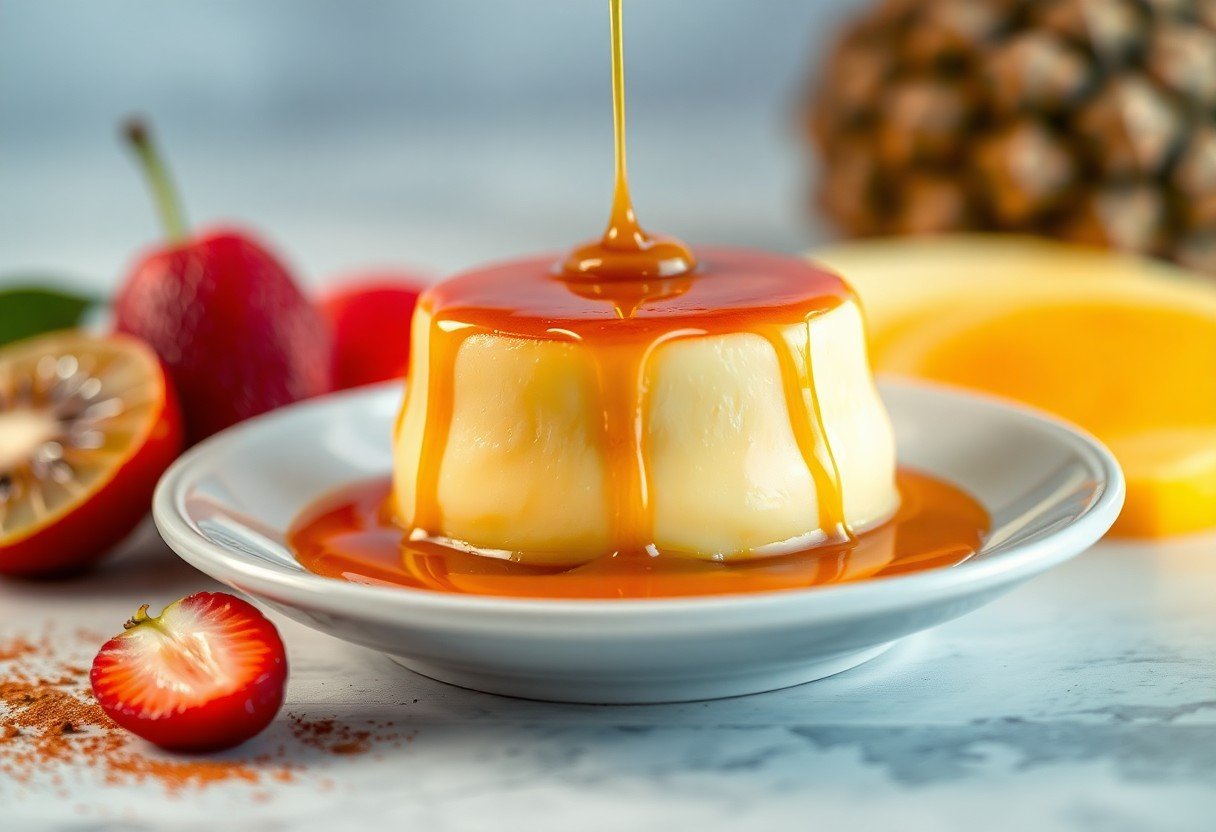
Creative Garnishing Ideas
Once you’ve successfully unveiled your flan, it’s time to elevate its presentation with some delightful garnishes. Fresh fruit adds color and texture; think vibrant strawberries, succulent mango slices, or zesty orange segments arranged artistically around the base. A sprinkle of finely shredded coconut enhances that tropical flair, making your flan more island-evoking. You can also embellish with a dollop of whipped cream and a sprig of mint to bring in a pop of freshness.
For a twist, consider incorporating different sauces such as a raspberry coulis or a rich chocolate ganache drizzled over the flan. These elements introduce contrasting flavors that complement the creamy custard while offering a feast for the eyes. Details like candied citrus peels or edible flowers can also serve as elegant touches that will impress guests and elevate your dessert from delicious to stunning.
To wrap up
Following this authentic Puerto Rican flan recipe, you’ll be able to create a silky custard dessert that brings a taste of the island right into your kitchen. With its creamy texture and rich caramel flavor, it’s bound to become a favorite among family and friends. As you indulge in this delightful treat, you’ll find that it’s perfect for special occasions or simply as a sweet way to end your day. Your culinary adventure with flan is sure to leave everyone asking for seconds!
Each time you make this flan, you’re not only embracing a beloved tradition but also creating lasting memories in the kitchen. Feel free to experiment with flavors and garnishes, tailoring the recipe to your taste and making it uniquely yours. As you pull that beautiful dessert from the fridge, the satisfaction of having created something truly delicious will be a rewarding experience. Enjoy your flan journey and share the joy of this delightful dessert with those you love!