Caribbean Coconut Ice Cream Recipe (No-Churn Method)
Ice cream lovers, get ready to treat your taste buds to a tropical delight! In this easy no-churn recipe, you can create your very own creamy and delicious Caribbean coconut ice cream right at home. With just a few ingredients and minimal effort, you’ll be indulging in this< strong> refreshing dessert
that captures the essence of the Caribbean. Perfect for warm days or a sweet getaway to paradise, you’ll never want store-bought ice cream again!The Secret Ingredients That Make a Difference
Fresh Coconut vs. Store-Bought
Using fresh coconut can elevate your Caribbean coconut ice cream to a whole new level. The natural sweetness and texture of freshly grated coconut add a delightful creaminess that store-bought options simply can’t match. When you use fresh coconut, you experience its rich, aromatic essence, which creates an authentic tropical flavor that transports you right to the sandy beaches of the Caribbean. Additionally, fresh coconut is often packed with nutrients, providing a wholesome twist to your dessert that enhances both taste and health benefits.
If fresh coconut isn’t accessible, consider a high-quality shredded coconut as an alternative. Just make sure you choose a brand that has minimal processing and no added sugars or preservatives. This will allow you to keep that island vibe intact while achieving the creamy texture you desire. You might be surprised by how the right choice can turn your homemade ice cream into a treat that rivals any tropical paradise delight.
Sweeteners That Enhance Flavor
The sweeteners you choose can profoundly affect the overall taste and texture of your ice cream. While many recipes suggest using conventional sugar, opting for alternatives like pure maple syrup or coconut sugar can enhance the flavor profile with their unique notes of caramel and toffee. Maple syrup, for instance, not only sweetens your ice cream but also brings a lovely depth that pairs beautifully with coconut. Coconut sugar, on the other hand, boasts a lower glycemic index and imparts a subtle richness that complements the coconut’s natural flavor.
Experimenting with sweeteners adds another layer of fun to your ice cream-making journey. Each one introduces its own subtle nuances, allowing you to craft a personalized treat that reflects your tastes. Consider classic combos like honey with lime zest or even adding a bit of brown sugar to create a delightful sweetness that enhances the coconut. Even a touch of vanilla extract can further round out the flavors, making your homemade ice cream nothing short of phenomenal.
Essential Tools for Your No-Churn Adventure
Must-Have Kitchen Gadgets
Embarking on your no-churn ice cream journey requires a few key gadgets that simplify the process and enhance your final product. First off, a large mixing bowl is imperative for combining your ingredients without the risk of spillage. Opting for a bowl with a non-slip base will ensure stability while you’re mixing. Additionally, a hand mixer or stand mixer can be a game changer. These tools save you time and effort by whipping up your ingredients to the perfect creamy consistency needed for your Caribbean coconut ice cream.
Diving deeper, an airtight container for freezing your ice cream is a must. It helps prevent freezer burn while allowing your creation to set properly. A spatula is another handy tool to have on hand, ensuring you scrape every last bit of your luscious mixture into the container. Having these kitchen gadgets at your disposal will make the no-churn process smooth and enjoyable. Knowing the right tools can elevate your homemade ice cream experience.
Tips for Efficient Mixing
Efficient mixing is not just about speed; it’s about achieving the right texture. Start by letting your heavy cream reach room temperature before whipping. This small step can significantly enhance the volume and fluffiness of the cream, giving you that light, airy texture that defines great ice cream. Mixing your liquid ingredients separately before combining them with the cream ensures even distribution of flavors without overworking the mixture.
Timing also plays a role in efficiency. Aim to mix your ingredients just until combined—over mixing can lead to unwanted air bubbles. Use a gentle folding technique to incorporate all the components seamlessly. These small adjustments in your mixing process can have a profound impact on the overall quality of your ice cream. Knowing how to mix efficiently will not only save you time but also lead to a creamier, rich end product.
The Simple Steps to Coconut Bliss
Preparing Your Coconut Base
Start by gathering your ingredients: full-fat coconut milk, creamy coconut cream, sugar, and a pinch of salt. Blending these together creates the luscious coconut base that serves as the heart of your ice cream. Pour the coconut milk and cream into a mixing bowl, followed by the sugar and salt. Whisk them together until the sugar dissolves completely. This step ensures every spoonful bursts with flavor, so take your time and get that mixture velvety smooth. If you’re feeling adventurous, consider adding a splash of vanilla extract or a hint of rum for an extra punch of flavor.
Once you have blended your coconut base, it’s important to taste it and adjust as needed. If you prefer a sweeter ice cream, add more sugar gradually until it meets your satisfaction. The beauty of this homemade creation lies in your ability to customize it. After you finish prepping the base, set it aside for a few minutes to allow the flavors to meld together. This little waiting period elevates your ice cream, combining the ingredients perfectly, ensuring every scoop delivers Caribbean vibes.
Freezing Techniques for Perfect Texture
Freezing your coconut mixture properly is the key to achieving that desirable creamy texture without an ice cream maker. Pour the coconut base into a shallow container, which allows for better airflow and quicker freezing. If you have one, a metal container will work even better, helping to chill your mixture evenly. Cover it tightly with a lid or plastic wrap to prevent ice crystals from forming on top. Place it in the freezer and allow it to sit for about 45 minutes before the next step.
After the initial freezing period, it’s time to break up those ice crystals that may be starting to form. Take your mixture out and give it a good stir with a fork or a whisk. This action not only enhances the texture but also incorporates air, making your ice cream delightful and airy. Place it back in the freezer and repeat this stirring process every 30 minutes until your ice cream is fully frozen and has that perfect scoopable consistency. Depending on your freezer, this process can take anywhere from 3 to 5 hours, so patience is indeed a virtue!
Utilizing these expert freezing techniques ensures that your no-churn coconut ice cream emerges from the freezer with a luxurious consistency, avoiding the dreaded icy texture that can ruin a scoop. By incorporating air through regular stirring, you’ll achieve a rich and creamy treat reminiscent of the tropical islands, making each bite a true delight.
Creative Twists to Elevate Your Ice Cream Game
Add-Ins That Surprise and Delight
To take your Caribbean coconut ice cream to new heights, consider adding unique mix-ins that will not only surprise your taste buds but also create delightful textures. Think of ingredients like toasted nuts, candied ginger, or even a swirl of rich dark chocolate. These little additions can transform your simple dessert into a gourmet experience. For instance, toasted macadamia nuts can add a buttery crunch, while a hint of crushed pineapple could amplify the tropical essence you’re aiming for. You can also try incorporating a splash of rum or coconut liqueur to give it an adult twist—just be mindful not to add too much, as it can affect the freezing process.
Flavor Variations for Adventurous Palates
Embrace the spirit of experimentation by exploring bold flavor combinations that might just become your new favorites. Consider infusing your coconut base with unexpected flavors like zesty lime or piquant jalapeño for a kick that elevates every spoonful. Combining coconut with mango, for example, can create a luscious and tropical experience that is both sweet and tangy. If you’re feeling particularly daring, try adding a hint of maple syrup and a sprinkle of sea salt—this contrast can heighten the sweetness of the coconut while adding depth to every bite.
Adventurous palates might also relish the idea of mixing in local spices, such as nutmeg or cardamom, pairing beautifully with the coconut’s natural sweetness. For a truly unique creation, explore regional influences: a silky coconut-vanilla base infused with Persian saffron, or a fiery ginger swirl complementing the mellow coconut. Each bite can tell a story, turning your homemade ice cream into a journey through flavors, allowing you and your guests to savor a taste of the tropics with an unexpected twist.
Serving and Storing: Keeping It Fabulous
The Best Way to Serve Coconut Ice Cream
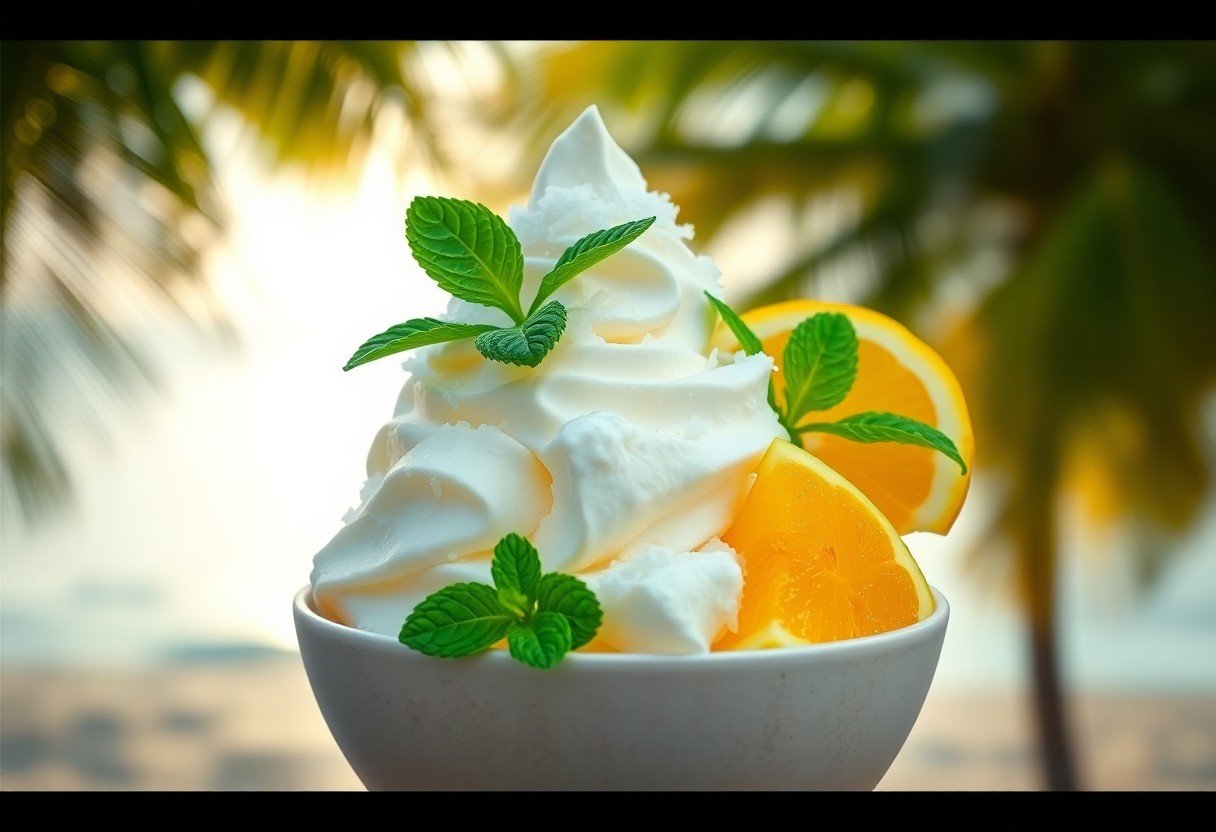
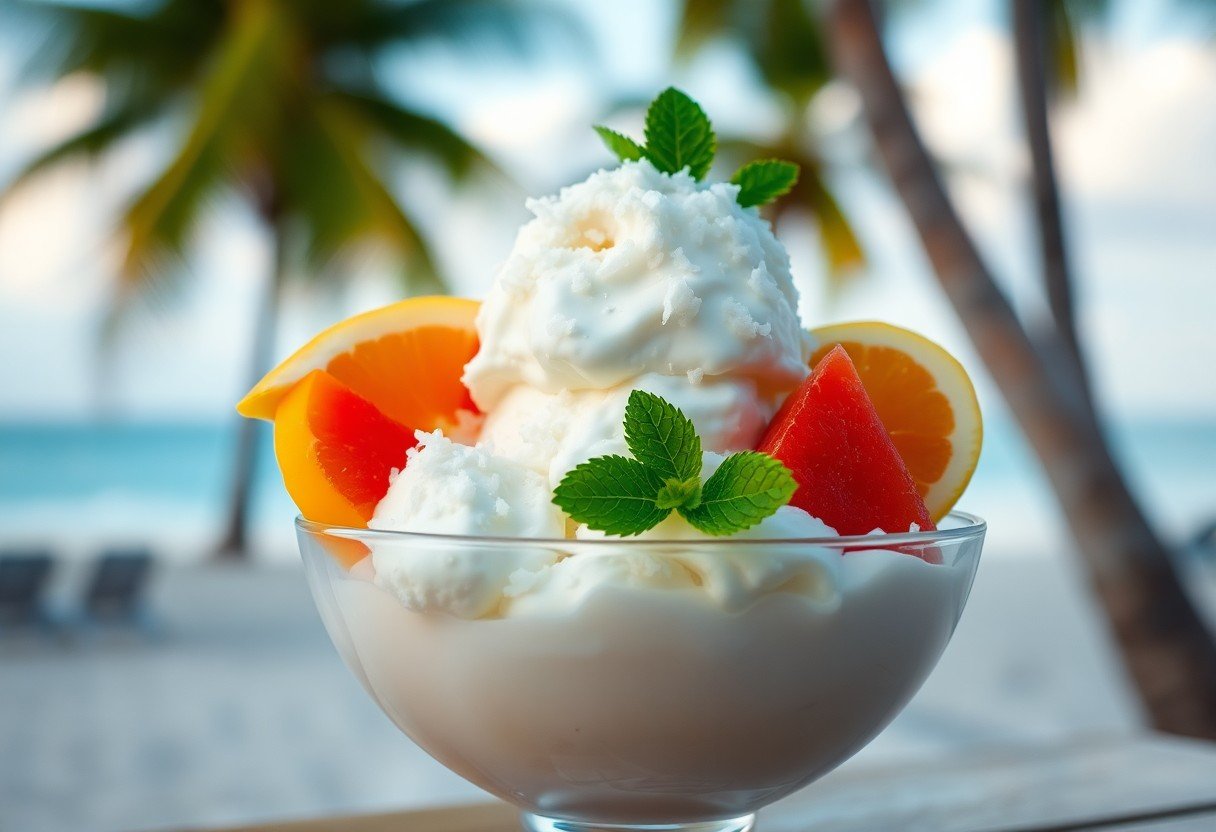
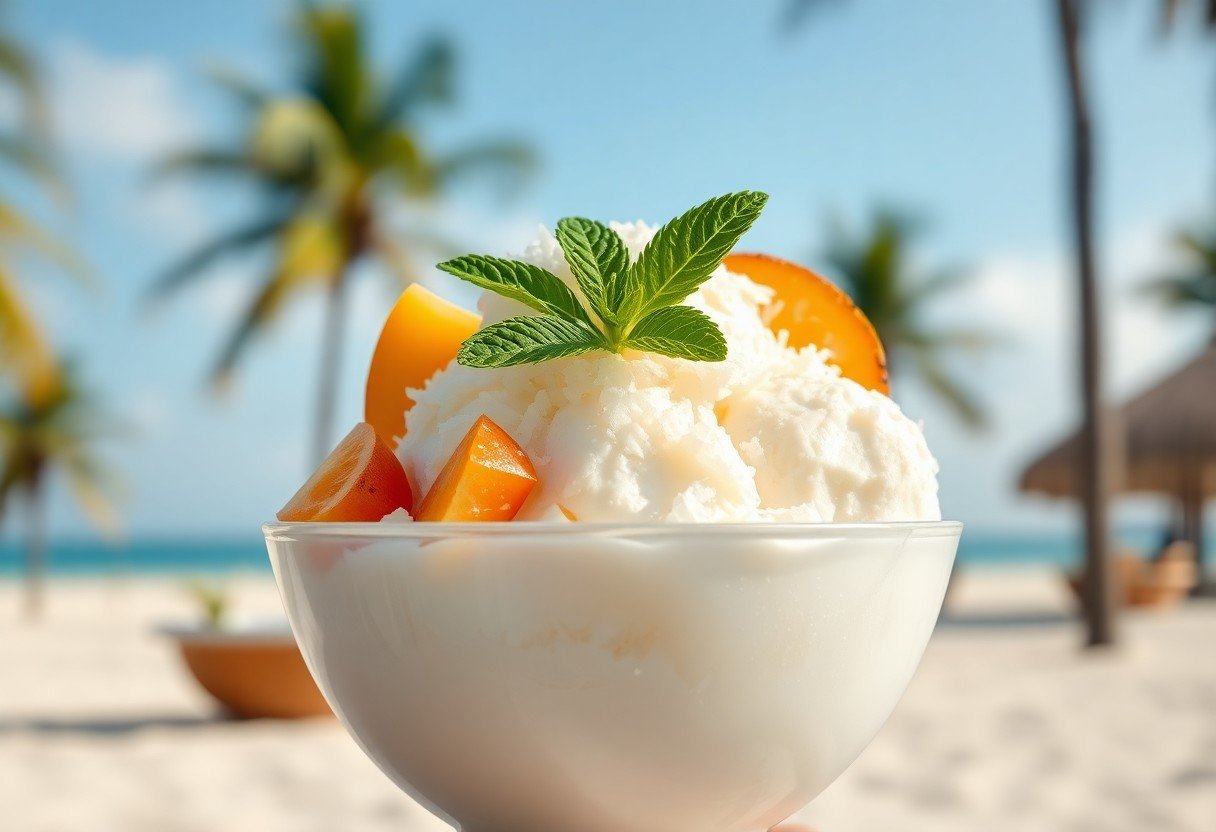
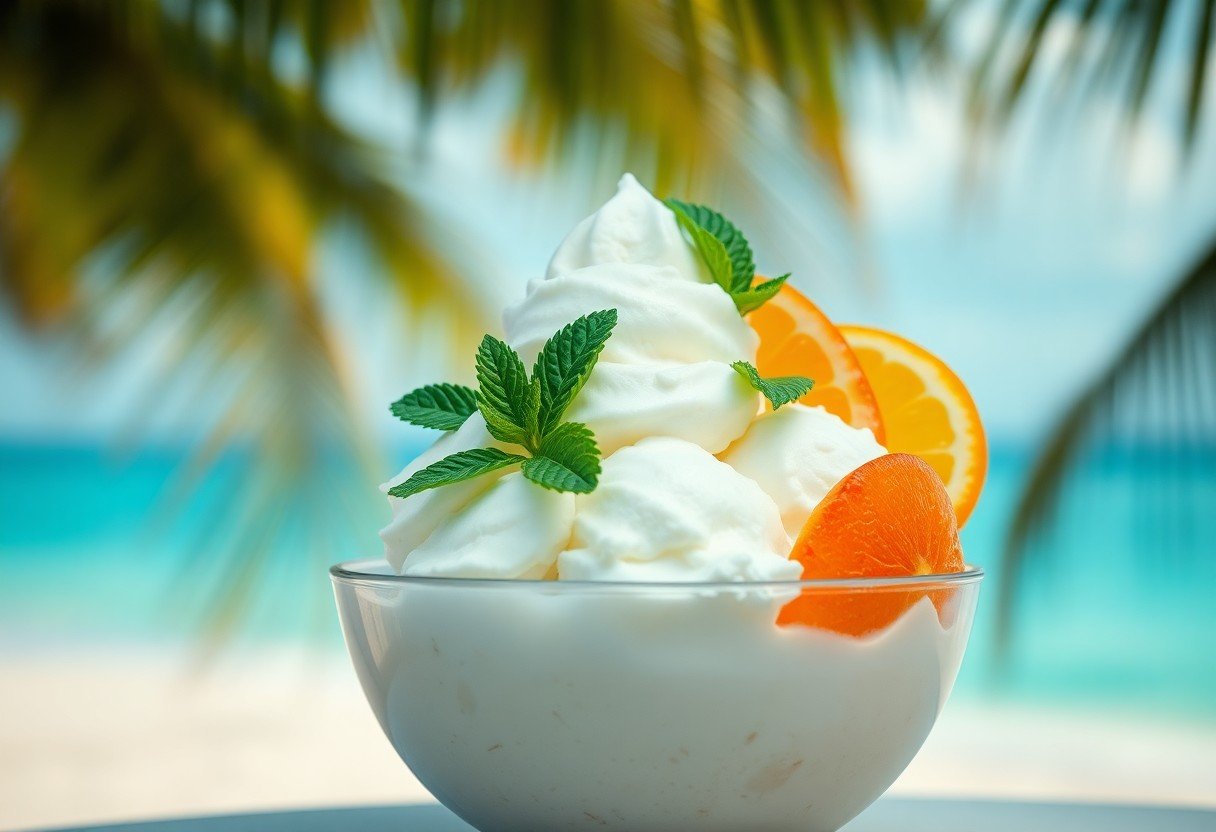
Serving your Caribbean coconut ice cream can be as delightful as making it. For a truly tropical experience, scoop the ice cream into chilled bowls or coconut shells, if you can find them! The added touch of using coconut shells not only enhances the presentation but also complements the flavor beautifully. Top your ice cream with a sprinkle of toasted coconut flakes or a drizzle of chocolate syrup for an added layer of indulgence. Adding fresh fruits like mango slices or pineapple can also elevate the flavor profile, giving it that authentic Caribbean vibe.
Consider pairing your coconut ice cream with other desserts too. A slice of key lime pie or a warm chocolate brownie contrasts perfectly with the creamy sweetness of the ice cream. For an extra touch, serve it alongside a refreshing cocktail with rum or coconut water—it completes the tropical ambiance, making every scoop a mini-vacation.
How to Store for Maximum Freshness
To maintain the creamy texture and rich flavor of your coconut ice cream, store it in an airtight container. Tightly seal the lid to prevent ice crystals from forming, which can ruin the smooth experience you’re after. It’s best to use a container that’s not too large to avoid excessive air exposure. If you don’t have an airtight container, a regular plastic wrap can do the trick—just press it directly onto the ice cream surface before sealing with the lid. This helps create a barrier against freezer odors and keeps your ice cream fresh.
For optimal storage, place the container in the coldest part of your freezer, usually the back. Check the temperature; ideally, your freezer should be set to 0°F (-18°C) or lower. Consuming within two weeks ensures you get the best taste and texture, but it can be stored longer if needed. However, over time, even the best ice cream can lose its enticing creaminess and develop freezer burn, so it’s always best to enjoy it fresh whenever possible.
To wrap up
Taking this into account, making your own Caribbean Coconut Ice Cream using the no-churn method is not just a fun and easy project, but it’s also a delightful way to indulge in tropical flavors. By using simple ingredients and minimal equipment, you can create a creamy, dreamy dessert that will impress your family and friends. The subtle sweetness of coconut combined with rich creamy textures makes this treat ideal for warm days, or whenever you’re craving something refreshing and unique.
So, gather your ingredients and get ready to enjoy a taste of the Caribbean right in your kitchen. You’ll love the process as you blend and whip your way to a delicious ice cream perfection. Don’t hesitate to get creative with toppings or mix-ins to make it truly your own! Whether you’re enjoying it alone or sharing it with loved ones, this homemade coconut ice cream is sure to elevate your dessert game.